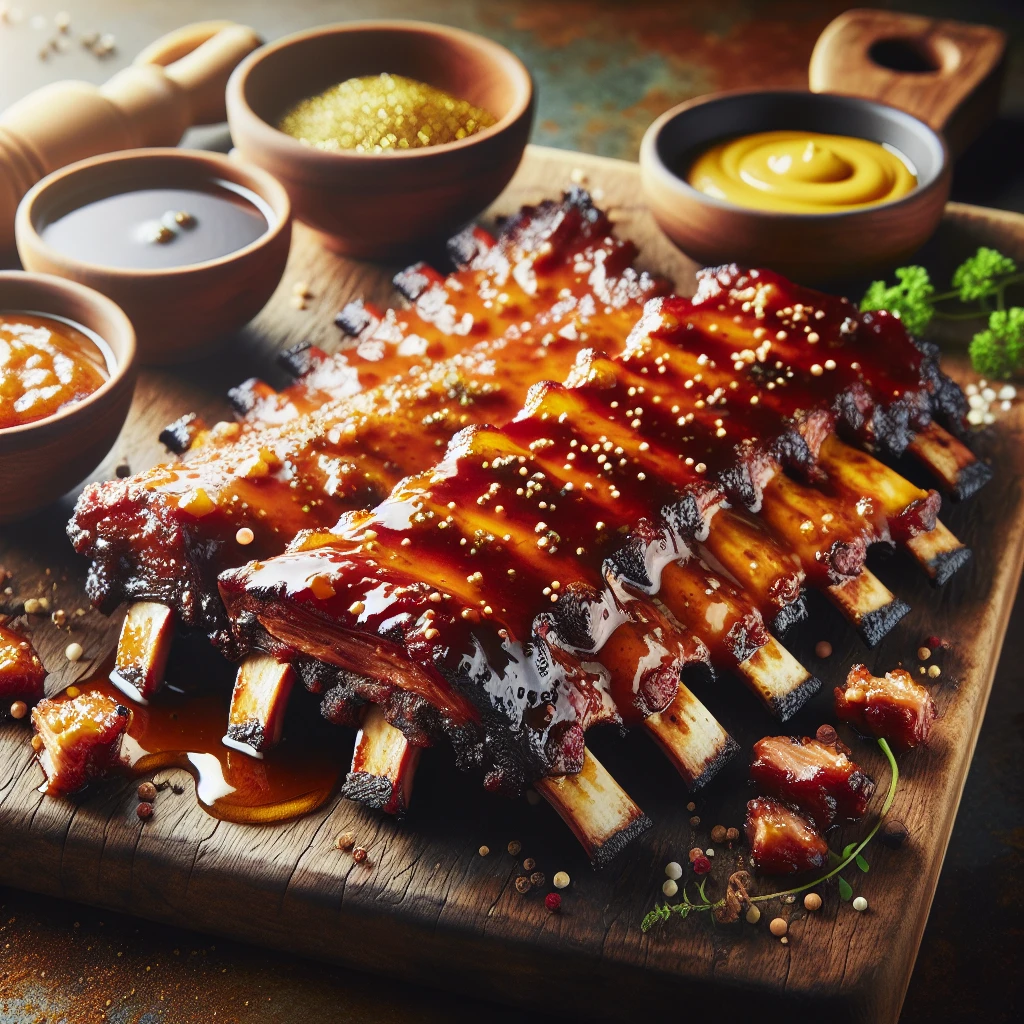
Oven Baked Maple Mustard Ribs
Oven Baked Maple Mustard Ribs are the perfect balance of sweet, tangy, and smoky flavors, making them an irresistible addition to any meal. This simple recipe brings out the best in baby back ribs, turning them into a tender delight, with minimal prep and maximum satisfaction.
This post may contain affiliate links. As an Amazon Associate, we earn from qualifying purchases.
Ingredients for Oven Baked Maple Mustard Ribs
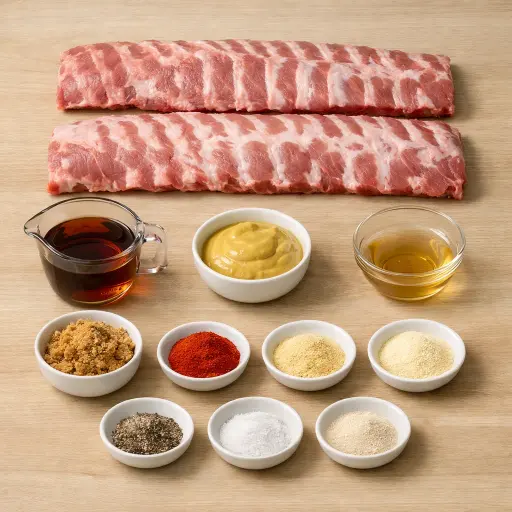
The star of this dish is, of course, the baby back ribs, known for their tender texture and rich flavor. The maple syrup provides a natural sweetness that caramelizes beautifully. Dijon mustard adds a sharp, tangy kick, while brown sugar enhances the sweetness and helps form a nice crust. A splash of apple cider vinegar cuts through the richness with its acidity. Smoked paprika brings a subtle smokiness, and garlic powder and onion powder add depth and savory notes. Ground black pepper and salt round out the seasoning, enhancing all the flavors.
Why This Oven Baked Maple Mustard Ribs Works
In the oven, the ribs sit wrapped in foil for a long time at low heat, so they basically steam in their own juices. The fat in the ribs slowly melts and soaks into the meat instead of running out. Over a couple of hours, the tough parts in the ribs soften, so the meat starts to pull away from the bones and feels tender instead of chewy.
While everything cooks, the maple syrup, mustard, sugar, and spices stay close to the meat inside the foil. The sauce thins out from the heat at first, then slowly thickens again as some liquid cooks off. During that time, the maple and mustard sink into the surface of the ribs, so the flavor isn’t just sitting on top.
Once the foil comes off and the ribs go under the broiler, the outside dries a bit and the sticky sauce on the surface starts to brown. The sugar and maple darken and firm up, so the glaze goes from wet and runny to shiny and slightly chewy, with a little crisp edge on the ribs.
Oven Baked Maple Mustard Ribs Tips & Tricks
- Removing the membrane is essential for tenderness and flavor absorption.
- Wrap the ribs tightly to prevent moisture loss.
- Use a baking sheet to catch any marinade that might escape during cooking.
Mistakes To Avoid
Letting the ribs bake at a higher temperature than 300°F often makes the outside tough before the inside has time to soften. The sugar and maple syrup start to burn on the surface while the meat near the bone stays tight and chewy, so the racks never get that “pulling away from the bone” tenderness.
Skipping the step of removing the membrane from the back of the ribs leaves a tough, rubbery sheet on one side. During baking, this layer blocks the marinade from soaking in and tightens up, so that side stays chewy and the seasoning mostly sits on the surface instead of sinking into the meat.
Wrapping the ribs loosely in foil or leaving gaps lets steam escape. Instead of slowly steaming in their own juices, the racks dry out in the oven, the glaze bakes onto the foil instead of the meat, and the ribs come out less tender and a bit leathery at the edges.
Broiling too long after unwrapping easily burns the maple and sugar in the glaze. The top turns black and bitter in spots while the meat underneath starts to dry and shrink, so the ribs lose their sticky, glossy finish and become patchy and hard.
Equipment Used:
Oven, Baking sheet, Aluminum foil, Mixing bowl, Basting brush
Ingredients
- 2 racks of baby back ribs
- 1/2 cup maple syrup
- 1/4 cup Dijon mustard
- 2 tbsp brown sugar
- 1 tbsp apple cider vinegar
- 2 tsp smoked paprika
- 1 tsp garlic powder
- 1 tsp onion powder
- 1/2 tsp ground black pepper
- 1/2 tsp salt
Step-by-step Instructions
- 1. Preheat your oven to 300°F (150°C).
- 2. Prepare the ribs by removing the membrane from the back of each rack.
- 3. In a small bowl, mix together the maple syrup, Dijon mustard, brown sugar, apple cider vinegar, smoked paprika, garlic powder, onion powder, black pepper, and salt to create a marinade.
- 4. Generously coat both sides of the ribs with the marinade and wrap them tightly in aluminum foil.
- 5. Place the wrapped ribs on a baking sheet and bake in the preheated oven for 2.5 to 3 hours or until the meat is tender and pulling away from the bones.
- 6. Unwrap the ribs and turn the oven to broil. Broil the ribs for an additional 5-7 minutes to caramelize the glaze.
- 7. Let the ribs rest for 5 minutes before slicing and serving.
Trending Now

Zesty Summer Squash Casserole
This delightful summer squash casserole combines vibrant garden-fresh vegetables w...
View Recipe
Classic Cucumber Salad
A refreshing and light cucumber salad featuring crisp cucumbers and a tangy vinaig...
View Recipe
Classic Banana Bread
Classic Banana Bread is a timeless dessert beloved for its moist texture and sweet...
View Recipe
Traditional Dump Cake
Discover the timeless delight of the Traditional Dump Cake, a simple and scrumptio...
View RecipeFrequently Asked Questions
- Can I use another type of ribs?
- Yes, but adjust the cooking time as different ribs have varying thicknesses.
- Can I make these ribs on a grill?
- Absolutely! After baking, finish them on the grill to add extra smokiness.
- What if I don’t have maple syrup?
- Honey or agave syrup can work as substitutes, though the flavor will be slightly different.
Serving Ideas for Oven Baked Maple Mustard Ribs
Pair these ribs with a fresh coleslaw or a tangy potato salad to complement their sweetness. For a hearty meal, serve alongside roasted vegetables or corn on the cob. A light, crisp cider or a hoppy IPA can make a great beverage choice to cut through the richness.
More Grilling & BBQ Recipes
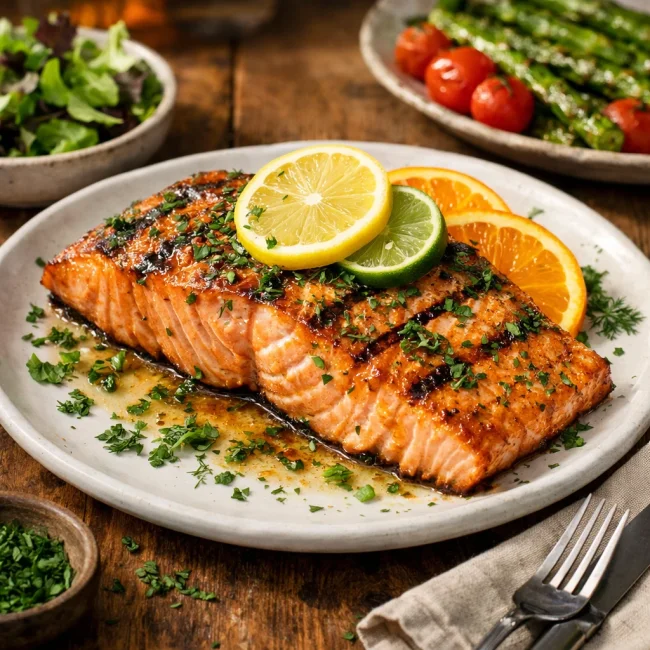
Citrus Herb Grilled Salmon
Discover the burst of flavors in our Citrus Herb Grilled Salmon recipe. This delig...
View Recipe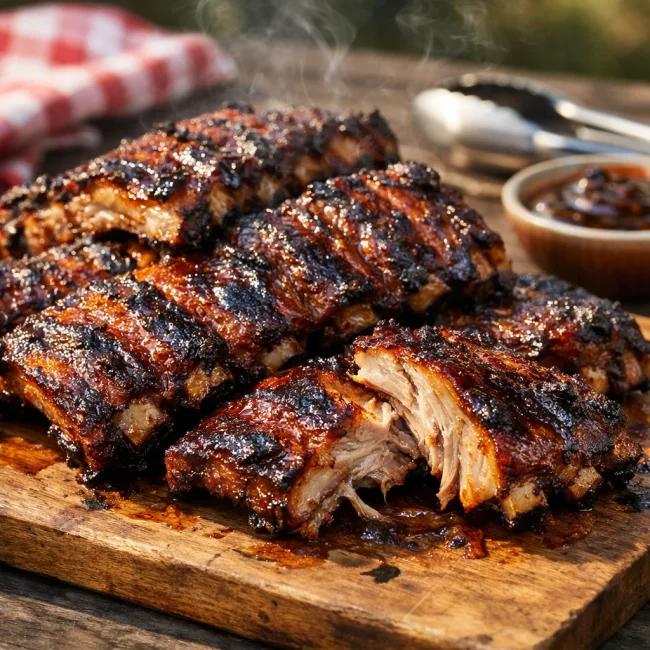
Smoky Maple Bourbon Baby Back Ribs
Savor the taste of summer with our Smoky Maple Bourbon Baby Back Ribs recipe, infu...
View Recipe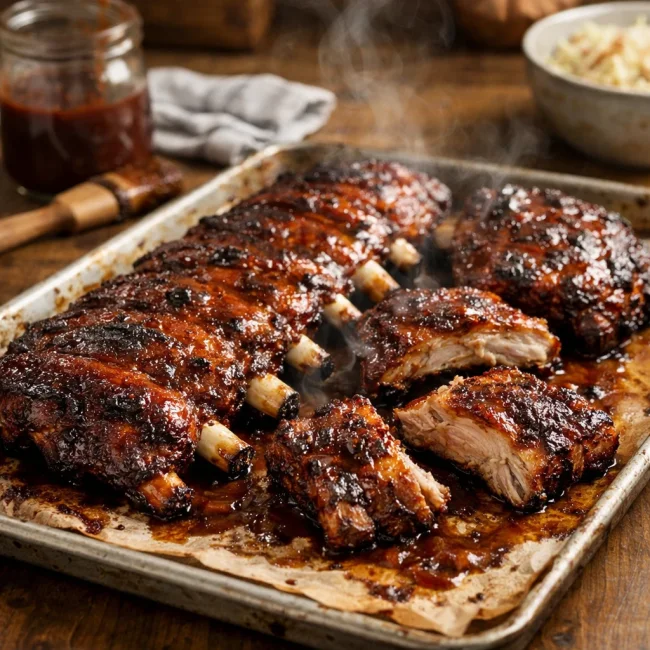
Oven-Baked BBQ Ribs
Enjoy tender ribs with a smoky BBQ sauce, slow-cooked in the oven for that fall-of...
View Recipe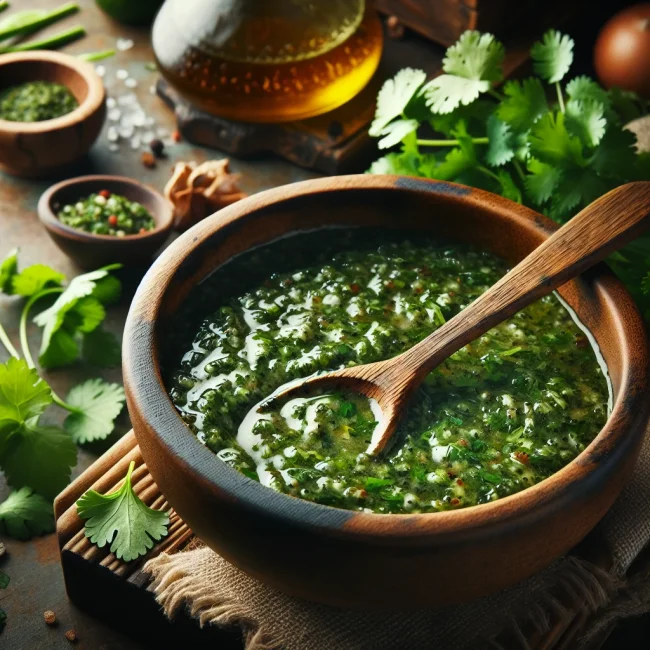
Cilantro Mint Chimichurri
A zesty variation of the classic chimichurri, featuring vibrant cilantro and refre...
View Recipe