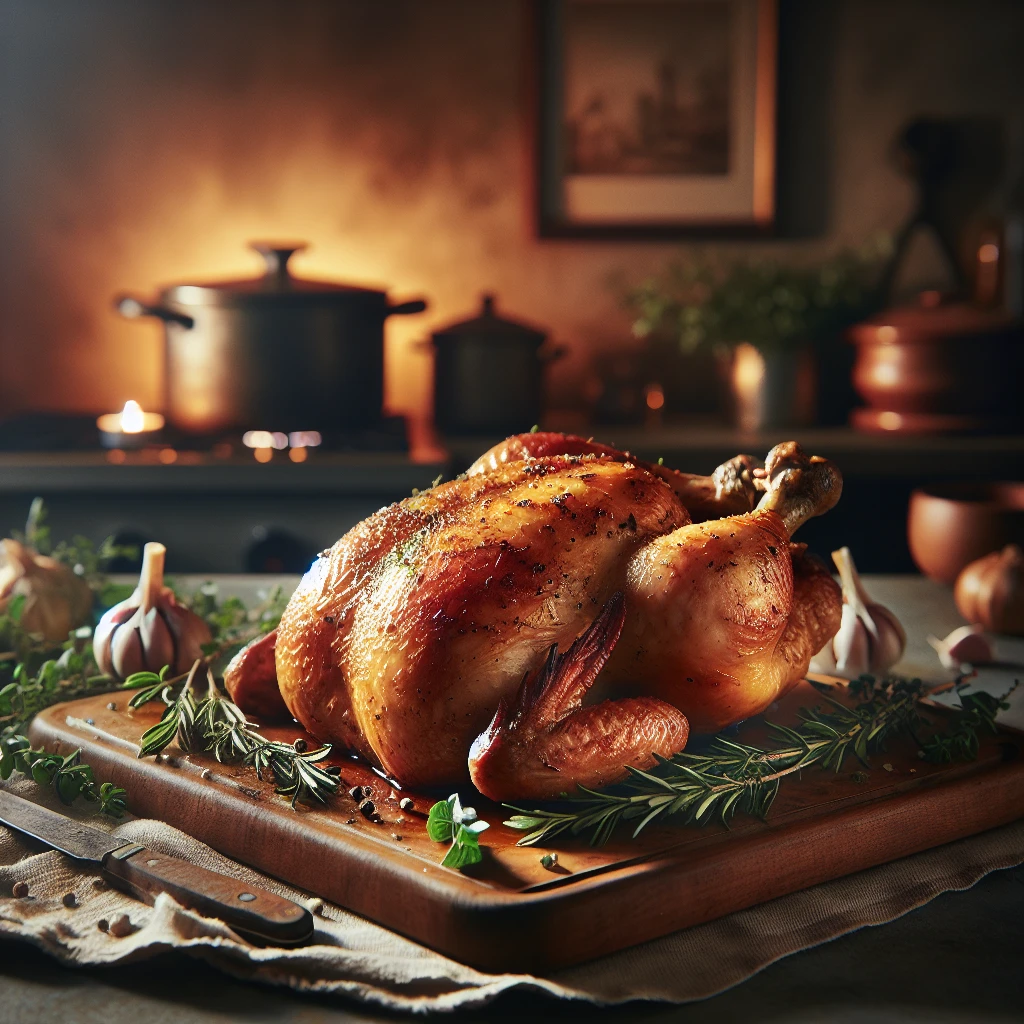
Oven Baked Heritage Chicken
Oven Baked Heritage Chicken is a simple yet flavorful dish that brings out the best in this beloved poultry. With just a handful of ingredients, you can create a meal that feels like a special occasion any day of the week. Perfect for family dinners or impressing guests, this recipe will become a staple in your kitchen.
This post may contain affiliate links. As an Amazon Associate, we earn from qualifying purchases.
Ingredients for Oven Baked Heritage Chicken
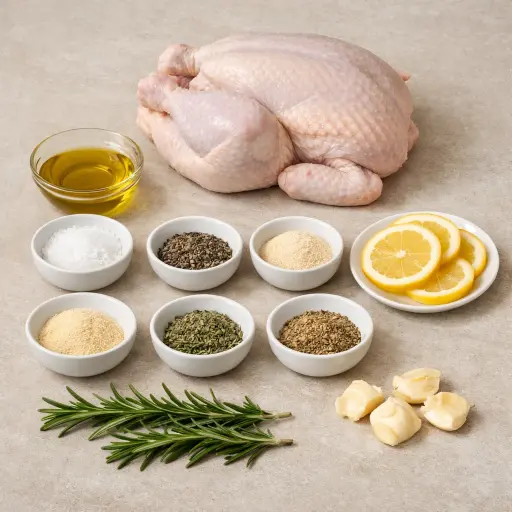
Chicken is the star of this dish, so choose a high-quality heritage bird for the best flavor and texture. These birds are known for their robust taste and tender meat. Olive oil helps to crisp the skin while adding a subtle richness. The blend of salt and black pepper is essential for seasoning, creating a savory crust. Garlic powder and onion powder add an underlying depth of flavor without overpowering the dish. Dried thyme introduces a hint of earthiness that complements the other herbs. Lemon slices stuffed inside the cavity release their juices during cooking, infusing the chicken with a bright, citrusy aroma. Rosemary sprigs further enhance the dish with their pine-like fragrance, while crushed garlic adds a punch of flavor.
Why This Oven Baked Heritage Chicken Works
In the hot oven, the chicken skin dries out first and then starts to brown. As the skin browns, it tightens and forms a kind of thin shell. That shell slows down how fast the juices can run out of the meat, so the inside stays moist while the outside gets crisp. The olive oil on the skin helps it brown more evenly and keeps it from drying out in patches.
Inside the bird, the high heat warms the meat from the outside in. As it heats, the fat under the skin melts and soaks into the breast and legs, so the meat stays tender instead of stringy. The salt on the outside pulls a little moisture to the surface at the start, then that salty liquid gets pulled back in as it cooks, so the seasoning spreads through the meat. Tying the legs and tucking the wings keep the chicken in a tight shape, so it cooks more evenly and doesn’t dry out in thin spots. Letting it rest at the end gives the hot juices time to settle back into the meat instead of spilling out on the cutting board.
Oven Baked Heritage Chicken Tips & Tricks
- Ensure the chicken is completely dry before applying oil to achieve the crispiest skin.
- Use a meat thermometer to ensure the chicken is cooked through without overcooking.
- Letting the chicken rest is crucial for juicy meat; don’t skip this step.
Mistakes To Avoid
Letting the chicken go into the oven while still damp on the outside keeps the skin from ever getting properly crisp. The water on the surface has to evaporate first, so the skin steams instead of roasting and ends up soft and a bit rubbery, even if the meat inside is cooked fine.
Roasting by time alone and ignoring the internal temperature often leads to dry breast meat. Once the chicken goes much past 165°F in the thickest part, the muscle fibers tighten and squeeze out juice, so the breast turns stringy and the legs can taste a bit chalky.
Skipping the step of tying the legs and tucking the wings leaves thin parts sticking out and cooking much faster than the rest. The tips of the wings and the ends of the legs can burn and dry out while the thicker parts near the bone are still a little underdone.
Placing the chicken flat in a pan without a rack causes the bottom to sit in its own juices. The underside then boils instead of roasts, so the skin there stays pale and flabby and the texture is uneven from top to bottom.
Equipment Used:
Roasting pan, Roasting rack, Kitchen twine, Oven thermometer
Ingredients
- 1 whole chicken (3-4 lbs)
- 2 tbsp olive oil
- 1 tsp salt
- 1 tsp black pepper
- 1/2 tsp garlic powder
- 1/2 tsp onion powder
- 1 tsp dried thyme
- 1 lemon, sliced
- 2 sprigs of rosemary
- 4 cloves of garlic, crushed
Step-by-step Instructions
- 1. Preheat your oven to 425°F.
- 2. Pat the chicken dry with paper towels.
- 3. Rub the olive oil all over the chicken.
- 4. Season the chicken with salt, pepper, garlic powder, onion powder, and thyme.
- 5. Place lemon slices, rosemary sprigs, and crushed garlic inside the chicken cavity.
- 6. Tie the legs together with kitchen twine and tuck the wing tips under the body.
- 7. Place the chicken breast-side up on a roasting rack in a roasting pan.
- 8. Roast in the preheated oven for approximately 90 minutes, or until the internal temperature reaches 165°F.
- 9. Let the chicken rest for 10 minutes before carving and serving.
Trending Now

Zesty Summer Squash Casserole
This delightful summer squash casserole combines vibrant garden-fresh vegetables w...
View Recipe
Classic Cucumber Salad
A refreshing and light cucumber salad featuring crisp cucumbers and a tangy vinaig...
View Recipe
Classic Banana Bread
Classic Banana Bread is a timeless dessert beloved for its moist texture and sweet...
View Recipe
Traditional Dump Cake
Discover the timeless delight of the Traditional Dump Cake, a simple and scrumptio...
View RecipeFrequently Asked Questions
- Can I use a regular chicken instead of a heritage chicken?
- Yes, you can, though a heritage chicken will offer more flavor and tenderness.
- What if I don’t have a roasting rack?
- You can place the chicken on a bed of vegetables like carrots and onions to keep it elevated.
- How do I know when the chicken is done?
- Use a meat thermometer to check that the internal temperature is 165°F at the thickest part of the breast.
Serving Ideas for Oven Baked Heritage Chicken
This chicken pairs beautifully with roasted vegetables like carrots, potatoes, or Brussels sprouts. A side of creamy mashed potatoes or a fresh green salad with vinaigrette would also complement the dish. For a touch of elegance, serve it with a light white wine such as a Chardonnay or Sauvignon Blanc.
More Roasting Recipes
Classic Rib Eye Roast
A timeless rib eye roast recipe that delivers a succulent, flavorful dish perfect ...
View Recipe
Traditional Roast Rack of Lamb
Savor the timeless delight of a perfectly roasted rack of lamb, infused with garli...
View Recipe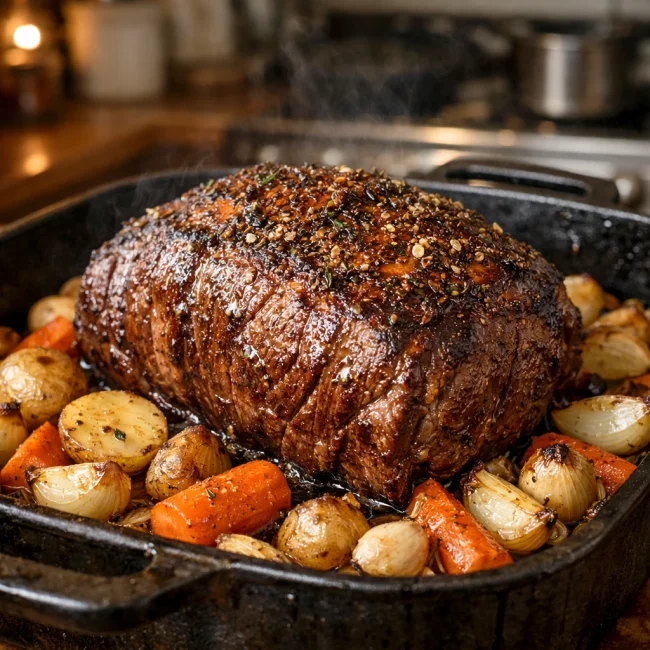
Traditional Oven Roast
A timeless oven roast recipe perfect for family gatherings, featuring tender beef,...
View Recipe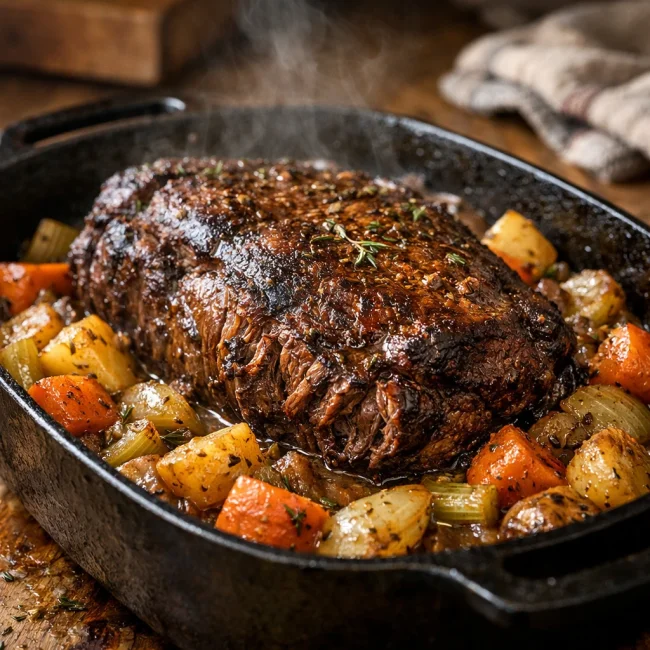
Traditional Chuck Roast
Discover the rich and hearty flavors of our Traditional Chuck Roast, perfect for a...
View Recipe