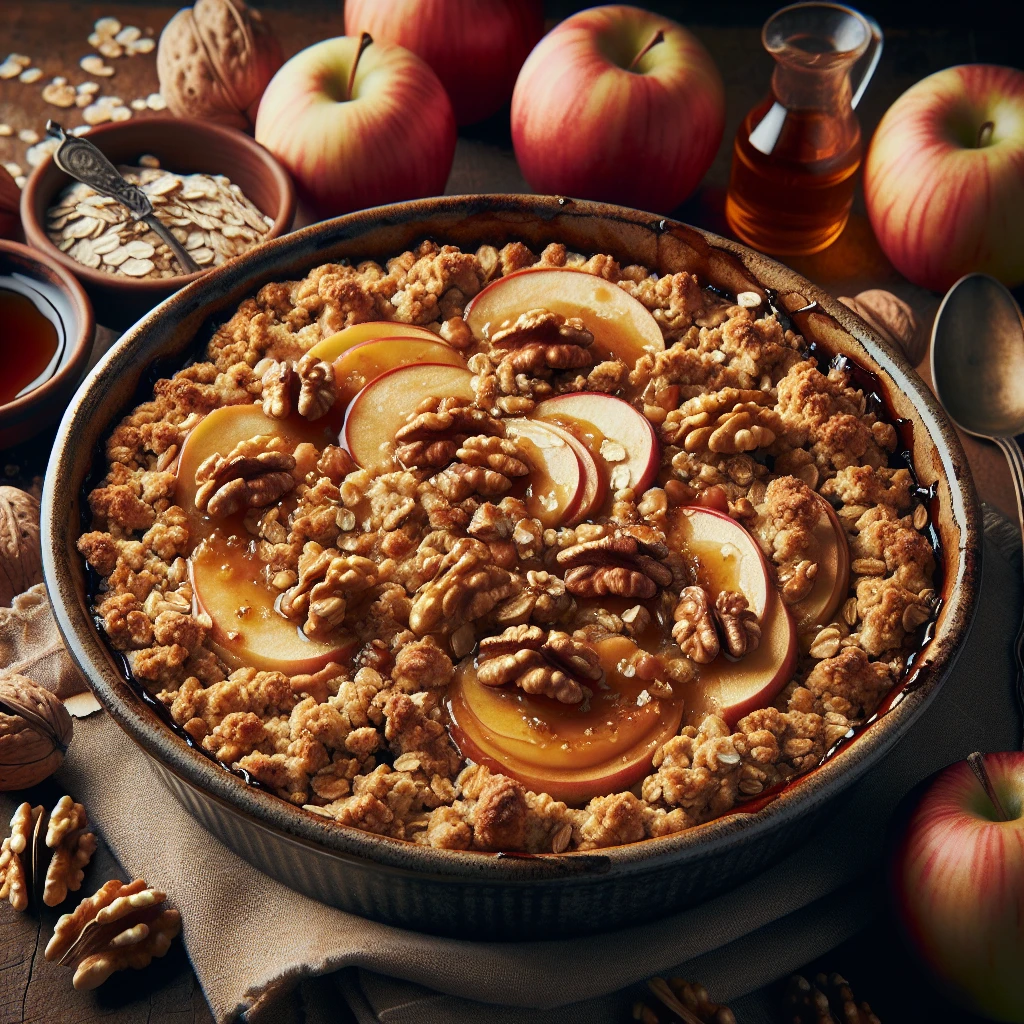
Maple Walnut Apple Crisp
If you're in the mood for a dessert that perfectly captures the essence of fall, this Maple Walnut Apple Crisp is your go-to treat. It's a delightful blend of sweet and nutty flavors with a cozy, comforting appeal. Plus, it's super easy to whip up!
This post may contain affiliate links. As an Amazon Associate, we earn from qualifying purchases.
Ingredients for Maple Walnut Apple Crisp
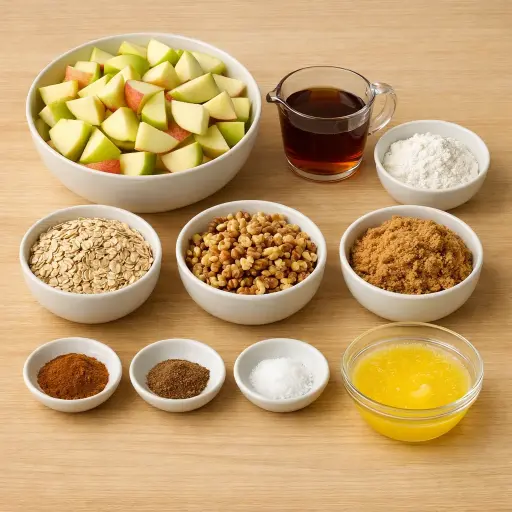
Apples bring the tartness and juiciness that are key to any good crisp. Granny Smith or Honeycrisp are top choices for their firmness and flavor.
Maple syrup adds a natural sweetness while enhancing the fall flavor profile.
Flour helps thicken the syrupy juices from the apples, giving the dish a perfect consistency.
Rolled oats form the base of the crumble, adding texture and heartiness.
Walnuts contribute a satisfying crunch and a touch of earthiness.
Brown sugar lends a deep, molasses-like sweetness to the topping.
Cinnamon and nutmeg provide warmth and spice, enhancing the overall flavor.
Salt balances the sweetness and enriches the flavors.
Butter, melted, helps bind the topping and ensures a golden, crisp finish.
Why This Maple Walnut Apple Crisp Works
In the oven, the apples slowly soften while the maple syrup bubbles around them. The heat pulls some juice out of the apples, and that juice mixes with the maple so the fruit sits in a warm, sweet liquid instead of drying out. As the apples cook, they start to slump and become tender, but they still hold their shape because they are firm baking apples.
Up on top, the flour, oats, walnuts, and sugar soak up the melted butter and clump together. During baking, those little clumps dry out and firm up, so the topping goes from sandy and loose to crisp and crunchy. Brown sugar melts and sticks the oats and walnuts together, so the topping stays in chunks instead of turning into dust.
By the time it finishes, the bottom is soft and juicy from the apples and maple, and the top is golden and crisp. Letting it sit for a few minutes lets the hot juices thicken a bit, so the crisp scoops out in nice, cozy spoonfuls instead of running all over the plate.
Maple Walnut Apple Crisp Tips & Tricks
- If your apples are particularly juicy, add an extra tablespoon of flour to thicken the filling.
- For a deeper flavor, toast the walnuts lightly before using them in the recipe.
- Experiment with different apple varieties for unique flavor profiles.
Mistakes To Avoid
Cutting the apples into very thick slices makes the timing in the oven tricky. The topping can turn golden and start to harden while the apples inside stay firm and a bit crunchy instead of soft and jammy. The crisp then looks done on top but feels undercooked when scooped.
Letting the crisp bake far past the 35-minute mark often dries things out. The maple syrup and juices at the bottom cook off, so the apples shrink and turn chewy, and the topping goes from crisp to hard and slightly burnt around the edges.
Skipping the step of mixing the apples with maple syrup in a bowl first leaves the sweet liquid sitting mostly on top. The apples at the bottom then bake almost plain and dry, while the top layer turns soggy where the syrup pools.
Using cold, solid butter instead of melted butter in the topping keeps the dry ingredients from clumping properly. The mixture stays dusty and sandy, so it bakes into a loose, floury layer instead of forming crunchy clusters.
Equipment Used:
Ingredients
- 6 cups of sliced apples (Granny Smith or Honeycrisp)
- 1/2 cup of maple syrup
- 1/4 cup of all-purpose flour
- 1/2 cup of rolled oats
- 1/2 cup of chopped walnuts
- 1/4 cup of brown sugar
- 1 teaspoon of cinnamon
- 1/4 teaspoon of nutmeg
- 1/4 teaspoon of salt
- 1/4 cup of unsalted butter, melted
Step-by-step Instructions
- 1. Preheat your oven to 350°F (175°C).
- 2. In a large bowl, combine sliced apples and maple syrup.
- 3. Transfer apple mixture to a greased 8x8 inch baking dish.
- 4. In another bowl, mix flour, oats, walnuts, brown sugar, cinnamon, nutmeg, and salt.
- 5. Add melted butter to the dry mixture and stir until crumbly.
- 6. Sprinkle the crumble mixture evenly over the apples.
- 7. Bake for 30-35 minutes or until the topping is golden brown and the apples are tender.
- 8. Let it cool for 10 minutes before serving.
Trending Now
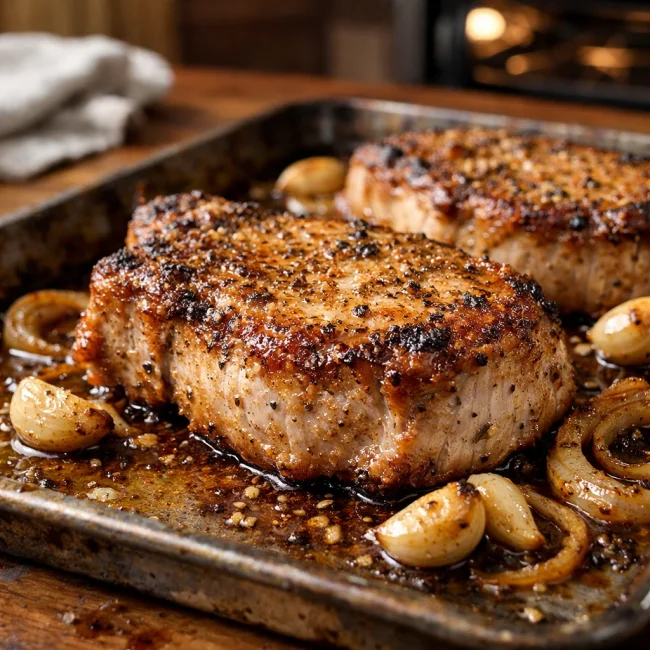
Oven-Baked Pork Chops
Enjoy a delightful dinner with these tender and juicy oven-baked pork chops, seaso...
View Recipe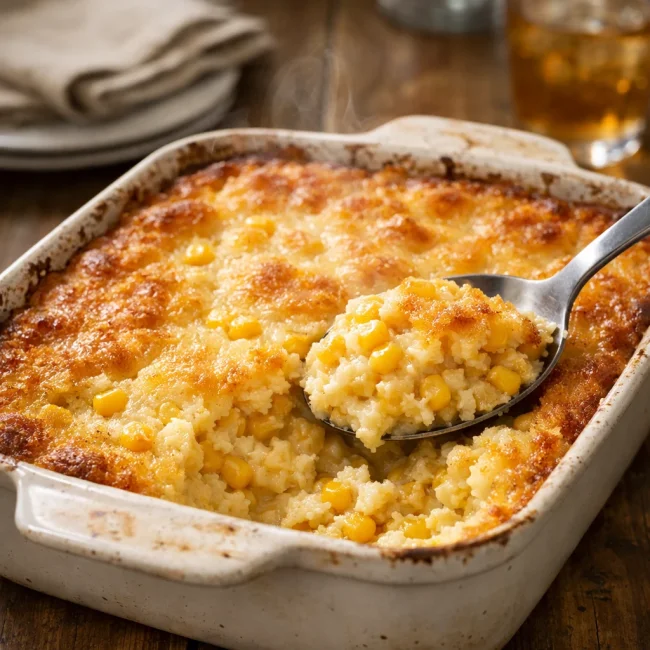
Traditional Corn Casserole
A delightful corn casserole dish that embodies the comforting flavors of sweet cor...
View Recipe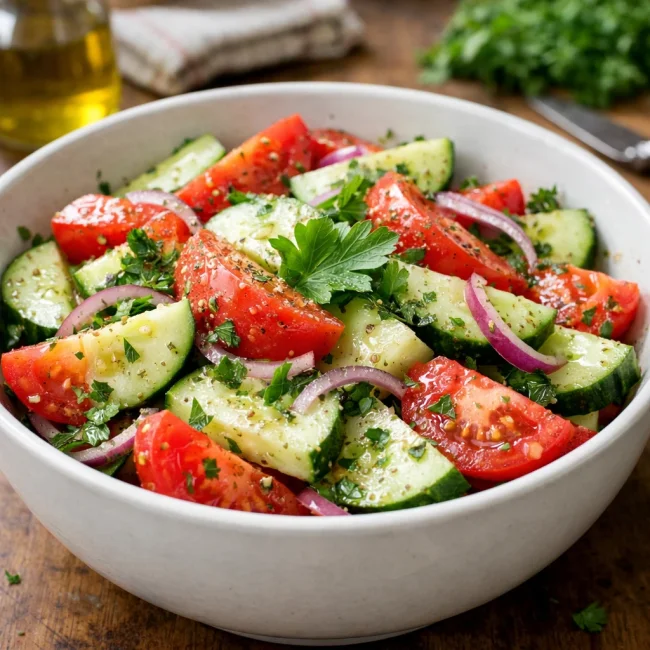
Traditional Cucumber and Tomato Salad
A refreshing and simple salad combining crisp cucumbers and juicy tomatoes, season...
View Recipe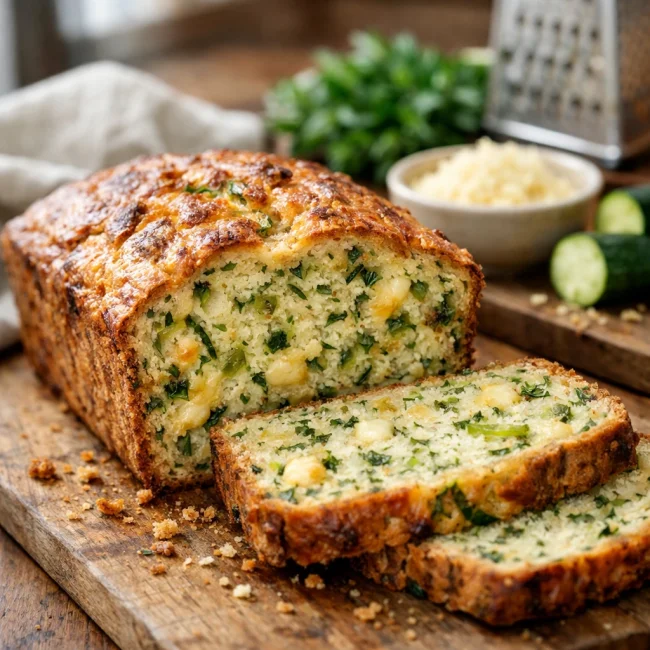
Savory Zucchini Bread
Savory Zucchini Bread is a delectable twist on traditional zucchini recipes, combi...
View RecipeFrequently Asked Questions
- Can I use different nuts?
- Absolutely! Pecans or almonds would work wonderfully as alternatives to walnuts.
- Is there a gluten-free option?
- Yes, use gluten-free oats and a gluten-free flour blend to make this dish suitable for a gluten-free diet.
- Can I prepare this ahead of time?
- You can prepare the apple mixture and topping separately, then assemble and bake when ready to serve.
Serving Ideas for Maple Walnut Apple Crisp
This crisp pairs beautifully with a scoop of vanilla bean ice cream or a dollop of freshly whipped cream. For a more decadent touch, drizzle some warm caramel sauce over the top.
More Desserts Recipes

Rustic Vanilla Peach Cobbler
This rustic vanilla peach cobbler combines a rich, buttery crust with the sweet, v...
View Recipe
Traditional Lemon Curd
A classic, tangy lemon curd that is perfect for enhancing desserts, breakfast dish...
View Recipe
Traditional Cream Cheese Pie
A delightful and timeless dessert, Traditional Cream Cheese Pie offers a rich and ...
View Recipe
Timeless Cream Puff Delight
Indulge in a delectable Timeless Cream Puff Delight, a classic dessert featuring a...
View Recipe