Maple Sriracha Glazed Salmon
If you're looking for a dish that's both sweet and spicy with a touch of elegance, this Maple Sriracha Glazed Salmon is just the ticket. It's perfect for a quick weeknight dinner or a special weekend meal. The balance of flavors will keep everyone coming back for more!

This post may contain affiliate links. As an Amazon Associate, we earn from qualifying purchases.
Ingredients for Maple Sriracha Glazed Salmon
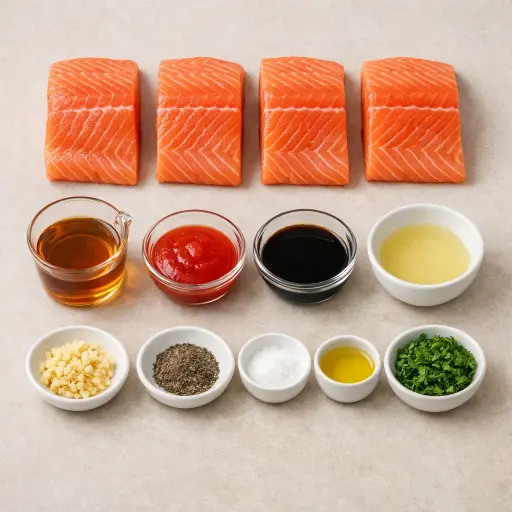
Salmon fillets are the star of this dish. They're rich in omega-3 fatty acids and have a lovely, mild flavor that pairs well with bold glazes. Pure maple syrup adds natural sweetness and depth, while Sriracha sauce brings in the heat and a touch of garlic flavor. Soy sauce provides that umami kick that rounds out the glaze nicely. Fresh lemon juice adds a zingy freshness, brightening up the overall flavor profile. A bit of minced garlic enhances the savory notes, while black pepper and salt help balance everything. Olive oil is used for its mild flavor and health benefits, and a sprinkle of fresh parsley at the end adds a pop of color and freshness.
Why This Maple Sriracha Glazed Salmon Works
In the oven, the salmon cooks gently while it sits in that maple, Sriracha, and soy sauce glaze. The heat firms up the fish so it flakes instead of falling apart, but the glaze on top keeps the surface from drying out. As it bakes, the maple syrup thickens and sticks to the salmon, so more of the sauce stays on the fish instead of running off the pan.
During baking, the soy sauce and salt pull a little moisture toward the surface, then the maple syrup and Sriracha form a thin, sticky layer that holds that moisture in. The lemon juice keeps the glaze from tasting too heavy and also slightly softens the outside of the salmon as it cooks. After a few minutes of resting, the juices inside the fillets settle down instead of spilling out, so the salmon stays moist when it is cut. A final drizzle of glaze on the hot fish clings right away, giving a shiny, sticky coating that doesn’t slide off.
Maple Sriracha Glazed Salmon Tips & Tricks
- For extra flavor, marinate the salmon in the glaze for 30 minutes before cooking.
- Adjust the level of heat by adding more or less Sriracha to the glaze.
- Use a fish spatula for easy handling; it’s specifically designed to lift fish without breaking it.
Mistakes To Avoid
Letting the salmon bake too long at 400°F quickly dries it out. The outside turns firm and a bit tough, and the flakes become chalky instead of moist. The glaze also starts to overcook, turning sticky and slightly bitter around the edges instead of glossy.
Pouring all the glaze on at once and not saving any for after baking leaves the top over-sauced and the pan flooded. In the oven, the extra liquid can burn around the fish while the surface of the salmon never really gets that light, sticky coating and instead looks dull and patchy.
Putting wet salmon straight on the tray without patting it dry keeps the glaze from sticking well. As it bakes, the moisture steams around the fish, so the sauce slides off and pools on the parchment, and the salmon ends up pale with most of the flavor stuck to the paper.
Cranking the oven hotter than 400°F to “go faster” often scorches the maple in the glaze before the center cooks through. The edges of the fillets darken and harden while the middle can still feel slightly raw and soft.
Equipment Used:
Baking sheet, parchment paper, small bowl, whisk, basting brush
Ingredients
- 4 salmon fillets (6 oz each)
- 1/4 cup pure maple syrup
- 2 tbsp Sriracha sauce
- 2 tbsp soy sauce
- 1 tbsp fresh lemon juice
- 1 clove garlic, minced
- 1/2 tsp black pepper
- 1/4 tsp salt
- 1 tbsp olive oil
- 1 tbsp chopped fresh parsley for garnish
Step-by-step Instructions
- 1. Preheat your oven to 400°F (200°C) and line a baking sheet with parchment paper.
- 2. In a small bowl, whisk together the maple syrup, Sriracha sauce, soy sauce, lemon juice, minced garlic, black pepper, and salt until well combined.
- 3. Pat the salmon fillets dry with a paper towel and place them skin-side down on the prepared baking sheet.
- 4. Brush the salmon generously with the glaze, making sure to cover all sides.
- 5. Bake the salmon in the preheated oven for 12-15 minutes, or until the fish flakes easily with a fork.
- 6. Remove from the oven and let it rest for a couple of minutes.
- 7. Drizzle any remaining glaze over the salmon and garnish with chopped parsley before serving.
Trending Now
Oven-Baked Pork Chops
Enjoy a delightful dinner with these tender and juicy oven-baked pork chops, seaso...
View Recipe
Traditional Corn Casserole
A delightful corn casserole dish that embodies the comforting flavors of sweet cor...
View Recipe
Traditional Cucumber and Tomato Salad
A refreshing and simple salad combining crisp cucumbers and juicy tomatoes, season...
View Recipe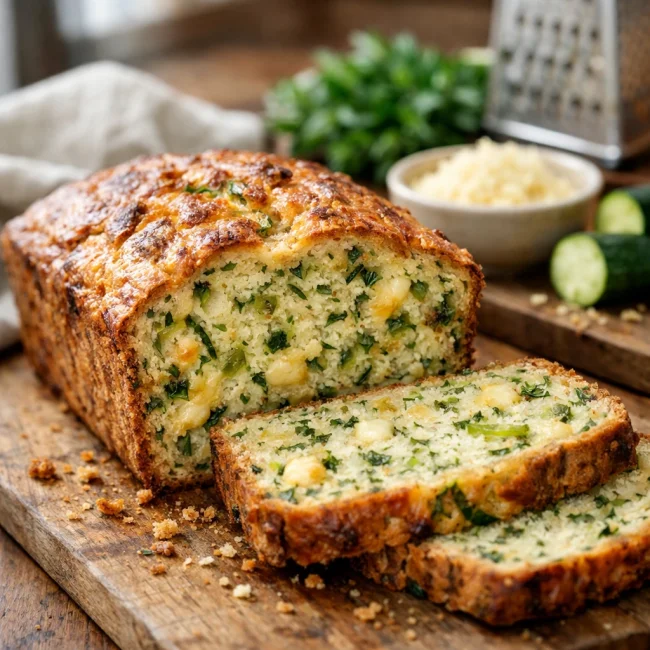
Savory Zucchini Bread
Savory Zucchini Bread is a delectable twist on traditional zucchini recipes, combi...
View RecipeFrequently Asked Questions
- Can I use frozen salmon?
- Yes, just make sure to thaw it completely and pat it dry before applying the glaze.
- How can I tell when the salmon is done?
- The salmon is ready when it flakes easily with a fork and is opaque in color.
- Is there a substitute for Sriracha?
- You can use another hot sauce like chili paste or even a dash of cayenne pepper for heat.
Serving Ideas for Maple Sriracha Glazed Salmon
This salmon pairs beautifully with steamed jasmine rice or a simple quinoa salad. For a bit of crunch, serve alongside roasted broccoli or asparagus. A light, citrusy white wine like a Sauvignon Blanc complements the dish nicely.
More Main Dishes Recipes
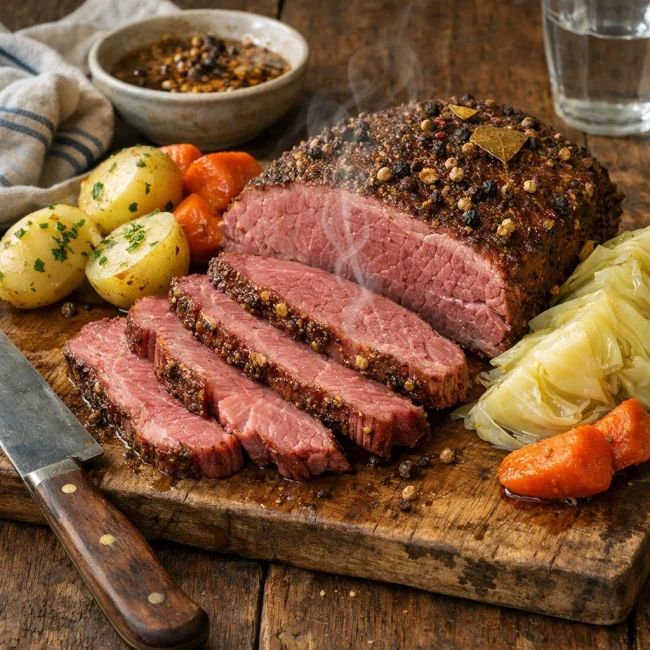
Unique Homemade Corned Beef
Discover the ultimate homemade corned beef recipe that balances rich flavors and t...
View Recipe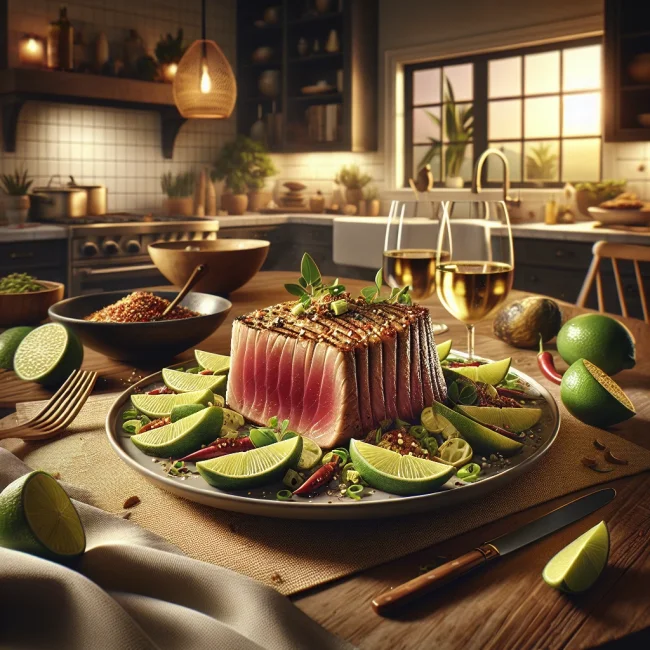
Spicy Lime Seared Ahi Tuna
Experience a burst of flavor with our Spicy Lime Seared Ahi Tuna, a perfect fusion...
View Recipe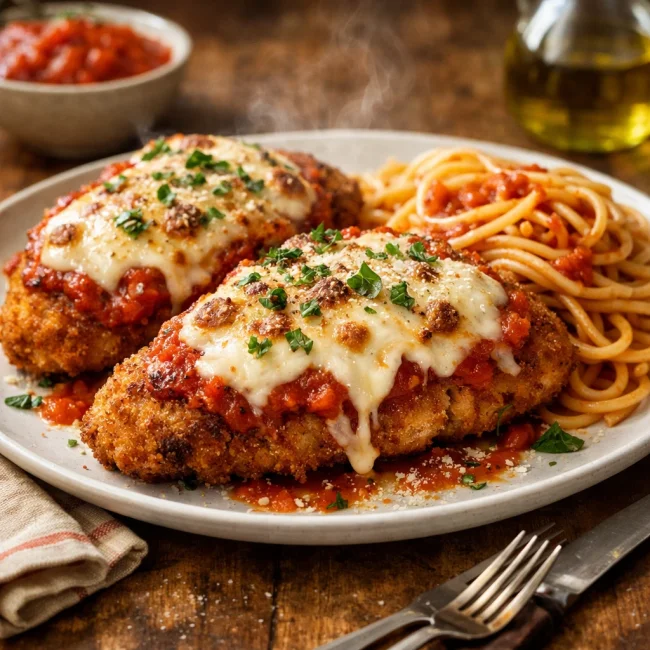
Traditional Chicken Parmesan
Savor the authentic taste of Italian cuisine with our Traditional Chicken Parmesan...
View Recipe
Seared Ahi Tuna
Experience the sublime taste of seared Ahi tuna, a Japanese-inspired dish that hig...
View Recipe