Homestyle Fried Chicken
Homestyle Fried Chicken is the kind of comfort food that hugs you from the inside. This recipe promises crispy, juicy chicken with a flavor that’s both nostalgic and utterly satisfying. Perfect for any occasion, it’s a dish that brings people together around the dinner table.

This post may contain affiliate links. As an Amazon Associate, we earn from qualifying purchases.
Ingredients for Homestyle Fried Chicken
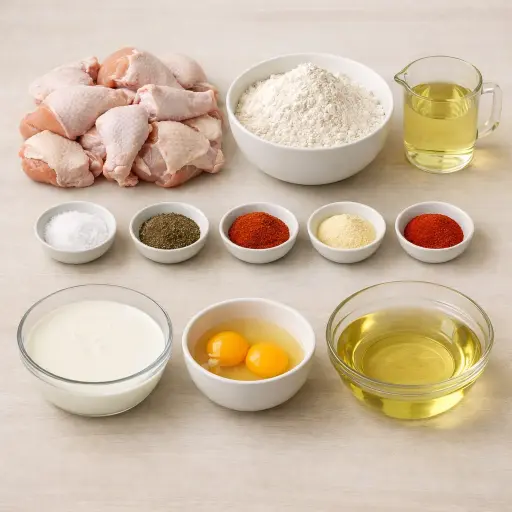
The star of our dish is clearly the chicken, cut into pieces to ensure each piece cooks evenly and quickly. Soaking in buttermilk not only tenderizes the chicken but also adds a slightly tangy note that complements the spices. The eggs in the marinade help the flour mixture stick, creating that classic crunchy crust we all love. Our coating is a simple mix of all-purpose flour and spices: salt for seasoning, black pepper for a hint of heat, and paprika for color and depth. The garlic powder and onion powder bring savory notes, while a touch of cayenne pepper adds a subtle kick. Finally, vegetable oil is the frying medium, chosen for its high smoke point and neutral flavor.
Why This Homestyle Fried Chicken Works
During the long soak in buttermilk and eggs, the chicken starts to relax. The buttermilk’s slight tang and the salt work their way into the meat, so the pieces season all the way through instead of only on the outside. At the same time, the buttermilk gently softens the chicken, so it stays juicy even after sitting in hot oil.
Once the chicken goes into the seasoned flour, the wet buttermilk coating grabs onto the dry flour and spices. That clings in a thick, even layer instead of falling off. In the hot oil, this flour layer quickly dries out and firms up, turning into a crisp shell. As the crust browns, it seals the outside, so the juices stay inside the chicken instead of leaking into the oil.
While the chicken fries, the crust and the meat cook at different speeds. The outside becomes crunchy and golden, but the soaked meat underneath cooks more slowly and stays moist. By the time the pieces are done, the crust holds together, the seasoning is spread from edge to center, and the chicken stays tender when bitten into.
Homestyle Fried Chicken Tips & Tricks
- Use a meat thermometer to ensure the chicken is cooked to 165°F internally.
- Let the dredged chicken rest for a few minutes before frying to help the coating adhere better.
- If you like it extra spicy, add more cayenne or a dash of hot sauce to the buttermilk marinade.
Mistakes To Avoid
Starting the chicken in oil that isn’t hot enough makes the coating soak up oil instead of sealing quickly. The crust turns greasy and heavy, and by the time the inside cooks through, the outside can taste oily and feel soggy instead of crisp.
Letting the oil get too hot causes the outside to brown fast while the inside stays undercooked. The crust looks done and dark, but when the chicken is opened, the meat near the bone can still be pink and the juices run red.
Skipping the long buttermilk soak leaves the meat less tender and less juicy. The chicken cooks, but the texture stays firmer and can dry out near the edges, and the coating doesn’t cling as well, so some spots end up bare.
Crowding the pan during frying drops the oil temperature and traps steam around the chicken. The pieces take longer to cook, the crust softens instead of staying crisp, and some sides can turn pale and chewy instead of crunchy.
Equipment Used:
Ingredients
- 3 lbs whole chicken, cut into pieces
- 2 cups all-purpose flour
- 1 tbsp salt
- 1 tsp black pepper
- 1 tsp paprika
- 1/2 tsp garlic powder
- 1/2 tsp onion powder
- 1/2 tsp cayenne pepper
- 2 cups buttermilk
- 2 large eggs
- Vegetable oil for frying
Step-by-step Instructions
- 1. In a large bowl, whisk together buttermilk and eggs.
- 2. Submerge the chicken pieces in the buttermilk mixture, cover, and refrigerate for at least 4 hours or overnight.
- 3. In another bowl, mix flour, salt, black pepper, paprika, garlic powder, onion powder, and cayenne pepper.
- 4. Remove chicken from buttermilk and let excess drip off.
- 5. Dredge chicken pieces in the flour mixture, ensuring an even coat.
- 6. Heat vegetable oil in a large deep skillet to 350°F.
- 7. Fry chicken in batches, 10-12 minutes per side, until golden brown and cooked through.
- 8. Drain on paper towels before serving.
Trending Now

Old-Fashioned Bread Pudding
Discover the classic charm of Old-Fashioned Bread Pudding - a timeless dessert com...
View Recipe
Traditional Italian Bruschetta
Experience the authentic taste of Italian bruschetta, a perfect blend of fresh tom...
View Recipe
Classic Green Beans
Discover the timeless delight of Classic Green Beans, a simple yet flavorful side ...
View Recipe
Classic Banana Bread
Classic Banana Bread is a timeless dessert beloved for its moist texture and sweet...
View RecipeFrequently Asked Questions
- Can I use boneless chicken?
- Yes! Boneless thighs or breasts work well, but adjust cooking times accordingly.
- What if I don’t have buttermilk?
- You can make a substitute using milk and a tablespoon of lemon juice or vinegar.
- How do I store leftovers?
- Keep them in an airtight container in the fridge for up to 3 days. Reheat in the oven to maintain crispiness.
Serving Ideas for Homestyle Fried Chicken
Pair your homestyle fried chicken with creamy mashed potatoes and a side of crisp coleslaw for a classic meal. Add a touch of sweetness with a serving of cornbread or honey butter biscuits. For a refreshing contrast, a simple green salad with a tangy vinaigrette works wonders.
More Main Dishes Recipes
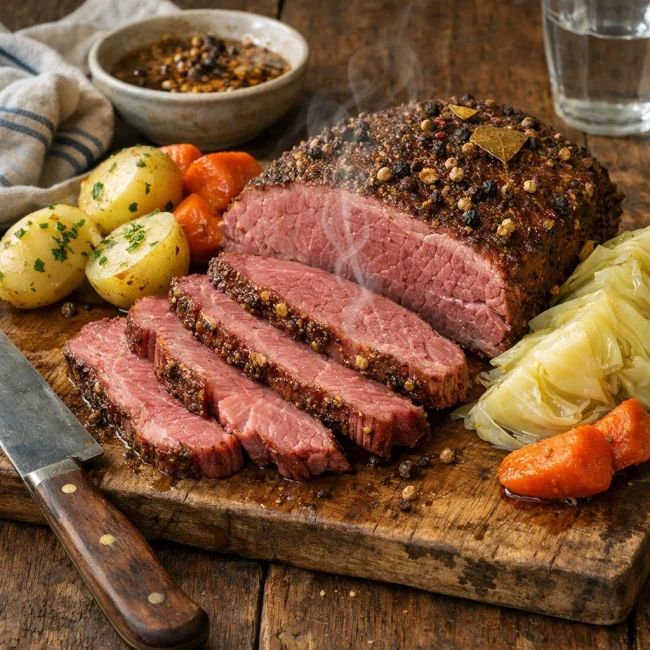
Unique Homemade Corned Beef
Discover the ultimate homemade corned beef recipe that balances rich flavors and t...
View Recipe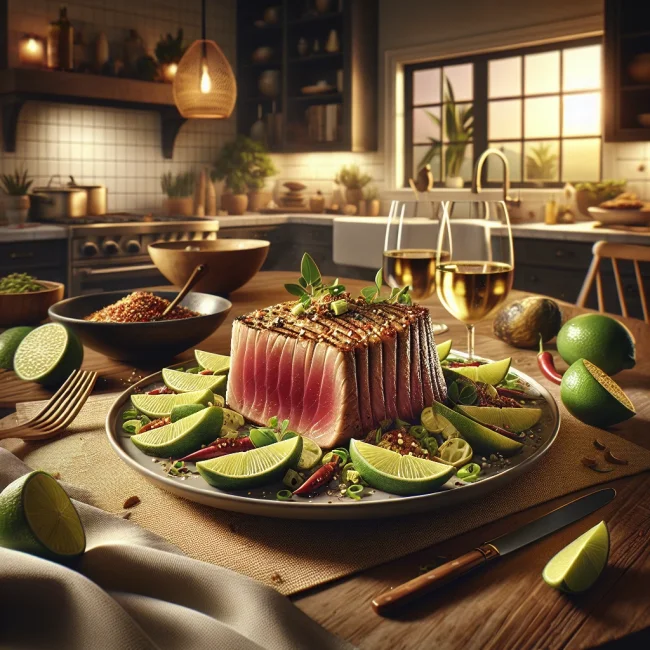
Spicy Lime Seared Ahi Tuna
Experience a burst of flavor with our Spicy Lime Seared Ahi Tuna, a perfect fusion...
View Recipe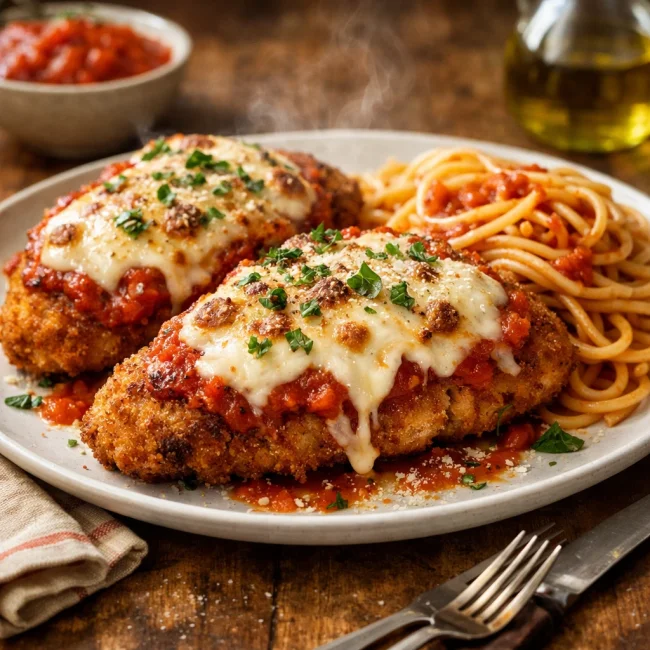
Traditional Chicken Parmesan
Savor the authentic taste of Italian cuisine with our Traditional Chicken Parmesan...
View Recipe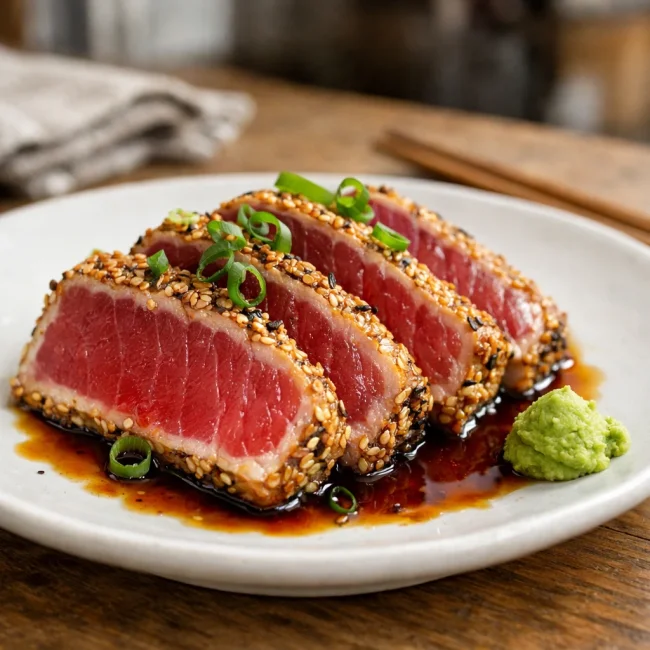
Seared Ahi Tuna
Experience the sublime taste of seared Ahi tuna, a Japanese-inspired dish that hig...
View Recipe