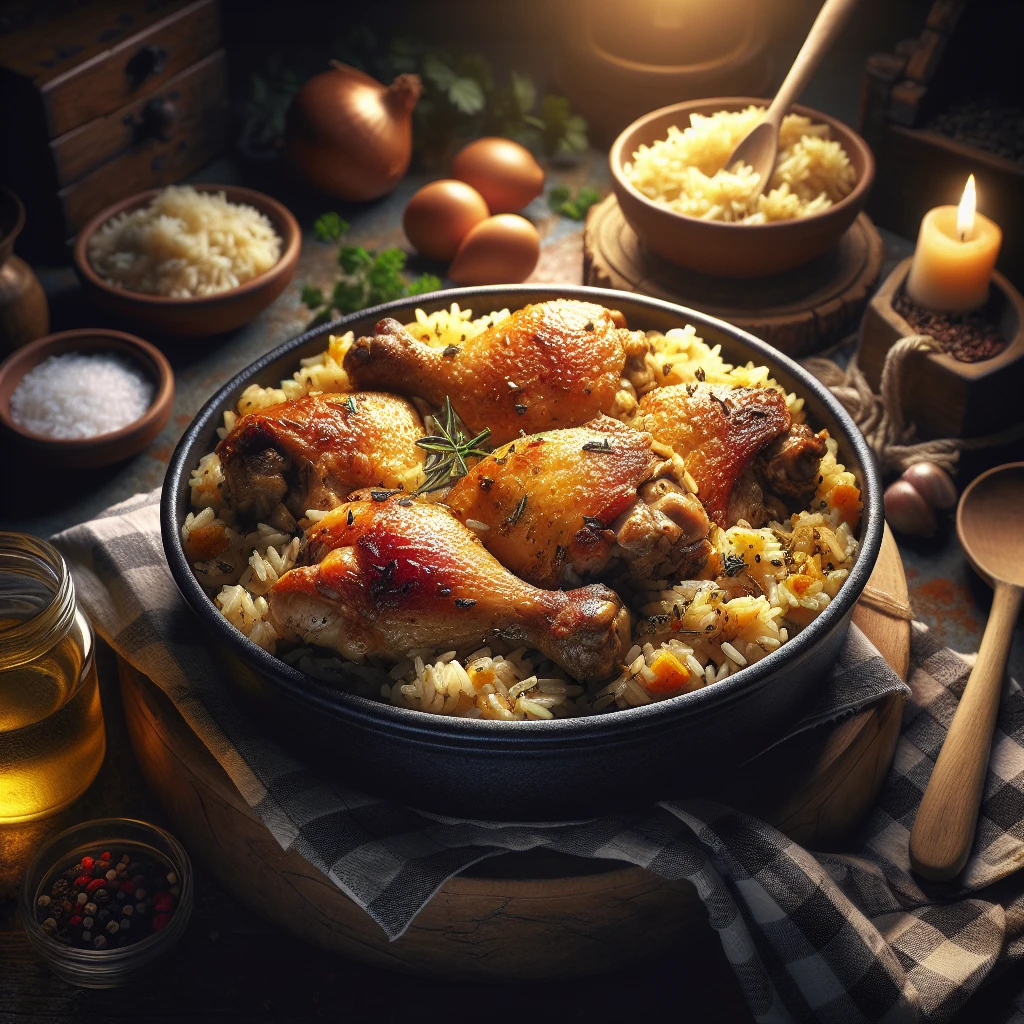
Homestyle Chicken and Rice
Homestyle Chicken and Rice is a comforting classic that brings warmth and satisfaction to any dinner table. With tender chicken, flavorful rice, and colorful veggies, it's a one-pan wonder perfect for weeknights or family gatherings. Let's dive into this delightful dish that's both hearty and easy to prepare!
This post may contain affiliate links. As an Amazon Associate, we earn from qualifying purchases.
Ingredients for Homestyle Chicken and Rice
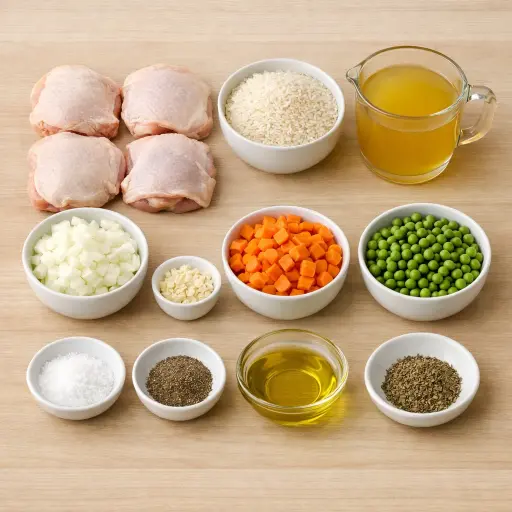
Chicken thighs provide rich flavor and stay juicy during cooking, thanks to the bone-in, skin-on cut. Long-grain white rice is perfect for absorbing the savory broth while maintaining a fluffy texture. Chicken broth adds depth and moisture to the dish. Onion and garlic form the aromatic base, enhancing the overall flavor profile. Carrots and peas contribute a touch of sweetness and vibrant color. Season everything with salt, black pepper, and dried thyme for a classic, comforting taste. Finally, olive oil is used for searing the chicken and sautéing the veggies, tying all the flavors together.
Why This Homestyle Chicken and Rice Works
At the start, the chicken thighs hit the hot pan and the skin browns. That browned skin acts like a little lid, so the juices stay inside the meat instead of running out into the pan. As the chicken sears, some fat melts out and stays in the skillet. That fat coats the onions, garlic, and rice, so they don’t dry out and the rice grains stay separate instead of clumping.
Once the broth goes in, the rice starts soaking up the liquid like a sponge. In the oven, the heat is steady, so the rice slowly drinks in the broth along with the chicken juices that drip down. Over time, the carrots soften in that same liquid, and the peas warm through without turning mushy. With the pan covered, the steam stays trapped, which keeps the chicken moist while the rice finishes cooking. By the end, the rice is tender and full of the chicken’s juices, and the thighs stay juicy under the crisped skin.
Homestyle Chicken and Rice Tips & Tricks
- For extra crispy skin, remove the cover during the last 10 minutes of baking.
- If you prefer brown rice, adjust the cooking time and add a bit more broth.
- Check the seasoning before baking; adding a pinch of salt or pepper can make a big difference.
Mistakes To Avoid
Starting with chicken that isn’t well-browned leaves a lot of fat trapped under the skin and very little flavor in the pan. The skin stays soft and rubbery instead of crisping, and the rice cooks in a weaker, greasier base, so the whole dish tastes flat and heavy instead of rich.
Pouring in the broth without scraping the browned bits from the bottom of the skillet means those stuck pieces burn in the oven. As the pan sits in the heat, those burnt spots turn bitter and can make the rice near them dark and hard.
Adding the rice without coating it in the oil and onion mixture leads to uneven cooking. Some grains soak up too much liquid and turn mushy, while others stay a bit firm and separate, so the texture of the rice comes out patchy instead of evenly tender.
Leaving the skillet uncovered in the oven lets too much steam escape. The top layer of rice dries out and can form a hard crust, while the liquid evaporates before the rice underneath has a chance to soften fully.
Equipment Used:
Ingredients
- 4 bone-in, skin-on chicken thighs
- 1 cup long-grain white rice
- 2 cups chicken broth
- 1 medium onion, chopped
- 2 cloves garlic, minced
- 1 cup carrots, diced
- 1 cup peas
- 1 tsp salt
- 1/2 tsp black pepper
- 2 tbsp olive oil
- 1 tsp dried thyme
Step-by-step Instructions
- 1. Preheat your oven to 375°F.
- 2. In a large oven-safe skillet, heat olive oil over medium-high heat. Add chicken thighs, skin-side down, and sear until golden brown, about 5 minutes. Flip and sear the other side for another 3 minutes.
- 3. Remove chicken from the skillet and set aside.
- 4. In the same skillet, add chopped onions and garlic. Sauté until onions are translucent, about 4 minutes.
- 5. Add rice to the skillet, stirring to coat with the oil and onion mixture.
- 6. Pour in chicken broth, then add carrots, peas, salt, pepper, and thyme. Stir well to combine.
- 7. Nestle the chicken thighs back into the skillet on top of the rice mixture.
- 8. Cover the skillet with a lid or aluminum foil and transfer to the preheated oven.
- 9. Bake for 35-40 minutes, or until the rice is tender and the chicken is cooked through.
- 10. Remove from oven and let rest for 5 minutes before serving.
Trending Now

Old-Fashioned Bread Pudding
Discover the classic charm of Old-Fashioned Bread Pudding - a timeless dessert com...
View Recipe
Traditional Italian Bruschetta
Experience the authentic taste of Italian bruschetta, a perfect blend of fresh tom...
View Recipe
Classic Banana Bread
Classic Banana Bread is a timeless dessert beloved for its moist texture and sweet...
View Recipe
Classic Green Beans
Discover the timeless delight of Classic Green Beans, a simple yet flavorful side ...
View RecipeFrequently Asked Questions
- Can I use boneless, skinless chicken thighs?
- Yes, but you might miss the extra flavor the bone and skin provide. Adjust the cooking time slightly as they cook faster.
- What if I don't have an oven-safe skillet?
- You can start on the stovetop and then transfer everything to a baking dish before placing it in the oven.
Serving Ideas for Homestyle Chicken and Rice
This dish pairs wonderfully with a simple green salad for a fresh contrast. A side of crusty bread is also great for soaking up the delicious juices. For a touch of zest, sprinkle some fresh lemon juice over the chicken just before serving.
More Rice Dishes Recipes
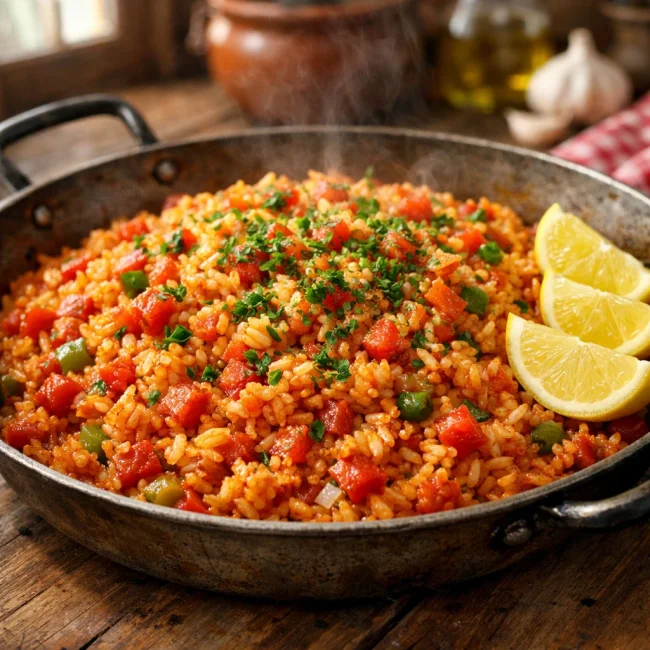
Traditional Spanish Rice
A rich and flavorful Spanish Rice made with aromatic spices and fresh vegetables, ...
View Recipe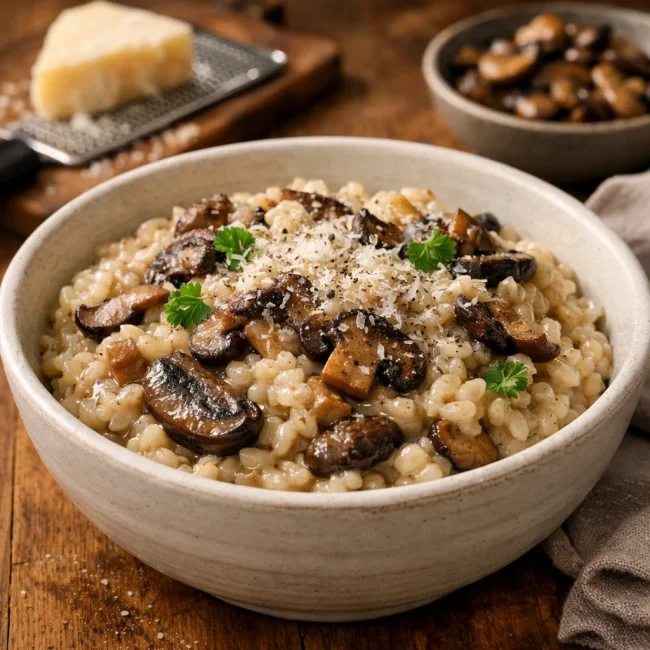
Creamy Mushroom Risotto
Indulge in this creamy mushroom risotto, a comforting dish perfect for warming bot...
View Recipe
Slow Cooker Risotto
Enjoy the creamy texture of risotto without constant stirring by using your slow c...
View Recipe
Cajun Fusion Jambalaya
An innovative twist on traditional jambalaya, combining bold Cajun spices with a f...
View Recipe