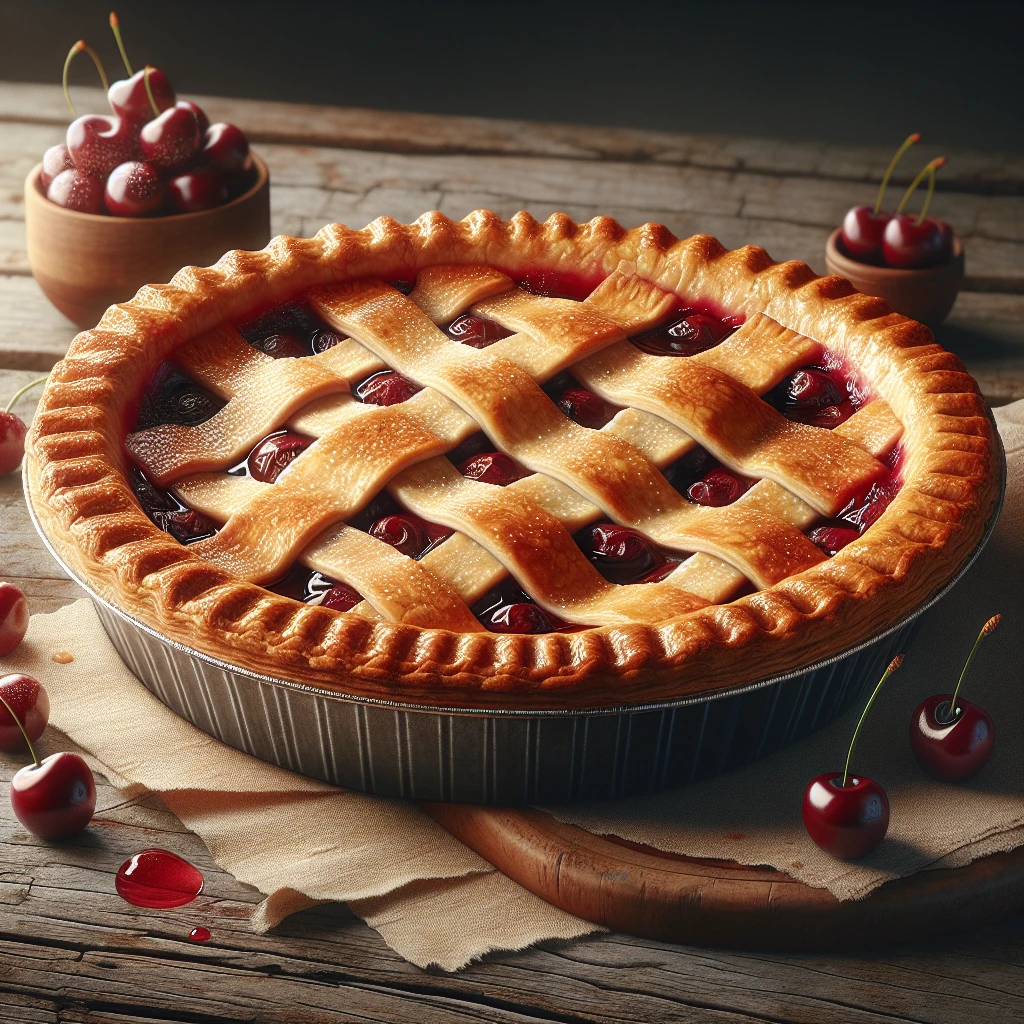
Homestyle Cherry Pie
Homestyle Cherry Pie is one of those classic desserts that evokes a sense of nostalgia with every bite. Whether you're using fresh tart cherries in the summer or frozen ones in the winter, this pie is a crowd-pleaser all year round. With a flaky crust and a perfectly sweet-tart filling, it's a recipe you’ll treasure.
This post may contain affiliate links. As an Amazon Associate, we earn from qualifying purchases.
Ingredients for Homestyle Cherry Pie

The sugar not only sweetens the pie but helps draw out the natural juices of the cherries. The tart cherries are the star of the show, providing that signature tangy flavor. Cornstarch is your thickening agent, ensuring the filling sets nicely without being runny. A hint of almond extract enhances the cherry flavor beautifully. A splash of lemon juice brightens everything up, and the butter adds richness and depth to the filling. Finally, an egg wash gives the crust a golden, glossy finish.
Why This Homestyle Cherry Pie Works
In the bowl, sugar coats the cherries and pulls out their juice. As the cherries sit, more juice comes out and mixes with the sugar and cornstarch. Once the pie goes into the hot oven, that juicy filling starts to bubble. The cornstarch swells up in that hot liquid and turns it from thin juice into a thick, glossy cherry filling that stays in place instead of running all over the plate.
Inside the crust, the hot filling keeps cooking the cherries until they soften but still hold their shape. The butter melts into the filling and gives it a smoother feel. Up top, the egg wash helps the crust brown and turn crisp while the slits let steam escape so the crust doesn’t puff up and crack. As the pie cools, the cornstarch sets even more, so the slices cut cleanly and the cherries stay in neat, jammy pockets inside the crust.
Homestyle Cherry Pie Tips & Tricks
- If using frozen cherries, thaw and drain them before using to prevent a soggy crust.
- For a decorative touch, use pie crust cutters to create shapes for the top crust.
- Chill the pie for an hour after baking to ensure clean slices.
Mistakes To Avoid
Letting the pie bake until the crust is very dark can seem safer for a thick filling, but the cherries keep bubbling and the cornstarch keeps tightening. The juices then cook down too much, so the filling turns stiff and gummy instead of soft and jammy, while the crust dries out and gets hard to cut.
Cutting tiny or no slits in the top crust traps steam inside. As the cherries release liquid and boil, the steam has nowhere to go, so the top crust can balloon, crack in random spots, and the filling often boils over instead of thickening evenly inside the pie.
Skipping the full cooling time means the pie is sliced while the filling is still very hot and loose. The cornstarch has not finished setting, so the juices run out onto the plate and the slices collapse instead of holding neat wedges.
Using sweet cherries instead of tart ones without reducing the sugar leaves the filling overly sweet and flat. The extra sugar pulls out more liquid from the fruit, so the filling can end up both too runny and oddly sticky.
Equipment Used:
Pie plate, Rolling pin, Pastry brush, Baking sheet, Wire rack
Ingredients
- 1 cup granulated sugar
- 4 cups pitted tart cherries
- 1/4 cup cornstarch
- 1/4 tsp almond extract
- 1 tbsp lemon juice
- 2 tbsp unsalted butter, diced
- 1 egg, beaten (for egg wash)
- 2 9-inch pie crusts, homemade or store-bought
Step-by-step Instructions
- 1. Preheat the oven to 425°F (220°C) and place a baking sheet on the lower rack.
- 2. In a large bowl, combine the sugar and cornstarch. Add the cherries, almond extract, and lemon juice, stirring gently to combine.
- 3. Roll out one pie crust and fit it into a 9-inch pie plate. Pour the cherry mixture into the crust, dotting with butter.
- 4. Roll out the second crust and place it over the filling. Trim, seal, and flute the edges. Cut slits in the top crust to allow steam to escape.
- 5. Brush the top crust with beaten egg.
- 6. Bake the pie on the preheated baking sheet for 45-50 minutes or until the crust is golden brown and the filling bubbles.
- 7. Let the pie cool completely on a wire rack before serving.
Trending Now

Classic Banana Bread
Classic Banana Bread is a timeless dessert beloved for its moist texture and sweet...
View Recipe
Classic Cucumber Salad
A refreshing and light cucumber salad featuring crisp cucumbers and a tangy vinaig...
View Recipe
Zesty Summer Squash Casserole
This delightful summer squash casserole combines vibrant garden-fresh vegetables w...
View Recipe
Traditional Dump Cake
Discover the timeless delight of the Traditional Dump Cake, a simple and scrumptio...
View RecipeFrequently Asked Questions
- Can I use sweet cherries instead of tart?
- Yes, but reduce the sugar by about 1/4 cup to balance the sweetness.
- How do I store leftovers?
- Cover the pie with plastic wrap and store it in the refrigerator for up to 4 days.
- Can I freeze this pie?
- Absolutely! Wrap it tightly in aluminum foil and freeze for up to 2 months. Thaw it overnight in the fridge before serving.
Serving Ideas for Homestyle Cherry Pie
This cherry pie pairs wonderfully with a scoop of vanilla ice cream or a dollop of freshly whipped cream. For a more decadent treat, drizzle a bit of chocolate sauce over each slice. It's also delightful with a side of mixed berry compote.
More Desserts Recipes

Rustic Vanilla Peach Cobbler
This rustic vanilla peach cobbler combines a rich, buttery crust with the sweet, v...
View Recipe
Traditional Lemon Curd
A classic, tangy lemon curd that is perfect for enhancing desserts, breakfast dish...
View Recipe
Traditional Cream Cheese Pie
A delightful and timeless dessert, Traditional Cream Cheese Pie offers a rich and ...
View Recipe
Timeless Cream Puff Delight
Indulge in a delectable Timeless Cream Puff Delight, a classic dessert featuring a...
View Recipe