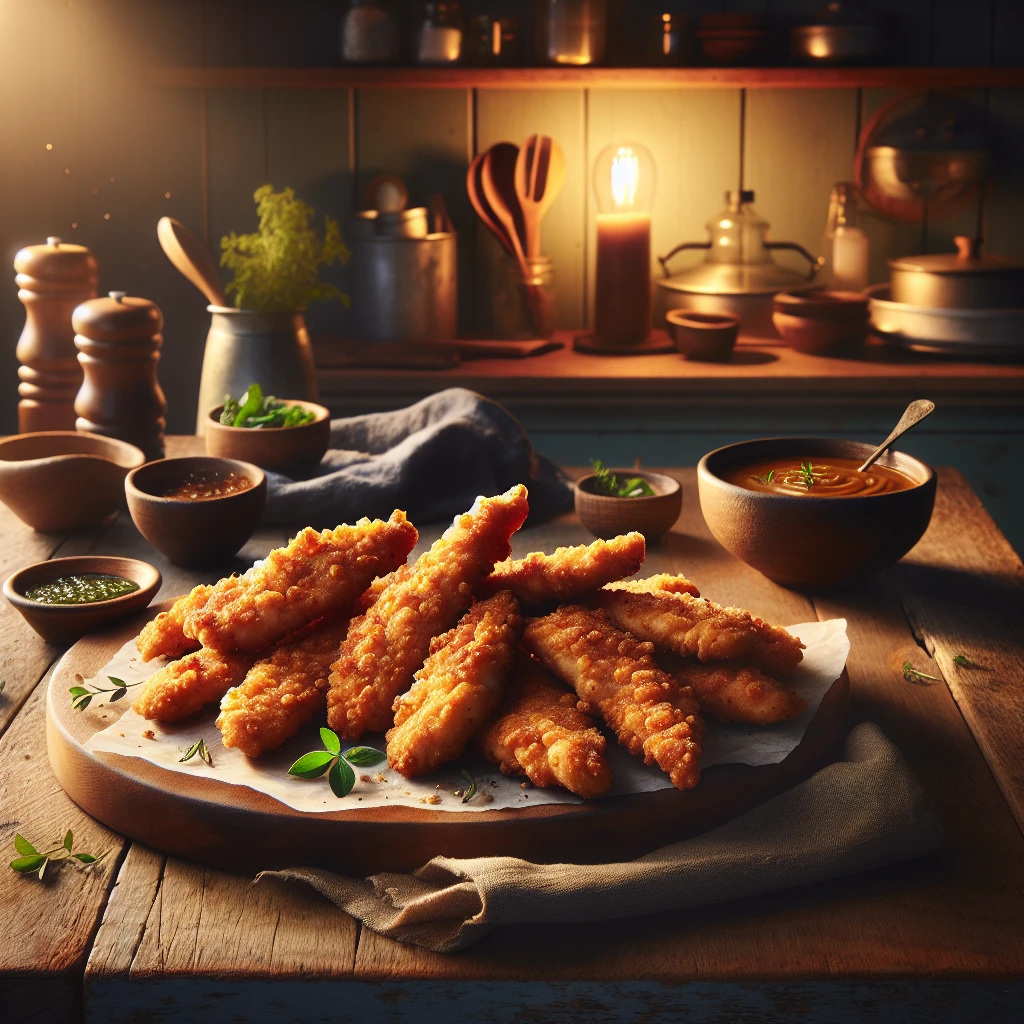
Heritage-Style Oven Baked Chicken Tenders
If you're looking for a family-friendly meal that feels like a warm hug from your kitchen, these Heritage-Style Oven Baked Chicken Tenders are just the thing. Lightly crispy on the outside and juicy on the inside, they're a go-to for busy weeknights or casual gatherings.
This post may contain affiliate links. As an Amazon Associate, we earn from qualifying purchases.
Ingredients for Heritage-Style Oven Baked Chicken Tenders
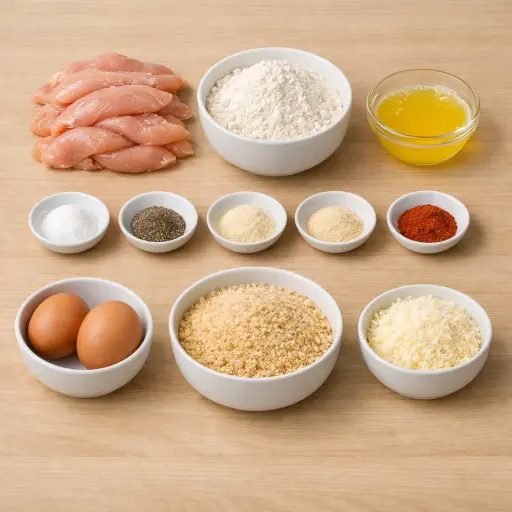
Let's start with the star of the dish: chicken tenderloins. They're naturally tender and quick to cook, making them ideal for this recipe. The all-purpose flour provides the base for our dredging process, allowing the seasonings to adhere to the chicken.
Salt, black pepper, garlic powder, onion powder, and paprika come together to create a flavorful seasoning mix that gives the tenders a delicious kick. Eggs act as the binding agent to ensure the breadcrumb mixture sticks to the chicken, while the breadcrumbs and grated Parmesan cheese add a crispy, cheesy coating. Finally, melted butter drizzled over the top helps achieve that golden finish in the oven.
Why This Heritage-Style Oven Baked Chicken Tenders Works
In the oven, the chicken is wrapped in layers that protect it. First the flour sticks to the outside and grabs onto the egg. Then the egg holds on to the breadcrumb and Parmesan coating. All of this forms a shell around the tenderloins. As the chicken heats up, its juices stay inside instead of running out onto the pan, so the meat stays moist and soft.
During baking, the breadcrumbs and cheese on the outside dry out and crisp up. The butter drizzled over the top melts and soaks into that coating. That fat keeps the crumbs from drying out too hard and helps them brown in spots. By the time the tenders are done, the outside has turned golden and crunchy, while the inside has just cooked through and stays tender instead of stringy or tough.
Heritage-Style Oven Baked Chicken Tenders Tips & Tricks
- If you have time, let the coated tenders rest in the fridge for 10-15 minutes before baking. This helps the coating adhere better during cooking.
- For extra crunch, use panko breadcrumbs instead of regular ones.
- Adjust the seasoning to your taste—add a pinch of cayenne for a spicy kick or some Italian herbs for an aromatic twist.
Mistakes To Avoid
Letting the chicken bake too long dries the tenderloins out. The outside turns hard and the breadcrumb coating gets tough and almost sandy, while the inside becomes stringy instead of juicy. The tenders end up needing a lot of sauce just to be pleasant to eat.
Skipping the flour step often leads to a patchy coating. Without that dry layer, the egg slides off the slick chicken in spots, so the breadcrumbs don’t stick evenly. The finished tenders come out with bare, pale areas and the crust can peel off in sheets.
Crowding the baking sheet makes the tenders steam instead of crisp. When they sit too close, moisture stays trapped around them, so the coating softens and the bottoms stay pale. The result is chicken that’s cooked through but with a soft, bready outside instead of a firm, crunchy one.
Pouring all the melted butter in one spot causes uneven browning. Some tenders sit in a greasy puddle and turn soggy on the bottom, while others stay dry and never get that deep golden color.
Equipment Used:
Ingredients
- 1 lb chicken tenderloins
- 1 cup all-purpose flour
- 1 tsp salt
- 1/2 tsp black pepper
- 1/2 tsp garlic powder
- 1/2 tsp onion powder
- 1/2 tsp paprika
- 2 large eggs
- 1 cup breadcrumbs
- 1/2 cup grated Parmesan cheese
- 1/4 cup melted butter
Step-by-step Instructions
- 1. Preheat your oven to 400°F (200°C). Line a baking sheet with parchment paper.
- 2. In a shallow dish, combine flour, salt, black pepper, garlic powder, onion powder, and paprika.
- 3. In another bowl, beat the eggs.
- 4. In a third dish, mix breadcrumbs and Parmesan cheese.
- 5. Dredge each chicken tenderloin in the flour mixture, shaking off excess. Dip into the beaten eggs, then coat with the breadcrumb mixture, pressing to adhere.
- 6. Place the tenders on the prepared baking sheet and drizzle melted butter over them.
- 7. Bake in the preheated oven for 15-20 minutes, or until golden and cooked through, turning once halfway through baking.
Trending Now

Old-Fashioned Bread Pudding
Discover the classic charm of Old-Fashioned Bread Pudding - a timeless dessert com...
View Recipe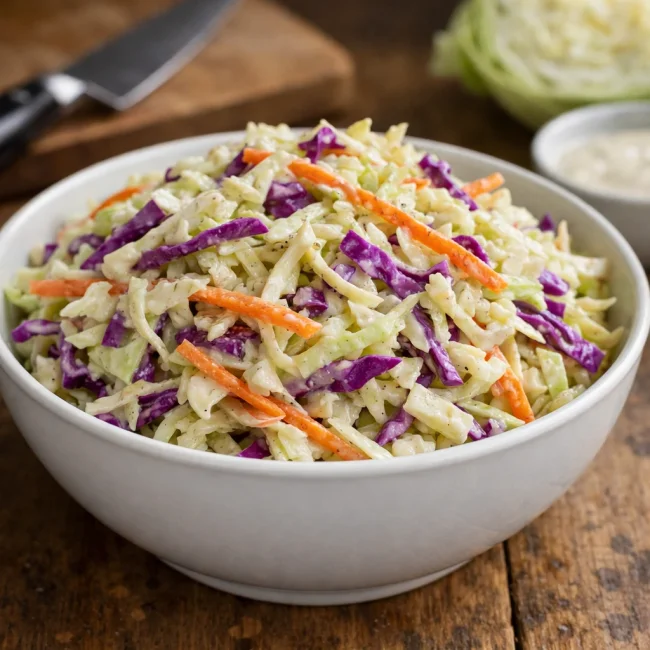
Traditional Crisp Coleslaw
A classic coleslaw recipe featuring finely shredded cabbage and carrots tossed in ...
View Recipe
Traditional Italian Bruschetta
Experience the authentic taste of Italian bruschetta, a perfect blend of fresh tom...
View Recipe
Classic Banana Bread
Classic Banana Bread is a timeless dessert beloved for its moist texture and sweet...
View RecipeFrequently Asked Questions
- Can I use chicken breast instead of tenderloins?
- Yes, you can cut chicken breasts into strips if you don't have tenderloins. Just be mindful of the cooking time, as it may vary slightly.
- How do I store leftovers?
- Store them in an airtight container in the fridge for up to 3 days. Reheat in the oven or air fryer to maintain crispiness.
- Can these be frozen?
- Absolutely! Freeze them on a baking sheet before storing in a freezer bag or container. Bake from frozen, adding a few extra minutes to the cooking time.
Serving Ideas for Heritage-Style Oven Baked Chicken Tenders
These chicken tenders pair wonderfully with a fresh green salad or your favorite roasted vegetables for a balanced meal. For a kid-friendly option, serve them with homemade fries and a side of honey mustard or ketchup for dipping. They also make a great addition to a party platter alongside some fresh veggies and a creamy ranch dip.
More Main Dishes Recipes
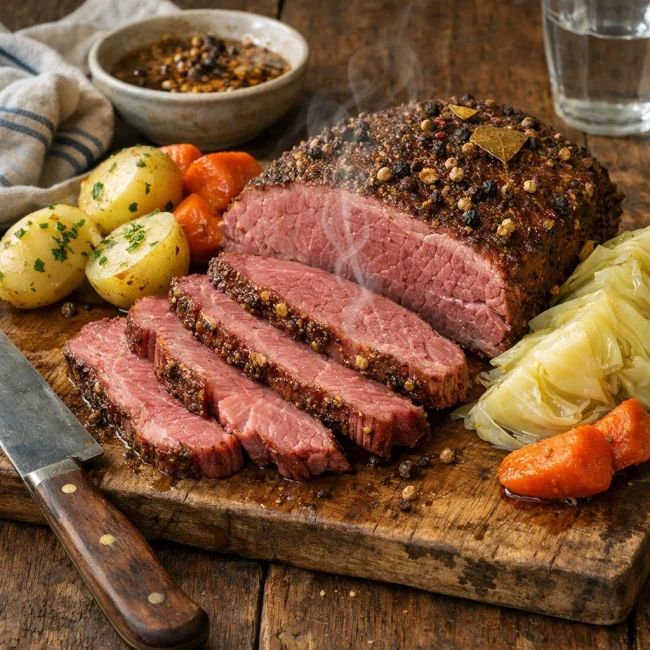
Unique Homemade Corned Beef
Discover the ultimate homemade corned beef recipe that balances rich flavors and t...
View Recipe
Spicy Lime Seared Ahi Tuna
Experience a burst of flavor with our Spicy Lime Seared Ahi Tuna, a perfect fusion...
View Recipe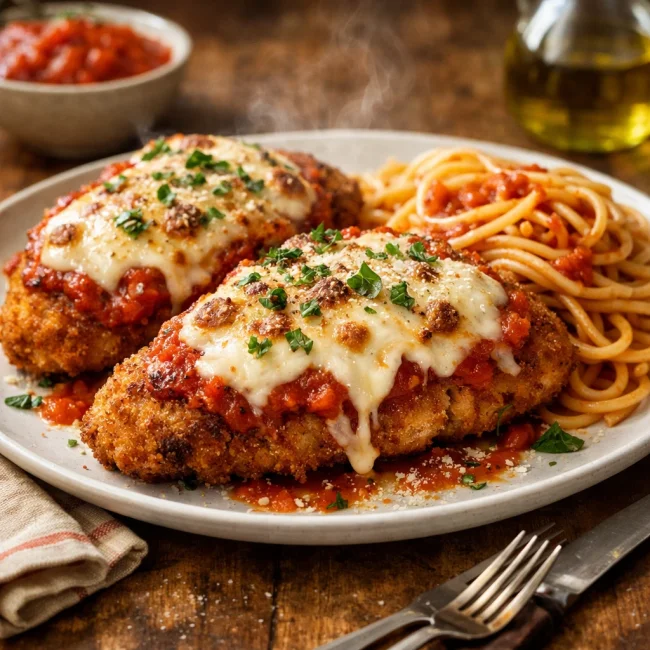
Traditional Chicken Parmesan
Savor the authentic taste of Italian cuisine with our Traditional Chicken Parmesan...
View Recipe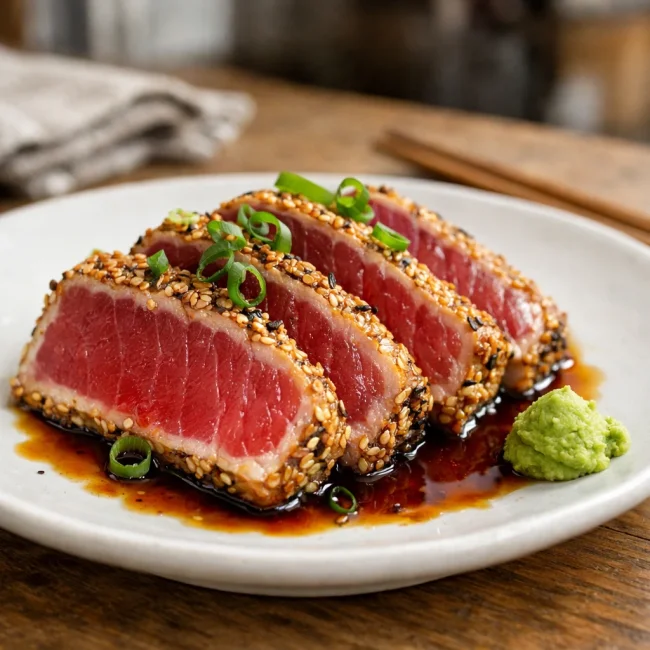
Seared Ahi Tuna
Experience the sublime taste of seared Ahi tuna, a Japanese-inspired dish that hig...
View Recipe