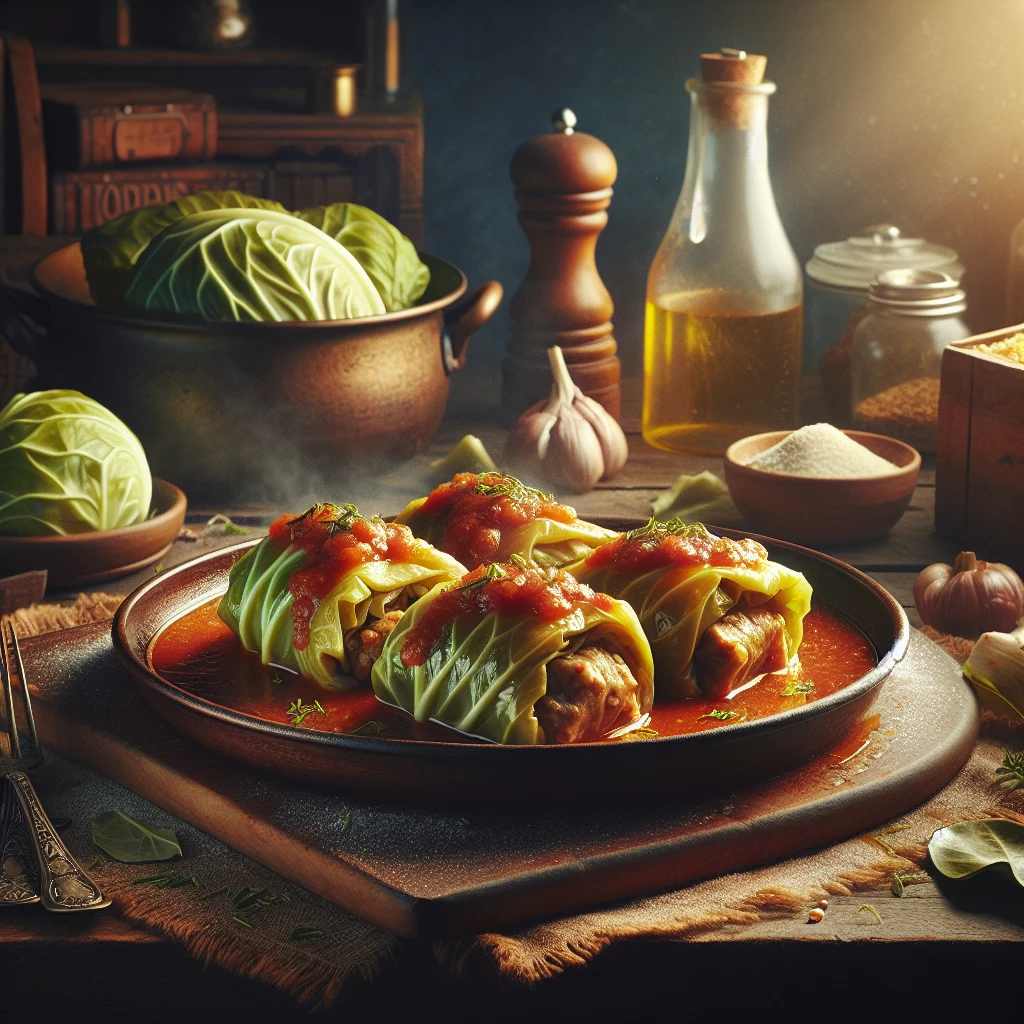
Heritage Stuffed Cabbage Rolls
If you're craving a dish that’s both comforting and rich in family tradition, then these Heritage Stuffed Cabbage Rolls are a must-try. This recipe is a delightful blend of savory meats, fragrant herbs, and a sweet-tangy tomato sauce that’ll have you reminiscing about the good old days.
This post may contain affiliate links. As an Amazon Associate, we earn from qualifying purchases.
Ingredients for Heritage Stuffed Cabbage Rolls
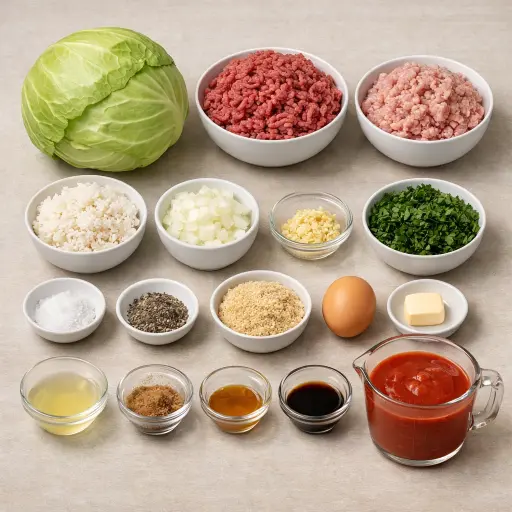
The star of the show is the cabbage, providing a tender yet sturdy vessel for the filling. The combination of ground beef and ground pork offers a rich and juicy base. Adding cooked rice helps bind the filling together while making it more hearty.
Diced onion and garlic bring a depth of flavor, while fresh parsley adds a touch of brightness. The breadcrumbs and egg work as binders, holding everything in place. For the sauce, tomato sauce, lemon juice, brown sugar, and Worcestershire sauce create a sweet and tangy glaze that complements the rolls perfectly. Beef broth is added to enhance the savory notes.
Why This Heritage Stuffed Cabbage Rolls Works
During boiling, the cabbage leaves loosen and soften so they bend instead of crack. That makes them easy to roll around the filling and they stay wrapped in the pan. As the rolls bake, the meat, rice, and breadcrumbs inside warm up slowly. The egg sets and the breadcrumbs swell a bit, so the filling holds together in neat slices instead of falling apart.
In the oven, the tomato sauce, beef broth, and meat juices sink down into the rice and meat. The cabbage on the outside acts like a little lid, so the steam stays around each roll and keeps the beef and pork moist instead of drying out. Over the hour in the oven, the cabbage keeps getting more tender, and the rice inside soaks up some of the liquid.
By the time the foil comes off, the rolls are already cooked through. Those last minutes let the sauce bubble and thicken on top, so it clings to the cabbage instead of running all over the plate.
Heritage Stuffed Cabbage Rolls Tips & Tricks
- Use a sharp knife to core the cabbage easily, or even a melon baller.
- Leftover filling can be frozen for future use.
- Consider using a mix of canned and fresh tomatoes for a more robust sauce.
Mistakes To Avoid
Boiling the cabbage too little leaves the leaves stiff and springy, so they crack when rolled. Once in the oven, those cracks open up more and the filling leaks out into the sauce instead of staying inside the rolls.
On the other hand, letting the cabbage boil forever turns the leaves mushy and weak. They tear as soon as the filling is added, and in the dish they collapse into flat layers instead of holding a neat roll shape.
Packing the meat mixture into the leaves too tightly makes very dense rolls. In the oven, the center heats slowly and can stay slightly undercooked while the outside overcooks and turns tough.
Skipping the egg or breadcrumbs in the filling often leads to loose, crumbly rolls. As they bake, the meat and rice separate and spill out into the sauce, so the rolls lose their shape and slice apart in chunks.
Pouring only a thin layer of sauce in the dish leaves the tops of the rolls exposed. Those top parts dry out and go leathery while the bottoms sit in liquid and stay much softer, giving uneven texture.
Equipment Used:
Ingredients
- 1 large head of cabbage
- 1 lb ground beef
- 1/2 lb ground pork
- 1 cup cooked rice
- 1/2 cup diced onion
- 2 cloves garlic, minced
- 1/4 cup fresh parsley, chopped
- 1 tsp salt
- 1/2 tsp black pepper
- 1/4 cup breadcrumbs
- 1 egg
- 2 cups tomato sauce
- 1 tbsp lemon juice
- 1 tbsp brown sugar
- 1 tsp Worcestershire sauce
- 1/2 cup beef broth
Step-by-step Instructions
- 1. Preheat oven to 350°F.
- 2. Core the cabbage and place it in a large pot of boiling water; cook until leaves are soft, about 8-10 minutes. Drain and let cool.
- 3. In a large bowl, combine ground beef, ground pork, cooked rice, onion, garlic, parsley, salt, pepper, breadcrumbs, and egg. Mix until well combined.
- 4. Gently peel cabbage leaves and place a few spoonfuls of the meat mixture in the center of each leaf. Roll tightly and tuck in the ends.
- 5. In a separate bowl, mix together tomato sauce, lemon juice, brown sugar, Worcestershire sauce, and beef broth.
- 6. Place cabbage rolls seam side down in a baking dish. Pour tomato sauce mixture over the rolls.
- 7. Cover the dish with foil and bake in preheated oven for 1 hour.
- 8. Remove foil and bake for an additional 15 minutes, or until sauce is thickened and rolls are cooked through.
Trending Now

Classic Banana Bread
Classic Banana Bread is a timeless dessert beloved for its moist texture and sweet...
View Recipe
Classic Cucumber Salad
A refreshing and light cucumber salad featuring crisp cucumbers and a tangy vinaig...
View Recipe
Zesty Summer Squash Casserole
This delightful summer squash casserole combines vibrant garden-fresh vegetables w...
View Recipe
Traditional Dump Cake
Discover the timeless delight of the Traditional Dump Cake, a simple and scrumptio...
View RecipeFrequently Asked Questions
- Can I use all beef instead of a beef-pork mix?
- Absolutely, though the pork adds a nice richness, feel free to use all beef if you prefer.
- How do I store leftovers?
- Keep them in an airtight container in the fridge for up to 3 days, or freeze for up to 3 months.
Serving Ideas for Heritage Stuffed Cabbage Rolls
These stuffed cabbage rolls pair beautifully with creamy mashed potatoes or a side of crusty bread to soak up that delicious sauce. A light cucumber salad can also provide a refreshing contrast to the hearty rolls.
More Main Dishes Recipes
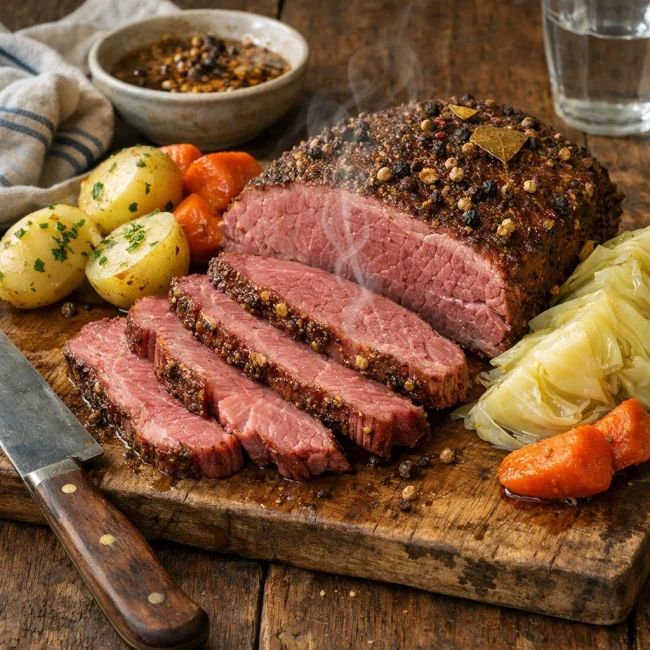
Unique Homemade Corned Beef
Discover the ultimate homemade corned beef recipe that balances rich flavors and t...
View Recipe
Spicy Lime Seared Ahi Tuna
Experience a burst of flavor with our Spicy Lime Seared Ahi Tuna, a perfect fusion...
View Recipe
Traditional Chicken Parmesan
Savor the authentic taste of Italian cuisine with our Traditional Chicken Parmesan...
View Recipe
Seared Ahi Tuna
Experience the sublime taste of seared Ahi tuna, a Japanese-inspired dish that hig...
View Recipe