Graduation Cap Cupcakes
Graduation Cap Cupcakes are the perfect way to celebrate a milestone with a sweet, playful touch. These delightful treats combine classic flavors with a whimsical design, making them a hit at any graduation party.

This post may contain affiliate links. As an Amazon Associate, we earn from qualifying purchases.
Ingredients for Graduation Cap Cupcakes
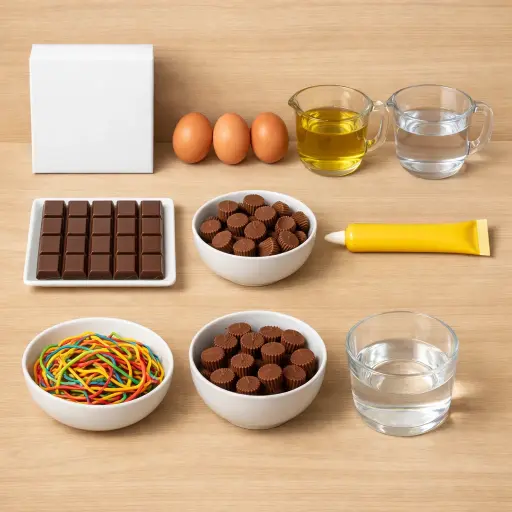
The base of our cupcakes starts with a vanilla cake mix, providing a reliable and fluffy texture without the fuss. Eggs add richness and structure, while vegetable oil ensures a moist crumb. Water helps bring it all together, creating a smooth batter ready for baking. For the graduation cap, chocolate squares serve as the mortarboard, paired with mini peanut butter cups for the base. Yellow decorating icing acts as our edible glue and decoration, while small colorful candy strings add the finishing tassel touch.
Why This Graduation Cap Cupcakes Works
In the oven, the cake batter heats up and the eggs start to set. As that happens, the batter puffs up and holds its shape instead of sinking. The oil spreads through the cake and keeps the crumb soft, so the cupcakes stay moist even after they cool. Boxed cake mix is made to rise evenly, so each cupcake bakes up about the same size and height, which makes stacking the “caps” on top much easier.
After baking, cooling time matters. While the cupcakes cool, the steam inside escapes and the tops dry out a bit. That firmer surface keeps the peanut butter cups from sliding around. The peanut butter cups go on upside down to give a flat, sturdy base, and the chocolate squares sit on top like little tiles. The yellow icing works like glue. It sticks to both the chocolate and the candy strings, then firms up as it sits, so the tassels stay in place and the whole cap holds together when someone picks up a cupcake.
Graduation Cap Cupcakes Tips & Tricks
- Use a piping bag for the icing to ensure precise application.
- If your chocolate squares are too thick, gently warm them in your hands to soften slightly before placing them on the peanut butter cups.
- Chill the cupcakes for a few minutes if the icing seems too runny, especially during warmer months.
Mistakes To Avoid
Overbaking the cupcakes dries them out, so the tops turn hard and the crumb becomes crumbly instead of soft. Once they cool, the peanut butter cups and chocolate squares don’t sit nicely and can crack or tilt because the surface is too tough.
Pouring the batter unevenly into the molds leads to cupcakes that bake at different speeds. Some end up undercooked in the center and sink as they cool, while others rise too high and make it hard to balance the “caps” on top.
Skipping the full cooling time often causes trouble when building the caps. Warm cupcake tops soften the peanut butter cups and chocolate squares, so they slide around or start to melt, and the decorations won’t stay stacked.
Using too much decorating icing between the peanut butter cup and chocolate square makes the cap top heavy and wobbly. The chocolate square can slowly slide off or sit at an angle instead of looking flat and neat.
Equipment Used:
Ingredients
- 1 box of vanilla cake mix
- 3 large eggs
- 1/2 cup vegetable oil
- 1 cup water
- 24 chocolate squares
- 1 tube of yellow decorating icing
- 24 mini peanut butter cups
- 24 small colorful candy strings
Step-by-step Instructions
- 1. Preheat your oven to 350°F and line 24 cupcake molds with paper liners.
- 2. In a large bowl, mix the cake mix, eggs, oil, and water until smooth.
- 3. Pour the batter into the prepared cupcake molds, filling each about 2/3 full.
- 4. Bake for 18-20 minutes or until a toothpick inserted comes out clean. Let cool completely.
- 5. Once cooled, place a mini peanut butter cup upside down on each cupcake.
- 6. Gently attach a chocolate square on top of each peanut butter cup using a dab of yellow decorating icing.
- 7. Use the yellow icing to create a small dot in the center of each chocolate square, attaching a colorful candy string as the tassel.
- 8. Allow the icing to set before serving.
Trending Now
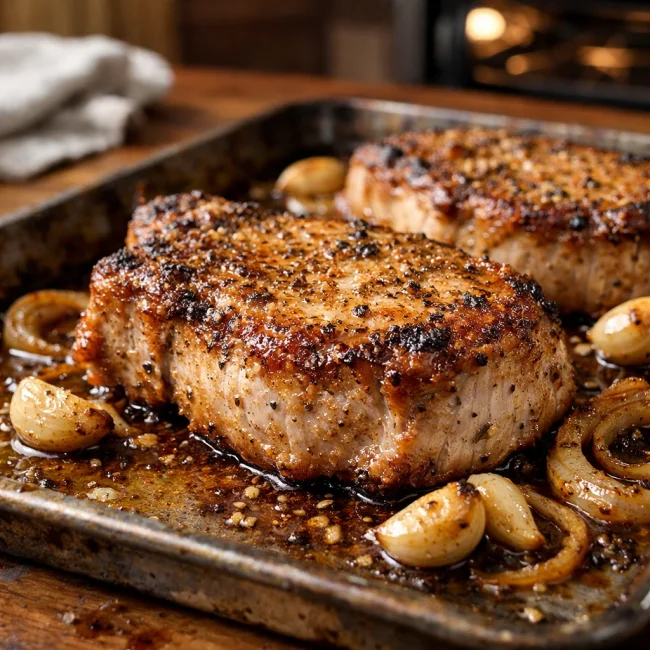
Oven-Baked Pork Chops
Enjoy a delightful dinner with these tender and juicy oven-baked pork chops, seaso...
View Recipe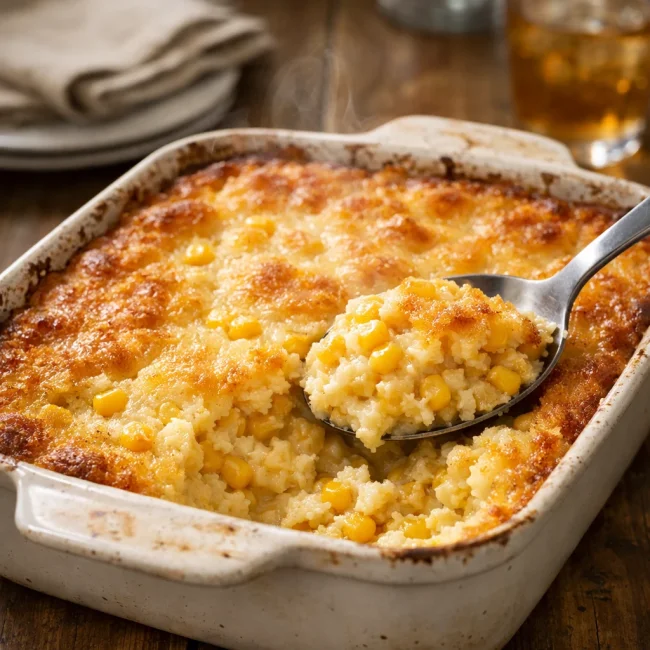
Traditional Corn Casserole
A delightful corn casserole dish that embodies the comforting flavors of sweet cor...
View Recipe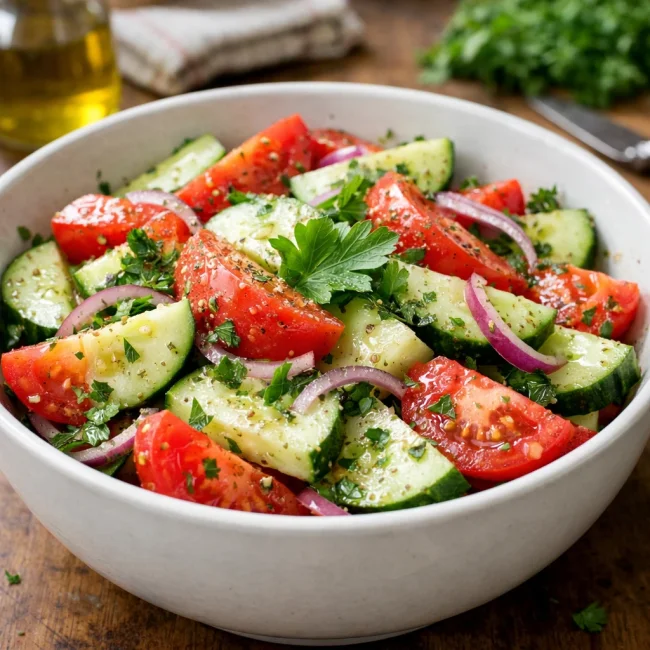
Traditional Cucumber and Tomato Salad
A refreshing and simple salad combining crisp cucumbers and juicy tomatoes, season...
View Recipe
Savory Zucchini Bread
Savory Zucchini Bread is a delectable twist on traditional zucchini recipes, combi...
View RecipeFrequently Asked Questions
- Can I use a different cake mix flavor?
- Absolutely! Chocolate or red velvet would be delicious alternatives.
- How far in advance can I make these?
- These cupcakes can be made a day in advance. Just store them in an airtight container to keep them fresh.
- What if I can't find candy strings?
- You can use thin licorice or even a small piece of fruit leather as a substitute.
Serving Ideas for Graduation Cap Cupcakes
These cupcakes are a delightful addition to a graduation party dessert table. Pair them with a bright, fruity punch to complement their sweetness. For a more elegant touch, serve alongside a platter of fresh berries and a light vanilla cream dip.
More Desserts Recipes

Rustic Vanilla Peach Cobbler
This rustic vanilla peach cobbler combines a rich, buttery crust with the sweet, v...
View Recipe
Traditional Lemon Curd
A classic, tangy lemon curd that is perfect for enhancing desserts, breakfast dish...
View Recipe
Traditional Cream Cheese Pie
A delightful and timeless dessert, Traditional Cream Cheese Pie offers a rich and ...
View Recipe
Timeless Cream Puff Delight
Indulge in a delectable Timeless Cream Puff Delight, a classic dessert featuring a...
View Recipe