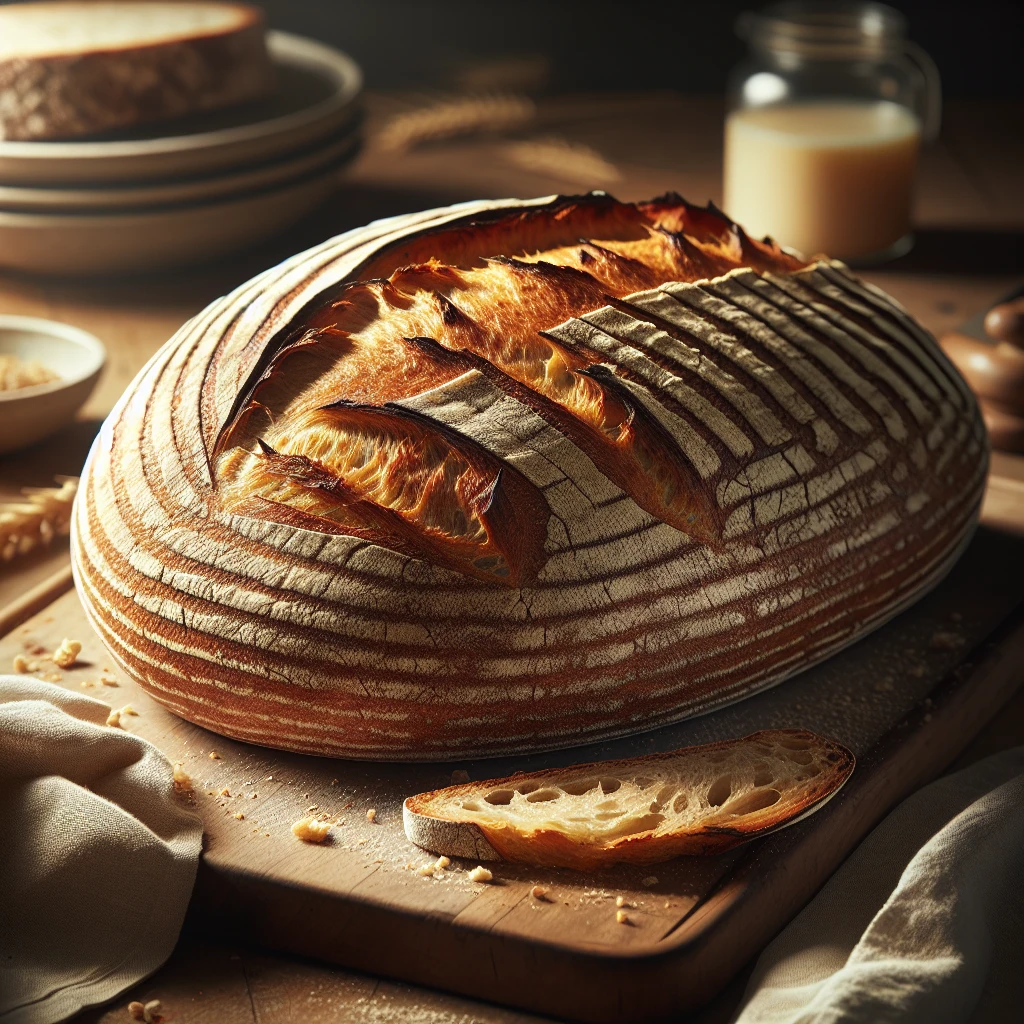
Gluten-Free Sourdough Bread
Gluten-Free Sourdough Bread is a game-changer for anyone avoiding gluten but missing the rustic charm of homemade bread. This recipe captures the delightful tanginess and chewy texture of traditional sourdough without the gluten, making it a must-try for those with dietary restrictions.
This post may contain affiliate links. As an Amazon Associate, we earn from qualifying purchases.
Ingredients for Gluten-Free Sourdough Bread
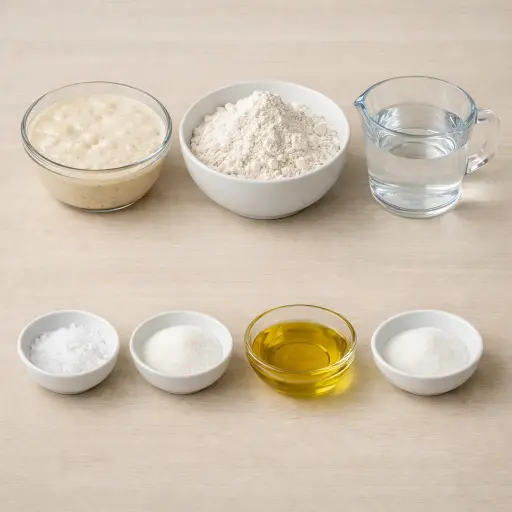
The backbone of this recipe is the gluten-free sourdough starter, which provides the natural yeast and sour flavor we love. Our gluten-free all-purpose flour blend is crucial for structure, while water helps bind everything together. Sea salt enhances flavor and controls yeast activity. Olive oil adds a touch of richness and helps prevent sticking. Lastly, a pinch of sugar feeds the yeast, encouraging a good rise.
Why This Gluten-Free Sourdough Bread Works
During the long rest and rise, the gluten-free sourdough starter has time to spread through the flour and water. Tiny bubbles form all through the sticky dough, and that trapped gas is what lifts the bread later. The short rest before adding salt lets the flour soak up the water, so the dough feels less wet and starts to hold together better, even without gluten.
Once the salt goes in, the dough tightens up a bit and stays in shape. A little olive oil on the surface keeps it from sticking and also keeps the outside from drying out while it rises. Over several hours, the dough slowly puffs up and becomes lighter inside, instead of dense and heavy.
In the hot Dutch oven, the dough hits a blast of heat while it is still moist. Steam forms around the loaf and inside it, so the bread can rise more before the crust sets. After the lid comes off, the outside dries and browns, turning crisp, while the inside stays soft and chewy.
Gluten-Free Sourdough Bread Tips & Tricks
- Keep your starter healthy by feeding it regularly, even when not baking.
- For best results, use a kitchen scale for precise measurements.
- If the dough feels too sticky, add a little more flour, but do so sparingly.
- Make sure your Dutch oven is blazing hot before adding the dough to achieve the best crust.
Mistakes To Avoid
Using a weak or unfed gluten-free starter leads to dough that barely rises. The mixture stays heavy and pasty during the 4–6 hour rise, so it goes into the oven dense and flat. The finished loaf comes out gummy in the center with a tight, heavy crumb instead of an airy one.
Adding the salt at the beginning instead of after the first rest can slow the starter down too much. The dough never gets as puffy as it should, and it feels stiff instead of slightly stretchy. The baked bread then turns out compact and tough, with very small, uneven holes.
Letting the dough rise far beyond the 4–6 hours causes it to overproof. The surface may look very bubbly and fragile, and it can collapse when moved into the Dutch oven. In the oven it spreads out instead of lifting up, giving a flat, wide loaf with a chewy, slightly wet interior.
Skipping the preheated Dutch oven or putting the dough into a cold pot keeps the crust from forming fast enough. The loaf dries out slowly instead of getting a quick burst of steam and heat. The result is a pale, hard crust and a center that can stay a bit doughy.
Equipment Used:
Mixing bowl, Dutch oven, Parchment paper, Sharp knife or lame
Ingredients
- 1 cup gluten-free sourdough starter
- 2 cups gluten-free all-purpose flour blend
- 1 cup water
- 1 teaspoon sea salt
- 1 tablespoon olive oil
- 1 teaspoon sugar
Step-by-step Instructions
- 1. Feed your gluten-free sourdough starter 4-8 hours before you plan to make the dough, ensuring it is active and bubbly.
- 2. In a large bowl, combine the gluten-free sourdough starter, gluten-free flour blend, and water. Mix until a sticky dough forms.
- 3. Cover the bowl with a damp cloth and let it rest at room temperature for 30 minutes.
- 4. After resting, sprinkle salt over the dough and mix it in using your hands or a dough whisk.
- 5. Lightly oil your work surface with olive oil, then turn the dough out onto it. Knead gently for a few minutes until smooth, adding olive oil as needed to prevent sticking.
- 6. Shape the dough into a ball and place it in a lightly oiled bowl. Cover with a damp cloth and let it rise at room temperature for 4-6 hours until doubled in size.
- 7. Preheat your oven to 450°F (230°C) and place a Dutch oven inside to heat.
- 8. Once preheated, carefully remove the Dutch oven, place a piece of parchment paper on the bottom, and transfer the dough into the hot pot.
- 9. Score the top of the dough with a sharp knife or lame.
- 10. Cover the Dutch oven with its lid and bake for 25 minutes. Remove the lid and bake for an additional 20 minutes, or until the crust is golden brown and crisp.
- 11. Remove bread from the oven and let cool completely on a wire rack before slicing.
Trending Now

Traditional Crisp Coleslaw
A classic coleslaw recipe featuring finely shredded cabbage and carrots tossed in ...
View Recipe
Traditional Italian Bruschetta
Experience the authentic taste of Italian bruschetta, a perfect blend of fresh tom...
View Recipe
Old-Fashioned Bread Pudding
Discover the classic charm of Old-Fashioned Bread Pudding - a timeless dessert com...
View Recipe
Classic Green Beans
Discover the timeless delight of Classic Green Beans, a simple yet flavorful side ...
View RecipeFrequently Asked Questions
- Can I use a different gluten-free flour blend?
- Yes, but ensure it's a blend designed for bread for best results.
- How do I know my starter is ready?
- It should be bubbly and have doubled in volume after feeding.
- Can I freeze this bread?
- Absolutely! Let it cool completely, slice, and freeze in a sealed bag.
Serving Ideas for Gluten-Free Sourdough Bread
This bread pairs wonderfully with a hearty soup or stew. It also makes for excellent sandwiches, especially with roasted veggies or a slice of fresh mozzarella and tomatoes. For breakfast, try it toasted with avocado and a sprinkle of salt.
More Breads & Baked Goods Recipes

Traditional Italian Easter Bread
Savor the delightful taste of a classic Italian Easter bread, a sweet, soft, and s...
View Recipe
Old-Fashioned Pineapple Bread
A delightful and flavorful bread infused with juicy pineapple, perfect for breakfa...
View Recipe
Old-Fashioned Blueberry Muffins
Transport yourself to simpler times with these delightful old-fashioned blueberry ...
View Recipe
Strawberry Basil Scones
These tender scones combine the sweetness of fresh strawberries with a hint of pep...
View Recipe