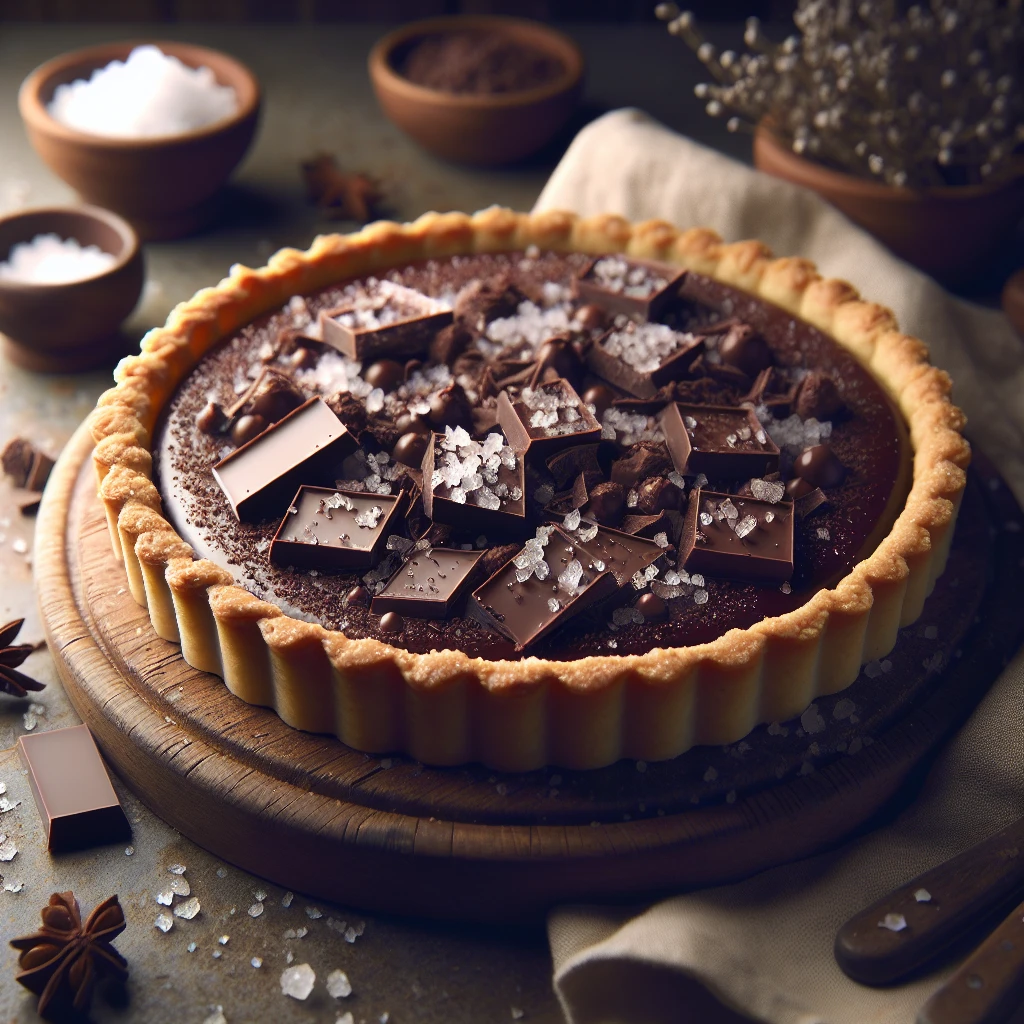
Dark Chocolate and Sea Salt Tart
This Dark Chocolate and Sea Salt Tart is a decadent treat that's sure to satisfy any chocolate lover's cravings. The combination of rich dark chocolate with a hint of sea salt creates a perfect balance of flavors, making it an elegant yet simple dessert for any occasion.
This post may contain affiliate links. As an Amazon Associate, we earn from qualifying purchases.
Ingredients for Dark Chocolate and Sea Salt Tart
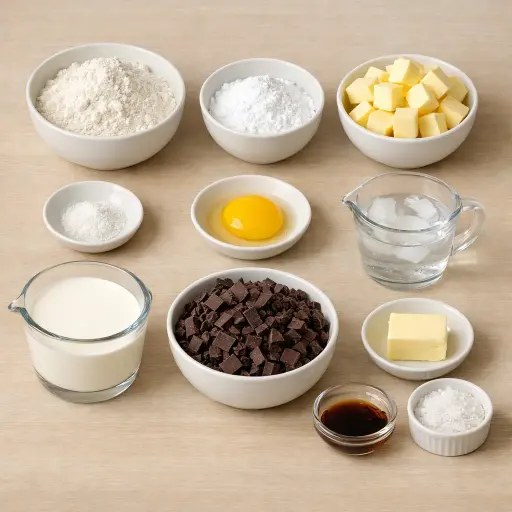
All-purpose flour forms the base of the tart crust, providing structure and a subtle flavor that won't distract from the chocolate. Powdered sugar adds sweetness to the crust while keeping it tender. Unsalted butter, cold and cubed, is essential for creating a flaky, buttery crust; it also adds richness to the chocolate filling. A pinch of salt enhances the overall flavor, balancing the sweetness. The egg yolk binds the dough together, adding richness and color. A touch of ice water helps the dough come together without becoming sticky. Heavy cream is the base for the ganache, adding a creamy texture to the filling. Dark chocolate (70% cocoa) is the star of the show, offering a deep, complex flavor. A hint of vanilla extract rounds out the flavors, while flaky sea salt provides a delightful contrast to the sweetness and enhances the chocolate's depth.
Why This Dark Chocolate and Sea Salt Tart Works
In the oven, the tart crust firms up and sets into one solid piece. Cold butter starts as little chunks in the flour, then melts and leaves tiny gaps. Those gaps turn into light, crisp layers once the dough bakes. The egg yolk and a bit of water give the flour just enough moisture so it holds together, but not so much that it turns tough. After baking, the crust is dry and sturdy, so it can hold the soft chocolate without getting soggy.
When hot cream hits the chopped dark chocolate, the chocolate softens and slowly melts. After a minute or two, stirring turns it into a smooth, thick pool. As the chocolate mixture cools in the tart shell, the cocoa butter inside the chocolate firms back up. The filling goes from loose and shiny to sliceable, but still silky. A little butter in the warm chocolate keeps the texture soft instead of chalky. Right before serving, the flaky sea salt sits on top instead of sinking in, so each bite has a clean snap of salt against the smooth, dense chocolate.
Dark Chocolate and Sea Salt Tart Tips & Tricks
- Make sure your butter is very cold for the crust; this helps it stay flaky.
- Use a sharp knife to chop the chocolate finely — it will melt more evenly when combined with the hot cream.
- Chill the dough well before baking to prevent shrinking in the oven.
- If you don’t have a tart pan, a regular pie pan will do in a pinch.
Mistakes To Avoid
Letting the tart shell dough get too wet makes it hard to press in evenly and it shrinks a lot in the oven. The extra water turns to steam and pulls the sides down, so the shell ends up thick at the bottom and shallow on the edges. The chocolate filling then sits unevenly and can spill or look sunken.
Skipping the chilling step for the pressed dough often leads to a greasy, slumped crust. Warm butter melts too fast in the oven, so the sides slide down and the base can puff and crack. The finished tart shell turns out uneven and fragile, and may not hold the filling cleanly.
Pouring the chocolate mixture into a warm tart shell causes the filling to separate or stay loose. The heat from the crust keeps the chocolate from setting properly, so the center can stay soft and never slice cleanly. Instead of neat wedges, the tart smears and the filling oozes out.
Overheating the cream until it boils can split the chocolate mixture. The chocolate can turn grainy instead of smooth, and small oily spots may appear on top. Once this happens, the filling sets with a rough, slightly curdled texture instead of a silky one.
Equipment Used:
Ingredients
- 1 1/4 cups all-purpose flour
- 1/4 cup powdered sugar
- 1/2 cup unsalted butter, cold and cubed
- 1/4 teaspoon salt
- 1 large egg yolk
- 1-2 tablespoons ice water
- 1 cup heavy cream
- 8 ounces dark chocolate (70% cocoa), chopped
- 1 tablespoon unsalted butter
- 1 teaspoon vanilla extract
- Flaky sea salt, for garnish
Step-by-step Instructions
- 1. Preheat your oven to 350°F (175°C).
- 2. In a food processor, combine flour, powdered sugar, and salt. Add cubed butter and pulse until mixture resembles coarse crumbs.
- 3. Add egg yolk and ice water, one tablespoon at a time, until dough just comes together.
- 4. Press dough into a tart pan and prick the bottom with a fork. Chill for 30 minutes.
- 5. Bake for 20 minutes until lightly golden. Let it cool completely.
- 6. In a saucepan over medium heat, bring heavy cream to just a simmer.
- 7. Pour hot cream over chopped dark chocolate and let sit for 2 minutes. Stir until smooth.
- 8. Stir in butter and vanilla extract until combined.
- 9. Pour chocolate mixture into cooled tart shell. Refrigerate for 1 hour or until set.
- 10. Just before serving, sprinkle tart with flaky sea salt.
Trending Now
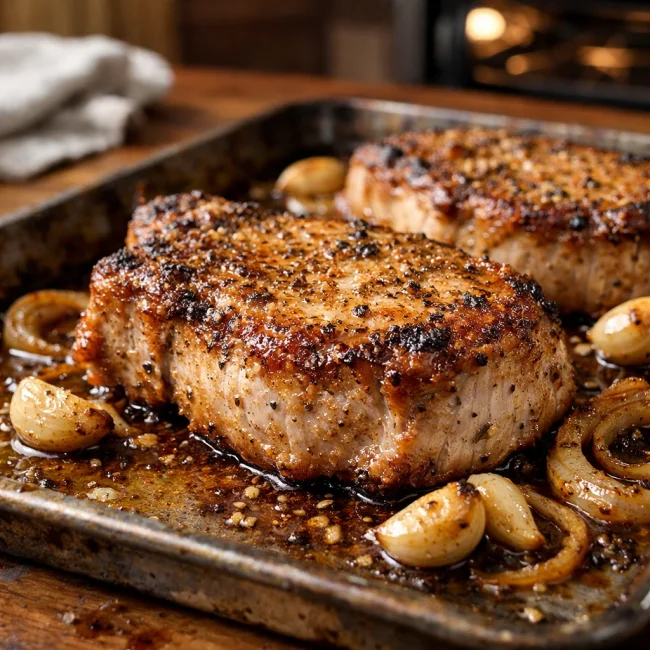
Oven-Baked Pork Chops
Enjoy a delightful dinner with these tender and juicy oven-baked pork chops, seaso...
View Recipe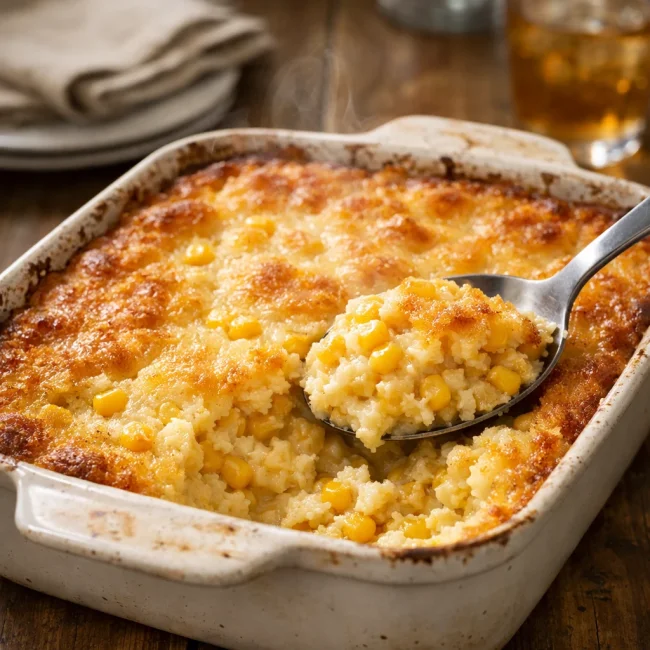
Traditional Corn Casserole
A delightful corn casserole dish that embodies the comforting flavors of sweet cor...
View Recipe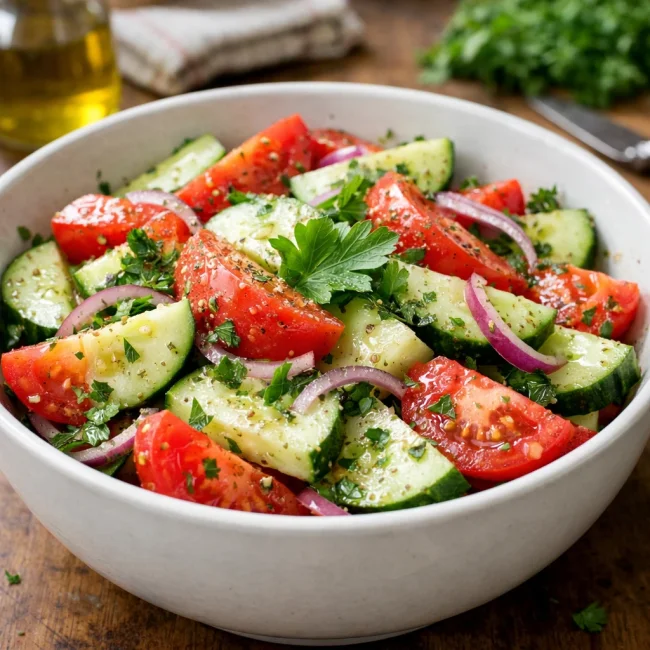
Traditional Cucumber and Tomato Salad
A refreshing and simple salad combining crisp cucumbers and juicy tomatoes, season...
View Recipe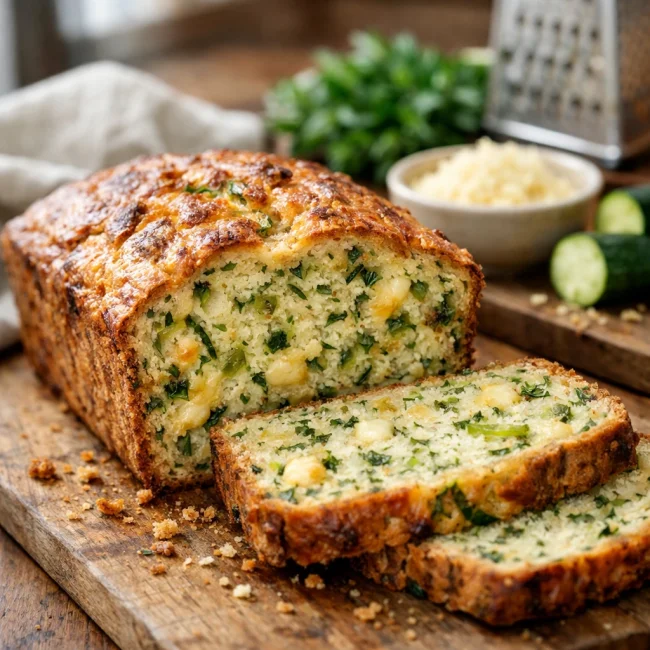
Savory Zucchini Bread
Savory Zucchini Bread is a delectable twist on traditional zucchini recipes, combi...
View RecipeFrequently Asked Questions
- Can I use milk chocolate instead of dark chocolate?
- Yes, but it will result in a sweeter filling, so you might want to reduce the sugar in the crust slightly.
- How should I store leftovers?
- Keep the tart in an airtight container in the refrigerator for up to three days.
- Can I make this tart ahead of time?
- Absolutely! You can make it a day in advance, just be sure to add the sea salt right before serving.
Serving Ideas for Dark Chocolate and Sea Salt Tart
This tart pairs beautifully with a dollop of freshly whipped cream or a scoop of vanilla ice cream. If you're feeling adventurous, serve it with a drizzle of raspberry coulis for a fruity contrast. A glass of red wine or a small cup of espresso will complement the rich chocolate flavors perfectly.
More Desserts Recipes

Rustic Vanilla Peach Cobbler
This rustic vanilla peach cobbler combines a rich, buttery crust with the sweet, v...
View Recipe
Traditional Lemon Curd
A classic, tangy lemon curd that is perfect for enhancing desserts, breakfast dish...
View Recipe
Traditional Cream Cheese Pie
A delightful and timeless dessert, Traditional Cream Cheese Pie offers a rich and ...
View Recipe
Timeless Cream Puff Delight
Indulge in a delectable Timeless Cream Puff Delight, a classic dessert featuring a...
View Recipe