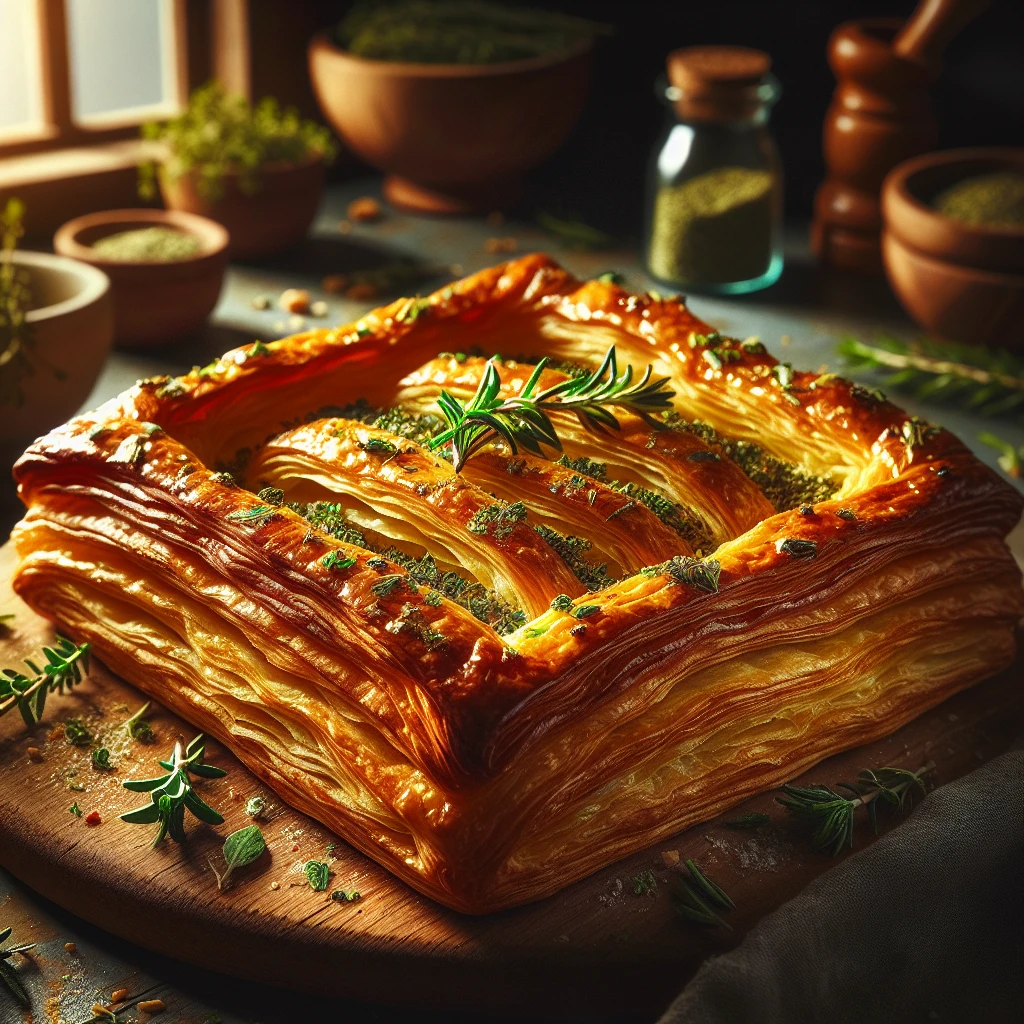
Crispy Herb Puff Pastry
Welcome to a delightful culinary adventure with Crispy Herb Puff Pastry! This flaky, buttery pastry is infused with aromatic herbs, making it the perfect addition to any meal. Let’s dive into creating a dish that’s as satisfying to make as it is to eat.
This post may contain affiliate links. As an Amazon Associate, we earn from qualifying purchases.
Ingredients for Crispy Herb Puff Pastry
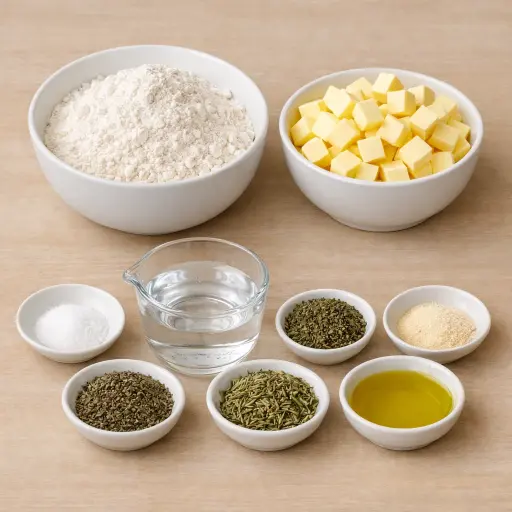
All-purpose flour is the backbone of our pastry, providing structure and a delicate crumb. We use unsalted butter, chilled and diced, to create those irresistible flaky layers. The salt enhances the flavor, balancing the richness of the butter. Cold water is crucial for binding our dough without melting the butter, ensuring maximum flakiness. The stars of our seasoning, dried thyme and dried rosemary, bring an earthy, fragrant aroma that elevates the pastry. Garlic powder adds a subtle depth, while olive oil gives the pastry a beautiful golden finish when baked.
Why This Crispy Herb Puff Pastry Works
Cold butter and simple folding do most of the work here. When the cold butter cubes are rubbed into the flour, they stay in small, solid pieces instead of melting. In the oven, those little bits of butter melt and give off steam. That steam pushes the layers of dough apart, so the pastry puffs up and turns light and crispy instead of dense.
During the long chill, the flour has time to soak up the water and relax. The dough firms up, so it is easier to roll without tearing. As the dough gets rolled and folded again and again with the herbs and garlic powder inside, thin layers of dough and butter stack on top of each other. The dried thyme and rosemary spread through those layers instead of sitting only on top.
In the oven, the hot air sets the flour and butter layers in place while the olive oil on the surface browns the outside. By the time it comes out, the pastry holds its shape, flakes apart in layers, and has crisp edges with herbs baked all the way through.
Crispy Herb Puff Pastry Tips & Tricks
- Chill your butter and water thoroughly to ensure the best flakiness.
- If your kitchen is warm, chill your bowl and tools for extra insurance against melting butter.
- Don’t skip the chilling time; it’s crucial for the dough’s texture.
Mistakes To Avoid
Rolling the dough while the butter is too warm makes the fat smear into the flour instead of staying in little pieces. In the oven, those flat streaks of butter just melt out instead of steaming and lifting the layers, so the pastry bakes up flat and a bit greasy instead of light and puffy.
Skipping or shortening the 4-hour chill means the gluten in the dough stays tight and the butter stays soft. During baking, the dough shrinks and warps on the tray, and the layers fuse together, so the pastry turns out tough and uneven instead of crisp and flaky.
Overworking the dough when adding water or during rolling presses the butter fully into the flour and builds too much gluten. The pastry then bakes into a dense, bread-like sheet that feels chewy instead of shattering into thin, crisp layers.
Letting the oven run cooler than 400°F causes the butter to slowly leak out before the layers can set. The pieces spread, the bottoms get oily, and the pastry stays pale and soft instead of rising quickly and turning golden and crisp.
Equipment Used:
Ingredients
- 2 cups all-purpose flour
- 1 cup unsalted butter, chilled and diced
- 1/2 tsp salt
- 1/2 cup cold water
- 1 tbsp dried thyme
- 1 tbsp dried rosemary
- 1/2 tsp garlic powder
- 1 tbsp olive oil for brushing
Step-by-step Instructions
- 1. In a large bowl, combine flour and salt.
- 2. Add diced butter into the flour, blending until the mixture resembles coarse crumbs.
- 3. Gradually stir in cold water until the dough holds together.
- 4. Wrap the dough in plastic and chill for 4 hours.
- 5. Preheat oven to 400°F (200°C).
- 6. Roll out dough into a rectangle on a floured surface.
- 7. Sprinkle herbs and garlic powder evenly over the dough.
- 8. Fold the dough into thirds, then roll out again.
- 9. Repeat folding and rolling two more times.
- 10. Cut the pastry into desired shapes and place on a baking sheet.
- 11. Brush with olive oil and bake for 15-20 minutes until golden brown.
Trending Now
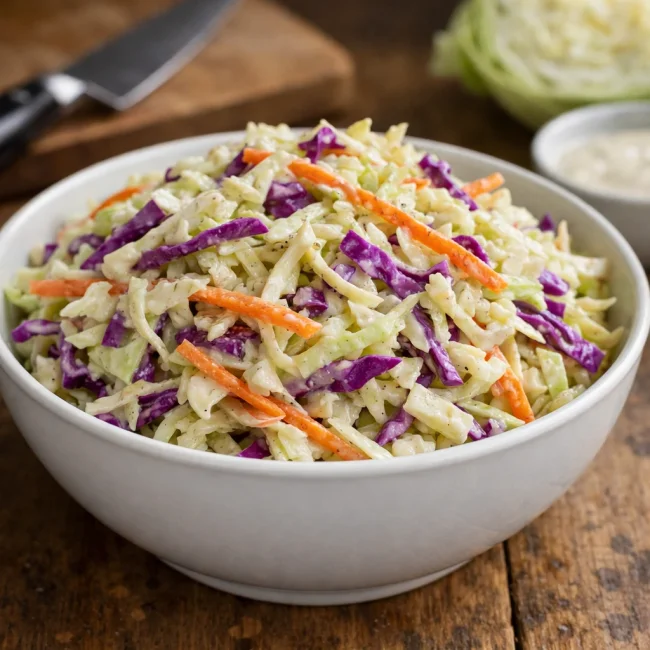
Traditional Crisp Coleslaw
A classic coleslaw recipe featuring finely shredded cabbage and carrots tossed in ...
View Recipe
Traditional Italian Bruschetta
Experience the authentic taste of Italian bruschetta, a perfect blend of fresh tom...
View Recipe
Classic Green Beans
Discover the timeless delight of Classic Green Beans, a simple yet flavorful side ...
View Recipe
Old-Fashioned Bread Pudding
Discover the classic charm of Old-Fashioned Bread Pudding - a timeless dessert com...
View RecipeFrequently Asked Questions
- Can I use fresh herbs instead of dried?
- Yes, but use about three times the amount of fresh herbs since they are less concentrated than dried.
- What if I don’t have a pastry cutter?
- A fork or even your hands will work well to integrate the butter into the flour.
Serving Ideas for Crispy Herb Puff Pastry
These pastries are a versatile companion to many dishes. Pair them with a creamy soup for a comforting meal or alongside a fresh salad for a lighter option. They also shine as a standalone snack, perhaps with a tangy dip or a slice of your favorite cheese.
More Breads & Baked Goods Recipes

Traditional Italian Easter Bread
Savor the delightful taste of a classic Italian Easter bread, a sweet, soft, and s...
View Recipe
Old-Fashioned Pineapple Bread
A delightful and flavorful bread infused with juicy pineapple, perfect for breakfa...
View Recipe
Old-Fashioned Blueberry Muffins
Transport yourself to simpler times with these delightful old-fashioned blueberry ...
View Recipe
Strawberry Basil Scones
These tender scones combine the sweetness of fresh strawberries with a hint of pep...
View Recipe