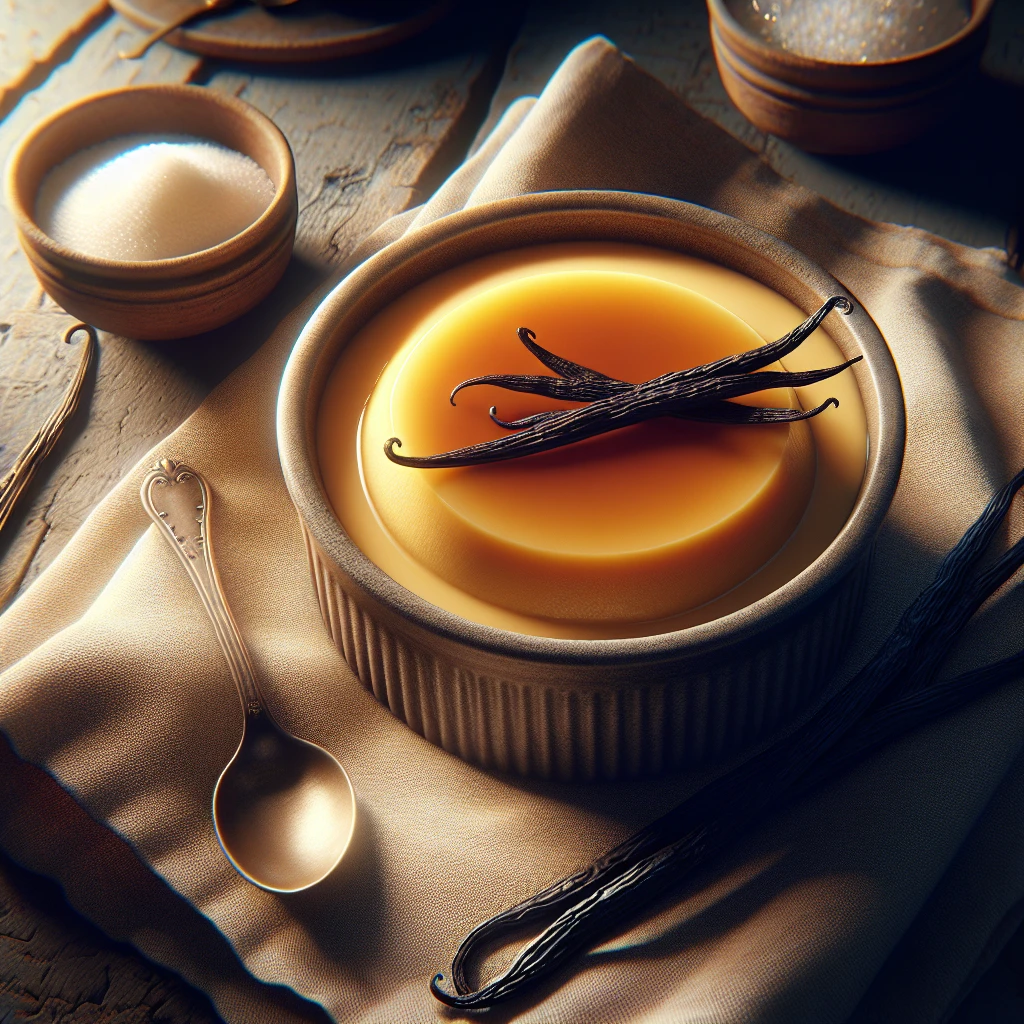
Classic Vanilla Custard Pudding
Classic Vanilla Custard Pudding is one of those timeless desserts that's both comforting and elegant. Its silky texture and rich vanilla flavor make it a favorite for any occasion, from a cozy family dinner to a special celebration. Let's dive into making this simple yet delightful treat!
This post may contain affiliate links. As an Amazon Associate, we earn from qualifying purchases.
Ingredients for Classic Vanilla Custard Pudding
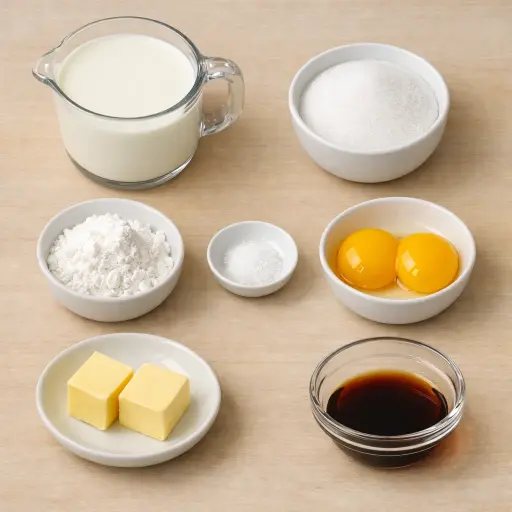
The base of this pudding is whole milk, which gives it a creamy texture and rich flavor. The granulated sugar sweetens the pudding without overpowering the vanilla. Cornstarch is our thickener, ensuring the pudding sets beautifully without becoming too stiff. A pinch of salt enhances the overall flavor, balancing sweetness and adding depth. Egg yolks lend richness and a smooth, glossy finish. The unsalted butter adds a touch of silkiness, while vanilla extract infuses the pudding with its signature aroma and flavor.
Why This Classic Vanilla Custard Pudding Works
As the sugar, cornstarch, salt, and milk warm up together, the cornstarch starts to swell and grab onto the liquid. At first it looks thin, then after a few minutes on the heat it suddenly thickens and turns glossy. Gentle boiling gives the cornstarch enough heat to fully thicken the milk, so the pudding sets up later in the fridge instead of staying runny.
When the hot milk mixture is whisked into the egg yolks slowly, the yolks warm up without scrambling. Once they go back into the pan, the yolks give the pudding a smoother, richer texture and help it hold its shape. Constant stirring keeps the bottom from sticking and keeps everything silky instead of lumpy.
Right at the end, the butter melts in and softens the texture even more, and the vanilla spreads through the warm pudding. As it chills, the starch and eggs finish setting, so the pudding firms up enough to scoop but still feels creamy and soft on the spoon.
Classic Vanilla Custard Pudding Tips & Tricks
- Use a whisk to prevent lumps when mixing the cornstarch and milk.
- Always temper the eggs to avoid scrambling them.
- Press plastic wrap directly onto the pudding surface to prevent skin formation.
- For a richer flavor, consider using vanilla bean paste instead of extract.
Mistakes To Avoid
Letting the milk mixture boil hard or sit on the heat too long makes the cornstarch over-thicken and the bottom scorch. The pudding then turns pasty and grainy instead of smooth, and burnt bits can spread through the whole pot.
Adding the egg yolks straight into the hot pan without tempering causes them to cook in clumps on contact. Instead of blending in, the yolks turn into little scrambled pieces, and the pudding never becomes silky, no matter how much it is whisked.
Pouring the egg mixture back into the pan and then walking away, or barely stirring, often leads to lumps. The thickening happens in spots, so some areas set while others stay thin, and the result is a bumpy pudding with uneven texture.
Stirring in the butter and vanilla while the pudding is still boiling hot can weaken the thickened mixture. The texture can loosen too much, so it sets softer and may feel a bit runny even after chilling.
Equipment Used:
Ingredients
- 2 cups whole milk
- 1/2 cup granulated sugar
- 3 tablespoons cornstarch
- 1/4 teaspoon salt
- 2 large egg yolks
- 2 tablespoons unsalted butter
- 2 teaspoons vanilla extract
Step-by-step Instructions
- 1. In a medium saucepan, combine the sugar, cornstarch, and salt.
- 2. Gradually whisk in the milk until the mixture is smooth.
- 3. Place the saucepan over medium heat and cook, stirring constantly, until the mixture thickens and comes to a gentle boil, about 5-7 minutes.
- 4. In a separate bowl, lightly beat the egg yolks.
- 5. Slowly whisk a small amount of the hot milk mixture into the egg yolks to temper them.
- 6. Return the egg mixture to the saucepan and continue to cook for an additional 2 minutes, stirring constantly.
- 7. Remove from heat and stir in the butter and vanilla extract until fully incorporated.
- 8. Pour the pudding into individual serving dishes or a large bowl and cover with plastic wrap, pressing it directly onto the surface to prevent a skin from forming.
- 9. Refrigerate for at least 2 hours or until fully chilled.
Trending Now
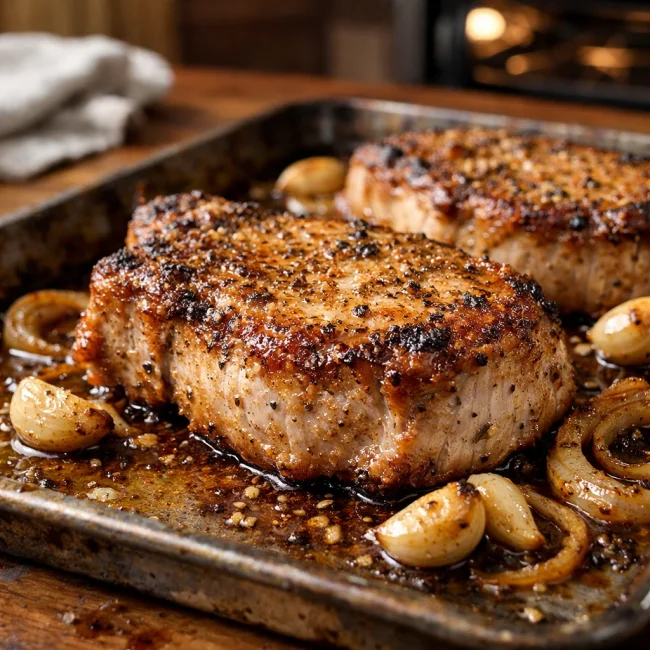
Oven-Baked Pork Chops
Enjoy a delightful dinner with these tender and juicy oven-baked pork chops, seaso...
View Recipe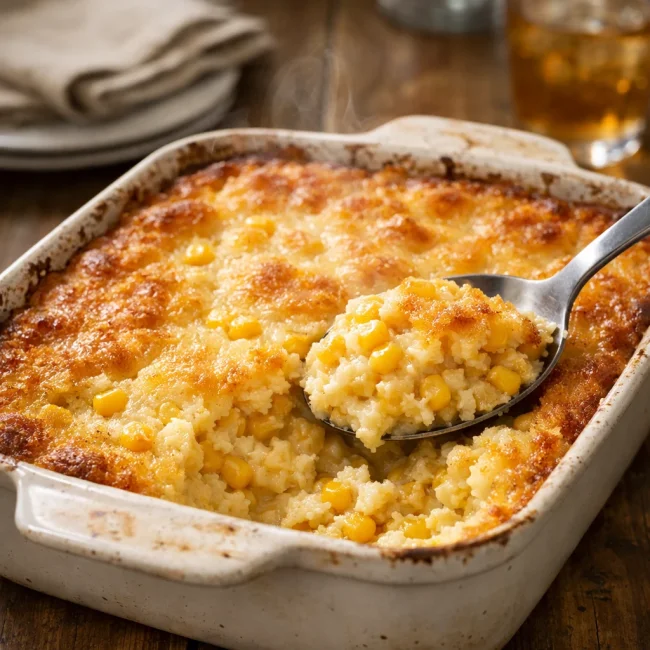
Traditional Corn Casserole
A delightful corn casserole dish that embodies the comforting flavors of sweet cor...
View Recipe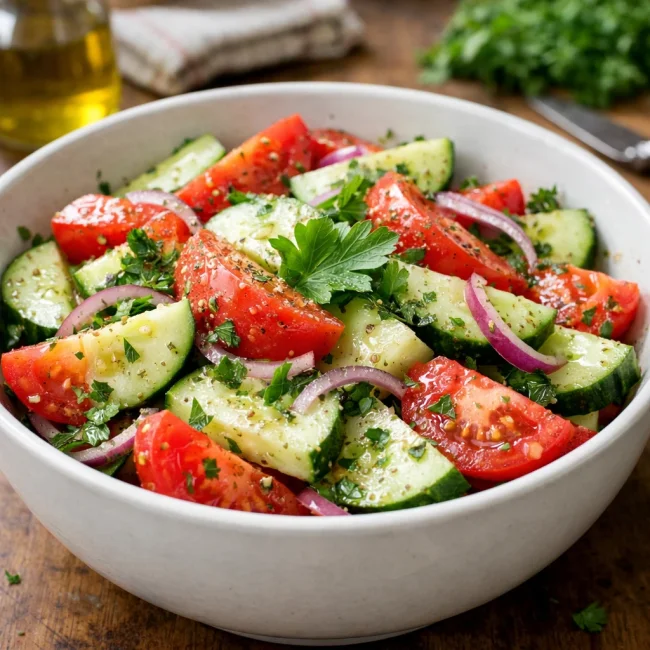
Traditional Cucumber and Tomato Salad
A refreshing and simple salad combining crisp cucumbers and juicy tomatoes, season...
View Recipe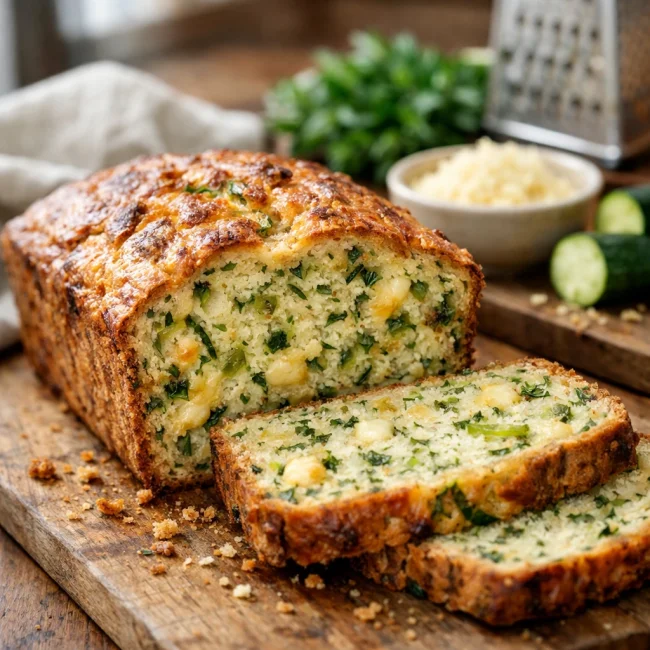
Savory Zucchini Bread
Savory Zucchini Bread is a delectable twist on traditional zucchini recipes, combi...
View RecipeFrequently Asked Questions
- Can I use low-fat milk instead of whole milk?
- Yes, but the pudding may not be as creamy. Whole milk is recommended for best results.
- How long can I store the pudding?
- It can be stored in the refrigerator for up to 3 days, covered tightly with plastic wrap.
- Can I make this pudding ahead of time?
- Absolutely! It’s a great make-ahead dessert. Just prepare it the day before and chill until serving.
Serving Ideas for Classic Vanilla Custard Pudding
Serve your vanilla custard pudding with a dollop of whipped cream and fresh berries for a refreshing contrast. A sprinkle of toasted nuts or a drizzle of caramel sauce can also elevate the dessert. For a touch of elegance, consider serving it in glass cups with a sprig of mint.
More Desserts Recipes

Rustic Vanilla Peach Cobbler
This rustic vanilla peach cobbler combines a rich, buttery crust with the sweet, v...
View Recipe
Traditional Lemon Curd
A classic, tangy lemon curd that is perfect for enhancing desserts, breakfast dish...
View Recipe
Traditional Cream Cheese Pie
A delightful and timeless dessert, Traditional Cream Cheese Pie offers a rich and ...
View Recipe
Timeless Cream Puff Delight
Indulge in a delectable Timeless Cream Puff Delight, a classic dessert featuring a...
View Recipe