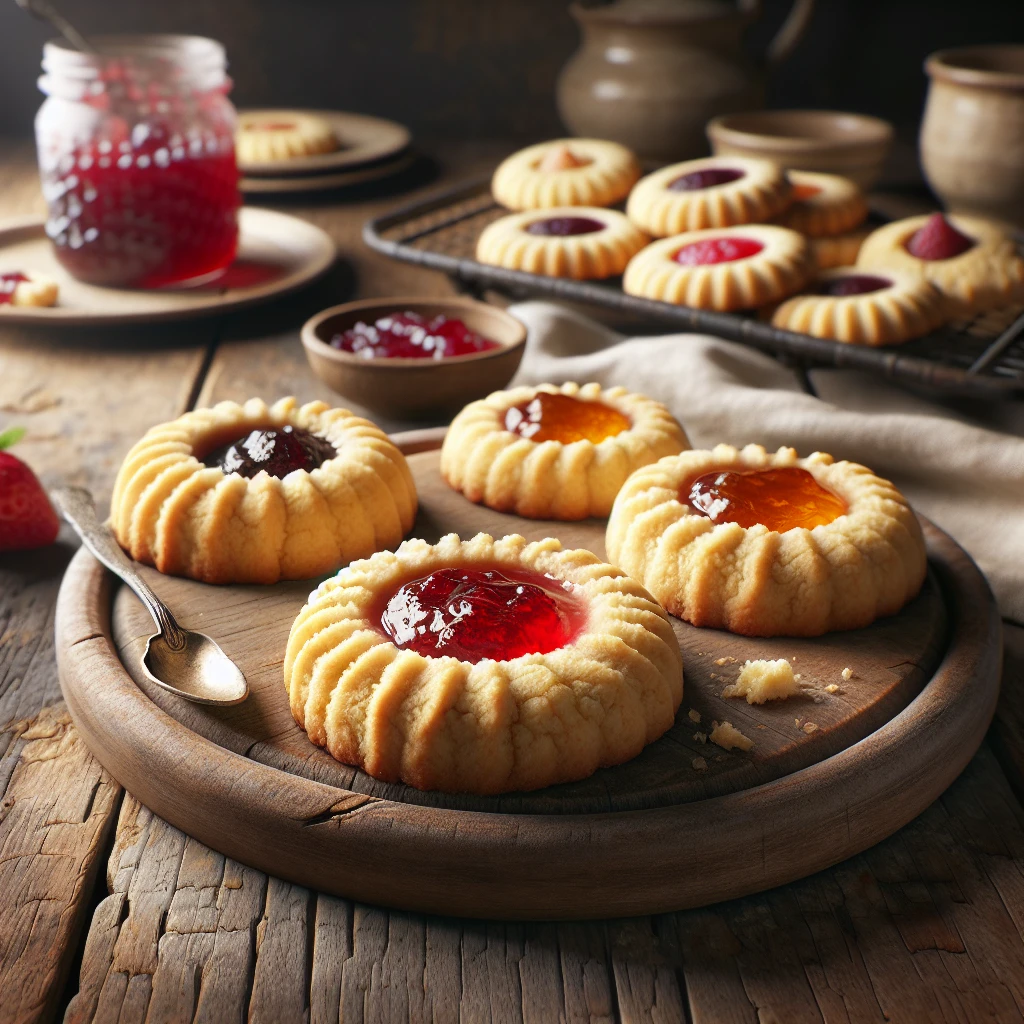
Classic Thumbprint Cookies
These Classic Thumbprint Cookies are a delightful treat that bring a touch of nostalgia with every bite. Perfect for any occasion, these cookies boast a buttery base with a sweet jam center, making them an irresistible addition to your baking repertoire.
This post may contain affiliate links. As an Amazon Associate, we earn from qualifying purchases.
Ingredients for Classic Thumbprint Cookies
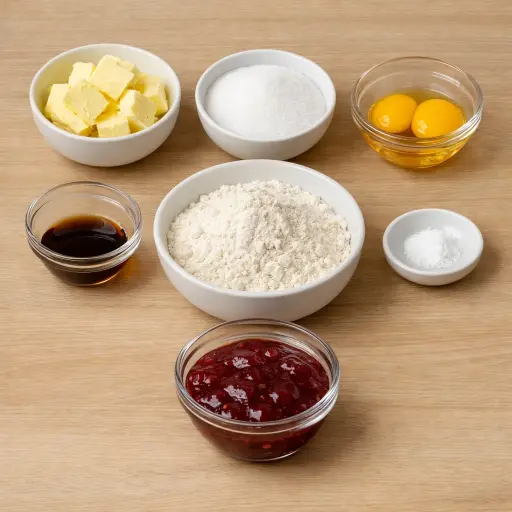
Butter forms the backbone of these cookies, lending them their rich, melt-in-your-mouth texture. Make sure it's unsalted so you can control the saltiness of the final product. Granulated sugar adds just the right amount of sweetness while also helping the cookies achieve a light golden color when baked. The egg yolks add richness and help bind the dough together, while vanilla extract enhances the overall flavor profile with its warm, aromatic notes. The all-purpose flour provides structure, and a pinch of salt balances the sweetness. Finally, the fruit jam brings a burst of fruity flavor, offering a delightful contrast to the buttery cookie base.
Why This Classic Thumbprint Cookies Works
During mixing, the soft butter and sugar trap a lot of tiny air pockets. Those little pockets stay in the dough and make the cookies light instead of dense. The egg yolks bring the dough together and give it a richer, more tender bite than whole eggs would. Once the flour and salt go in, the dough is firm enough to roll, but still soft enough to press a thumb into without cracking too much.
In the oven, the butter melts slowly and the cookies spread just a bit, but not so much that they lose their shape. The heat sets the egg yolks and flour, so the edges firm up while the centers stay a little softer. As the jam warms, it loosens and settles into the thumbprint, then thickens again as it cools. After baking, letting the cookies sit on the hot sheet for a few minutes finishes setting the structure, so they hold together but still have that soft, shortbread-like texture.
Classic Thumbprint Cookies Tips & Tricks
- Make sure your butter is truly at room temperature for easier mixing.
- Chill the dough for 15-30 minutes if it feels too sticky to handle.
- Use a small ice cream scoop for evenly sized cookies.
- Experiment with different jams or even a dollop of Nutella for a twist.
Mistakes To Avoid
Overbaking these cookies quickly turns them dry and hard. The edges go from lightly golden to deep brown, and the jam can start to bubble and thicken too much. Once cooled, the cookies feel tough instead of tender and the jam center becomes sticky and chewy instead of soft.
Starting with butter that is melted instead of just softened makes the dough greasy and loose. The cookies then spread too much in the oven, the thumbprint wells flatten out, and the jam runs toward the edges. The final cookies bake unevenly and lose that neat, thick, round shape.
Pressing the indent too deep or cracking the sides of the dough ball creates weak spots. In the oven, those cracks open wider and the jam leaks out onto the pan. The centers end up almost empty while the leaked jam burns in thin patches around the cookies.
Loading too much jam into each well causes overflow as it heats up. The jam spills over the sides, burns on the pan, and glues the cookies down. The tops can also look messy and uneven instead of having a clean, defined center.
Equipment Used:
Ingredients
- 1 cup unsalted butter, softened
- 1/2 cup granulated sugar
- 2 large egg yolks
- 1 teaspoon vanilla extract
- 2 cups all-purpose flour
- 1/4 teaspoon salt
- 1/2 cup fruit jam of your choice
Step-by-step Instructions
- 1. Preheat your oven to 350°F (175°C) and line a baking sheet with parchment paper.
- 2. In a large bowl, cream together the softened butter and sugar until light and fluffy.
- 3. Mix in the egg yolks and vanilla extract until well combined.
- 4. Gradually add the flour and salt, mixing until the dough just comes together.
- 5. Roll dough into 1-inch balls and place them on the prepared baking sheet about 2 inches apart.
- 6. Use your thumb or the back of a spoon to gently press a small indentation into the center of each ball.
- 7. Fill each indentation with a small amount of your chosen jam.
- 8. Bake in the preheated oven for 12-15 minutes, or until the edges are lightly golden.
- 9. Allow cookies to cool on the baking sheet for 5 minutes before transferring them to a wire rack to cool completely.
Trending Now

Old-Fashioned Bread Pudding
Discover the classic charm of Old-Fashioned Bread Pudding - a timeless dessert com...
View Recipe
Traditional Italian Bruschetta
Experience the authentic taste of Italian bruschetta, a perfect blend of fresh tom...
View Recipe
Classic Green Beans
Discover the timeless delight of Classic Green Beans, a simple yet flavorful side ...
View Recipe
Classic Banana Bread
Classic Banana Bread is a timeless dessert beloved for its moist texture and sweet...
View RecipeFrequently Asked Questions
- Can I use salted butter if that's all I have?
- Yes, but omit the additional salt from the recipe to keep the flavors balanced.
- How do I store these cookies?
- Store them in an airtight container at room temperature for up to a week.
- Can I freeze the dough?
- Absolutely! Freeze the dough balls on a baking sheet, then transfer to a zip-top bag. They can be baked from frozen, just add a couple of extra minutes to the baking time.
Serving Ideas for Classic Thumbprint Cookies
These cookies pair wonderfully with a hot cup of black tea, where the fruity notes of the jam can really shine. For a festive touch, serve them on a platter lined with fresh mint leaves or edible flowers. They also make a charming addition to a dessert table at parties or gatherings.
More Desserts Recipes

Rustic Vanilla Peach Cobbler
This rustic vanilla peach cobbler combines a rich, buttery crust with the sweet, v...
View Recipe
Traditional Lemon Curd
A classic, tangy lemon curd that is perfect for enhancing desserts, breakfast dish...
View Recipe
Traditional Cream Cheese Pie
A delightful and timeless dessert, Traditional Cream Cheese Pie offers a rich and ...
View Recipe
Timeless Cream Puff Delight
Indulge in a delectable Timeless Cream Puff Delight, a classic dessert featuring a...
View Recipe