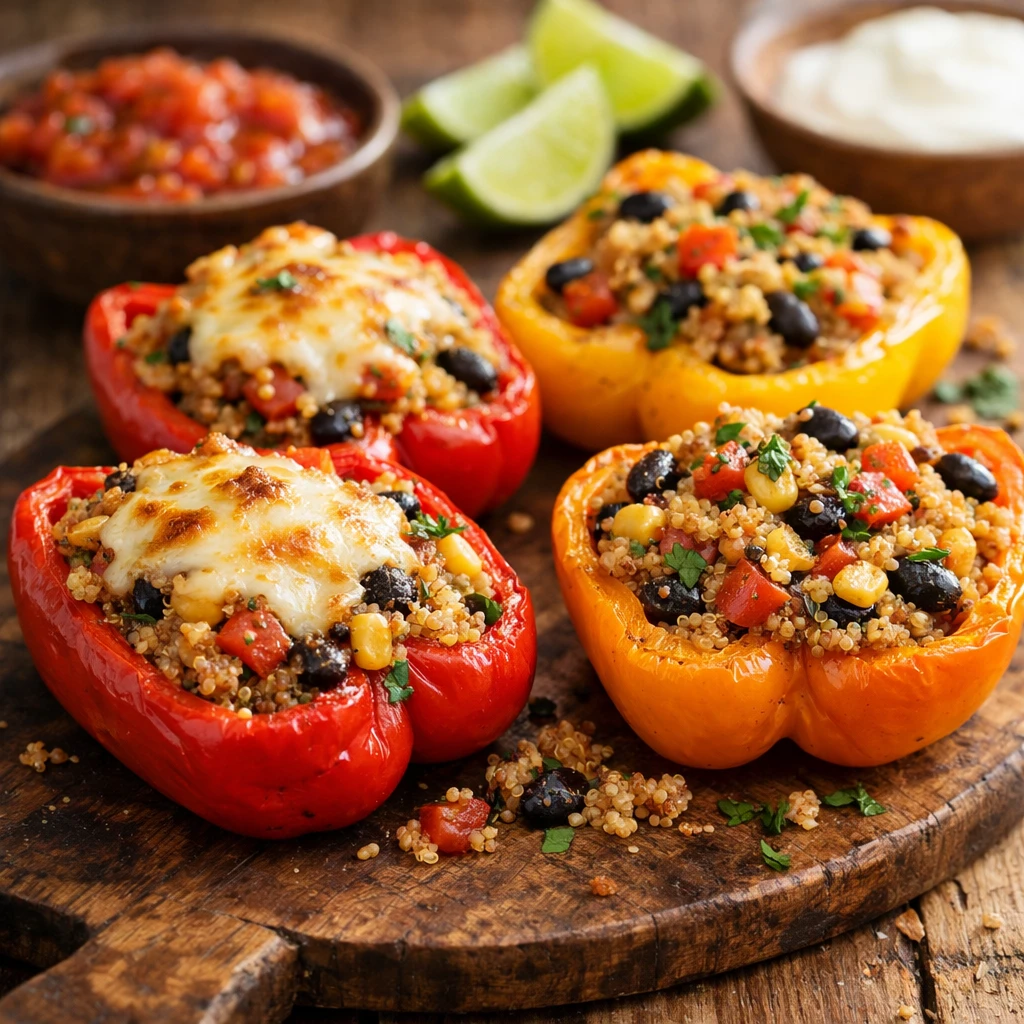
Classic Quinoa-Stuffed Bell Peppers
If you're on the hunt for a wholesome and satisfying meal, these Quinoa-Stuffed Bell Peppers have got you covered. Packed with protein-rich quinoa and a medley of vibrant veggies, they're a nourishing delight perfect for any weeknight dinner.
This post may contain affiliate links. As an Amazon Associate, we earn from qualifying purchases.
Ingredients for Classic Quinoa-Stuffed Bell Peppers
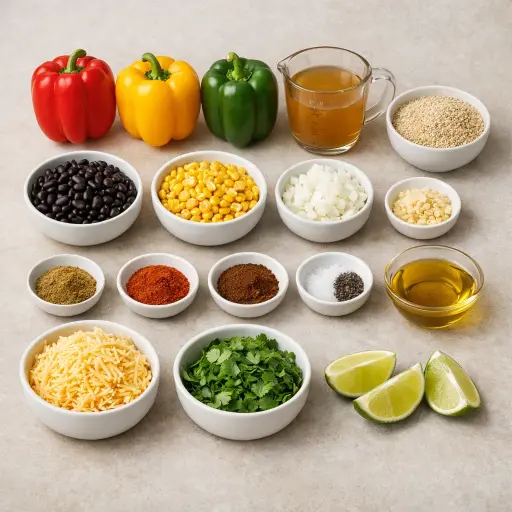
Bell peppers: These provide a sturdy vessel for our filling and add a sweet, roasted flavor. Feel free to mix and match colors for a vibrant presentation.
Quinoa: A complete protein, quinoa is the backbone of this dish, bringing a nutty flavor and fluffy texture.
Vegetable broth: Cooking quinoa in broth rather than water infuses it with extra flavor.
Black beans: These add a creamy texture and are a great source of fiber and protein.
Corn kernels: They add a hint of sweetness and a bit of crunch. Use fresh or frozen, whichever you have on hand.
Onion and garlic: These aromatics form the flavor base, enhancing every bite.
Cumin, smoked paprika, chili powder: This trio of spices brings warmth, smokiness, and a gentle heat to the dish.
Cheese: Optional but recommended for a melty, savory topping.
Olive oil, cilantro, lime wedges: Olive oil for sautéing, cilantro for a fresh finish, and lime wedges to add a zesty burst at serving time.
Why This Classic Quinoa-Stuffed Bell Peppers Works
During cooking, the quinoa is doing most of the work. It soaks up the vegetable broth as it simmers, so each grain swells and becomes soft but not mushy. By the time it is done, the quinoa is fluffy and holds on to the spices, bean starch, and a bit of oil, so the filling sticks together instead of falling apart.
In the pan, the onion and garlic soften in the olive oil. As they lose their bite, they mix more easily into the quinoa, black beans, and corn. The beans and corn give little pockets of texture, while the warm quinoa fills the gaps, so the stuffing packs nicely inside the peppers.
In the oven, the bell peppers slowly soften and relax around the filling. Their walls go from firm and crisp to tender, but they still stand up and act like little bowls. If cheese is used, it melts over the top and then sets slightly as it cools, holding the top layer together and keeping the filling moist under a soft, stretchy lid.
Classic Quinoa-Stuffed Bell Peppers Tips & Tricks
- When choosing peppers, look for ones that can stand upright on their own for easier stuffing and baking.
- If you're in a hurry, prepare the quinoa mixture a day ahead and store it in the fridge. Stuff and bake the peppers when you're ready to serve.
- To make them a bit spicier, add a pinch of cayenne pepper to the filling.
Mistakes To Avoid
Letting the quinoa stay undercooked or watery in the pot means the filling goes into the peppers still hard or soggy. In the oven, the grains don’t have enough time or liquid to finish properly, so the centers of the peppers end up with a wet, mushy mix dotted with tough bits instead of a fluffy, separate texture.
Packing the peppers too loosely or too tightly changes how they cook. When the filling is crammed in, the middle stays dense and can feel heavy and pasty, while stuffing that’s barely packed leaves big gaps and turns dry and crumbly after baking.
Putting the peppers in the oven while they are still very cold from the fridge can throw off the baking time. The outside of the peppers softens and the cheese browns, but the inside of the filling stays cooler and can feel lukewarm and slightly firm instead of hot and steamy all the way through.
Adding the cheese too early and in a thick layer leads to a hard cap on top. The cheese browns and stiffens before the peppers finish softening, so the top becomes tough and greasy while the pepper walls underneath are still a bit firm.
Equipment Used:
Ingredients
- 4 large bell peppers, any color
- 1 cup quinoa
- 2 cups vegetable broth
- 1 can (15 oz) black beans, drained and rinsed
- 1 cup corn kernels, fresh or frozen
- 1 small onion, diced
- 2 cloves garlic, minced
- 1 tsp ground cumin
- 1 tsp smoked paprika
- 1/2 tsp chili powder
- Salt and pepper to taste
- 1 cup shredded cheese (optional, for topping)
- 2 tbsp olive oil
- Fresh cilantro, chopped, for garnish
- Lime wedges, for serving
Step-by-step Instructions
- 1. Preheat the oven to 375°F (190°C).
- 2. Cut the tops off the bell peppers and remove the seeds and membranes.
- 3. In a medium saucepan, combine quinoa and vegetable broth, bring to a boil, then reduce heat to low, cover, and simmer for 15-20 minutes until quinoa is cooked.
- 4. In a skillet, heat olive oil over medium heat, add onions and garlic, sauté until onions are translucent.
- 5. Stir in cooked quinoa, black beans, corn, cumin, smoked paprika, chili powder, salt, and pepper, mix well.
- 6. Stuff each bell pepper with the quinoa mixture and place in a baking dish.
- 7. If using, sprinkle cheese on top of each stuffed pepper.
- 8. Bake in the preheated oven for 25-30 minutes, until peppers are tender and cheese is melted and bubbly.
- 9. Garnish with fresh cilantro and serve with lime wedges.
Trending Now
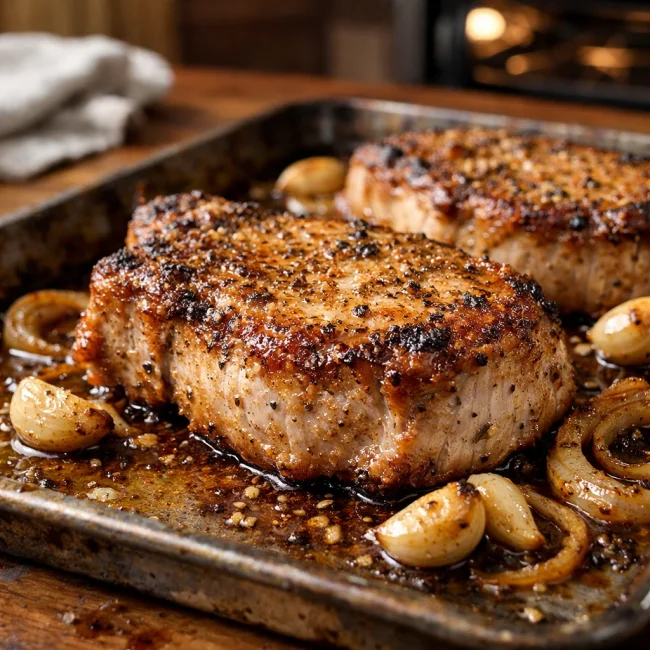
Oven-Baked Pork Chops
Enjoy a delightful dinner with these tender and juicy oven-baked pork chops, seaso...
View Recipe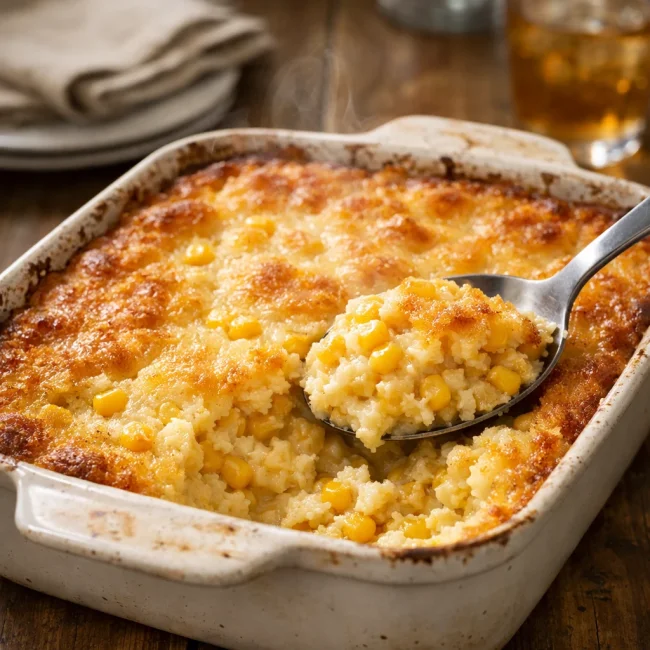
Traditional Corn Casserole
A delightful corn casserole dish that embodies the comforting flavors of sweet cor...
View Recipe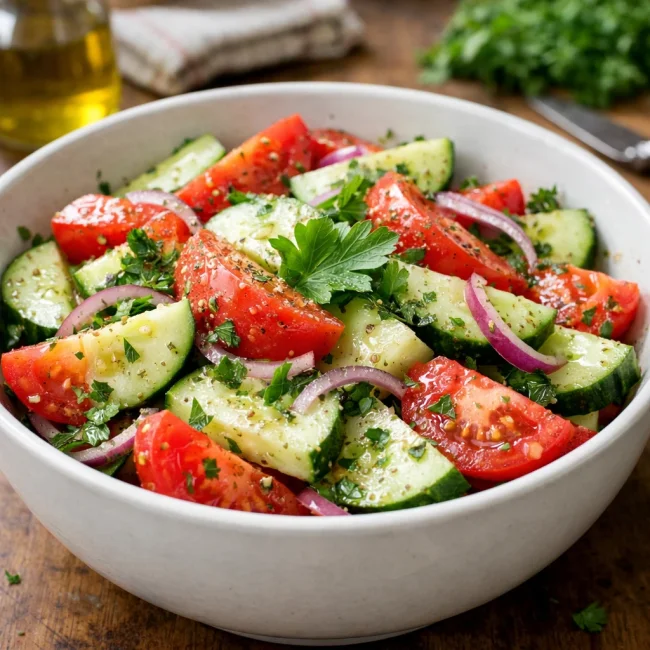
Traditional Cucumber and Tomato Salad
A refreshing and simple salad combining crisp cucumbers and juicy tomatoes, season...
View Recipe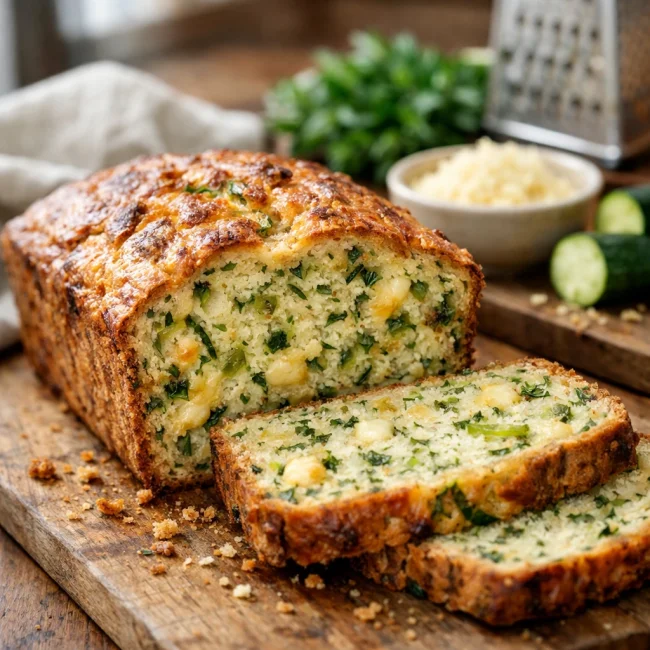
Savory Zucchini Bread
Savory Zucchini Bread is a delectable twist on traditional zucchini recipes, combi...
View RecipeFrequently Asked Questions
- Can I use red quinoa instead of regular?
- Absolutely! Red quinoa will add a bit more texture and a slightly nuttier flavor.
- How do I make this recipe vegan?
- Simply skip the cheese or use a plant-based alternative. Everything else is already plant-based.
- What can I substitute for black beans?
- Pinto beans or chickpeas work well if you don't have black beans on hand.
Serving Ideas for Classic Quinoa-Stuffed Bell Peppers
These stuffed peppers are a complete meal on their own, but you can serve them with a simple side salad or some crusty bread to mop up any juices. If you're hosting, a light, crisp white wine pairs beautifully with the dish.
More Appetizers Recipes
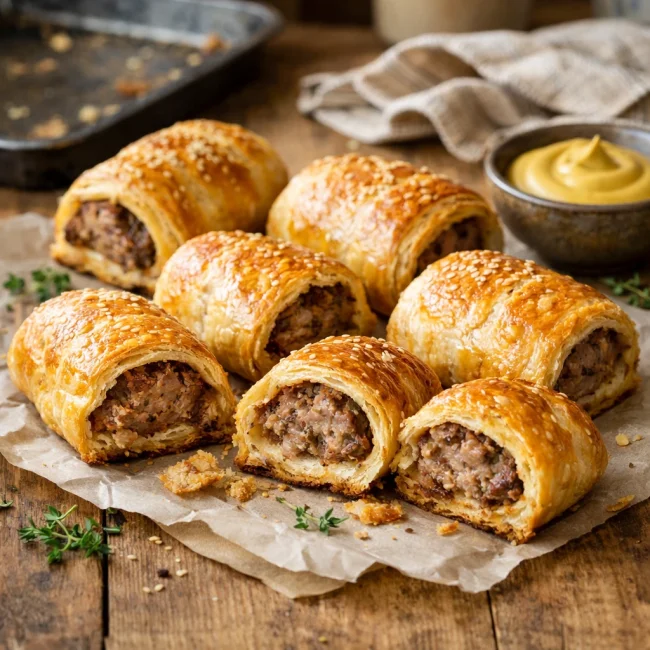
Traditional Sausage Rolls
A timeless recipe for savory sausage rolls, perfect for parties or as a hearty sna...
View Recipe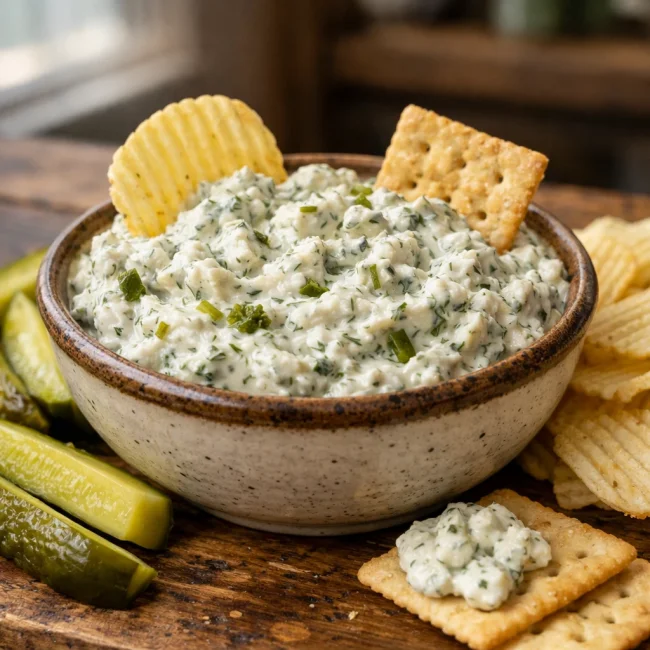
Classic Dill Pickle Dip
A refreshing dill pickle dip perfect for parties and gatherings, featuring a cream...
View Recipe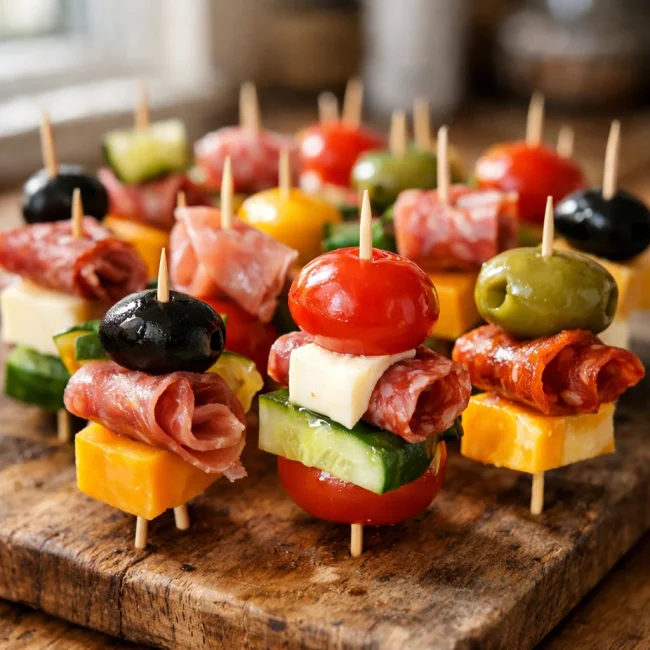
Savory Bites on Sticks
Savory Bites on Sticks are delightful and colorful appetizers perfect for any soci...
View Recipe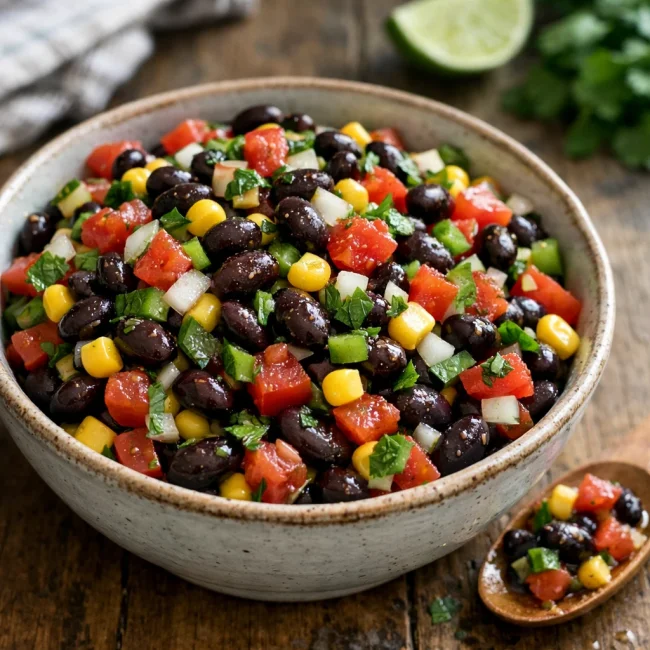
Traditional Black Bean Salsa
Experience a burst of fresh flavors with this classic Black Bean Salsa, perfect fo...
View Recipe