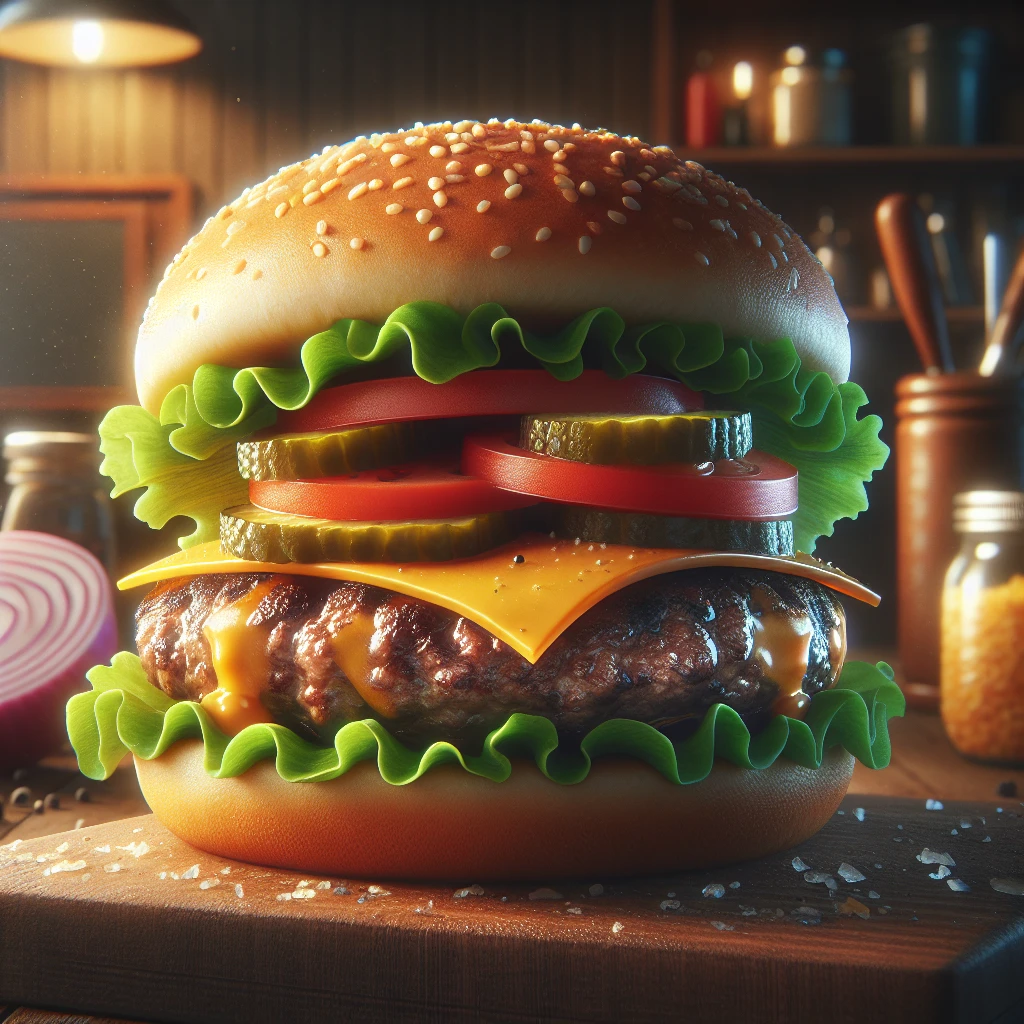
Classic Juicy Hamburger
There's something timeless about a well-made hamburger — it’s comfort food at its finest. This Classic Juicy Hamburger recipe combines simple ingredients to create an unbeatable blend of flavors and textures. Perfect for grilling season or a cozy indoor meal, this recipe will guide you to burger perfection.
This post may contain affiliate links. As an Amazon Associate, we earn from qualifying purchases.
Ingredients for Classic Juicy Hamburger

The heart of a good burger is undeniably the ground beef. Aim for an 80/20 blend for the perfect balance of juiciness and flavor. The Worcestershire sauce is the secret ingredient, providing a rich depth of flavor that makes the beef sing. Garlic powder and onion powder add a savory backbone, enhancing the meat without overpowering it. A simple seasoning of salt and black pepper is all you need to bring out the beef's natural flavors. And of course, don't forget the cheddar cheese; it melts beautifully over the patties, adding a creamy, sharp finish.
Why This Classic Juicy Hamburger Works
During mixing, the Worcestershire sauce spreads through the ground beef and adds a bit of moisture. Gentle mixing keeps the meat loose instead of packed tight, so the patties stay tender instead of dense. The salt starts to pull a little moisture from the beef, which then soaks back in and helps the patties hold together without turning rubbery.
On the hot grill or skillet, the outside of each patty browns and firms up. That browned crust keeps a lot of the juices trapped inside, so the center stays juicy. Garlic powder and onion powder are already dry and fine, so they spread evenly through the meat and season every bite instead of sitting in one spot.
As the patties finish cooking, the cheddar cheese softens and melts over the top. It forms a gooey layer that adds more moisture and richness. Toasted buns stay a bit crisp on the outside, so they don’t go soggy right away when the hot, juicy burger and toppings go on.
Classic Juicy Hamburger Tips & Tricks
- Press a small dimple in the center of each patty before cooking to prevent them from puffing up.
- For an extra flavor kick, add a pinch of cayenne pepper to the beef mixture.
- Let the patties rest for a couple of minutes after cooking to redistribute the juices.
Mistakes To Avoid
Letting the burgers cook too long turns the patties dry and tough. The fat inside renders out and drips away, so instead of a juicy center, the meat ends up crumbly and hard, even if the outside looks nicely browned.
When the pan or grill is too hot, the outside of the burger can burn before the inside cooks through. This leaves a dark, almost bitter crust while the middle stays undercooked and mushy, so the burger is both charred and unsafe to eat.
Overmixing the ground beef with the seasonings packs the meat too tightly. The proteins get worked like dough, and the patties cook up dense and springy instead of soft and juicy, sometimes even shrinking into thick, tough disks.
Forming patties that are too thick or not pressing a small dent in the center often leads to a rounded, ball-shaped burger. As it cooks, the middle puffs up, so the outside can be done while the very center stays undercooked and awkward to stack on the bun.
Adding the cheese too early in cooking causes it to melt away and overcook. It can slide off into the pan or grill grates, burn there, and leave the burger itself without that soft, melted layer on top.
Equipment Used:
Ingredients
- 1 lb ground beef
- 1 tbsp Worcestershire sauce
- 1 tsp garlic powder
- 1 tsp onion powder
- 1 tsp salt
- 1/2 tsp black pepper
- 4 slices cheddar cheese
- 4 hamburger buns
- Lettuce, Tomato, Onion, Pickles, Ketchup, Mustard to taste
Step-by-step Instructions
- 1. In a large bowl, combine the ground beef, Worcestershire sauce, garlic powder, onion powder, salt, and black pepper. Mix gently until just combined.
- 2. Divide the mixture into 4 equal parts and shape into patties.
- 3. Preheat a grill or skillet over medium-high heat.
- 4. Cook the patties for about 4-5 minutes on each side for medium-rare, adding a slice of cheddar cheese on top during the last minute of cooking.
- 5. Toast the hamburger buns on the grill or in a toaster until golden.
- 6. Assemble the burgers by placing the patties on the buns and adding lettuce, tomato, onion, pickles, ketchup, and mustard as desired.
Trending Now
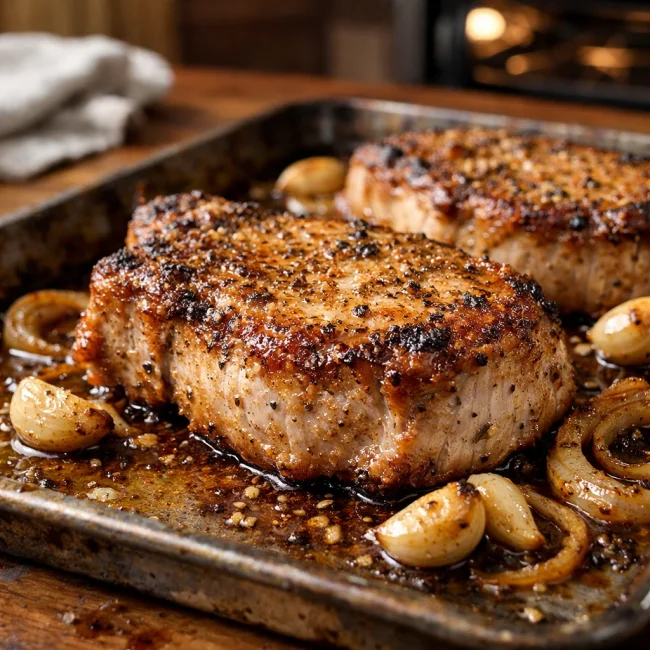
Oven-Baked Pork Chops
Enjoy a delightful dinner with these tender and juicy oven-baked pork chops, seaso...
View Recipe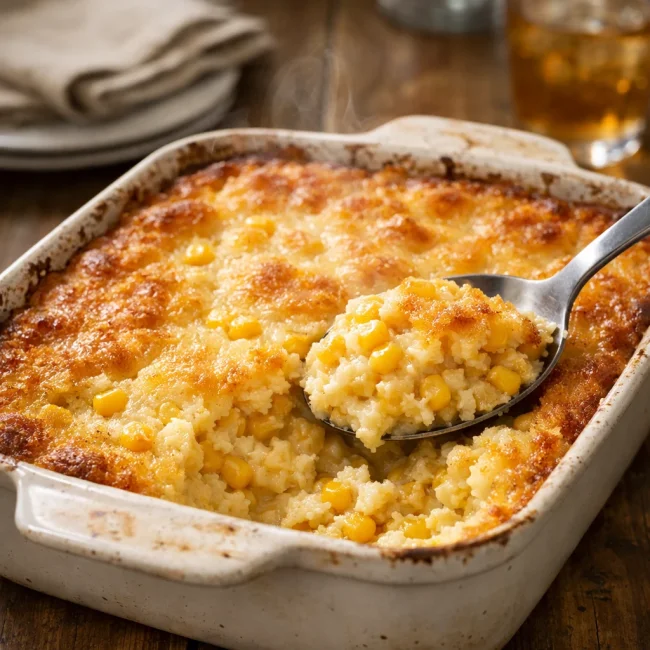
Traditional Corn Casserole
A delightful corn casserole dish that embodies the comforting flavors of sweet cor...
View Recipe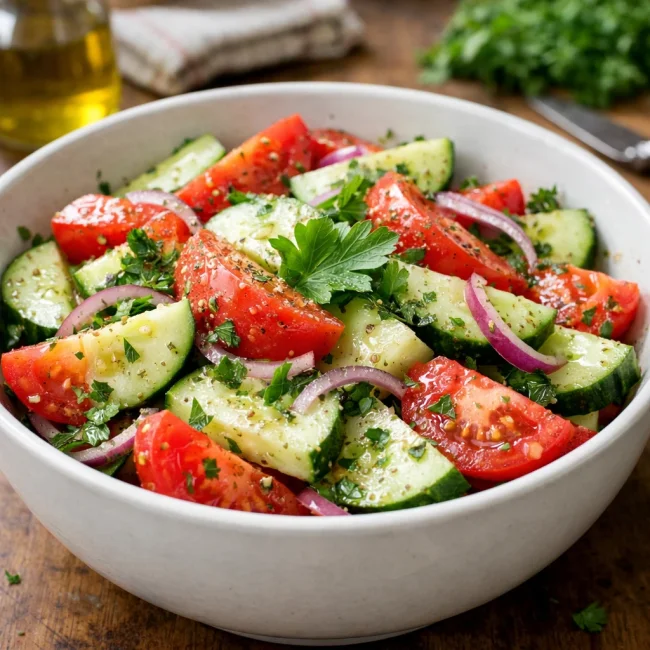
Traditional Cucumber and Tomato Salad
A refreshing and simple salad combining crisp cucumbers and juicy tomatoes, season...
View Recipe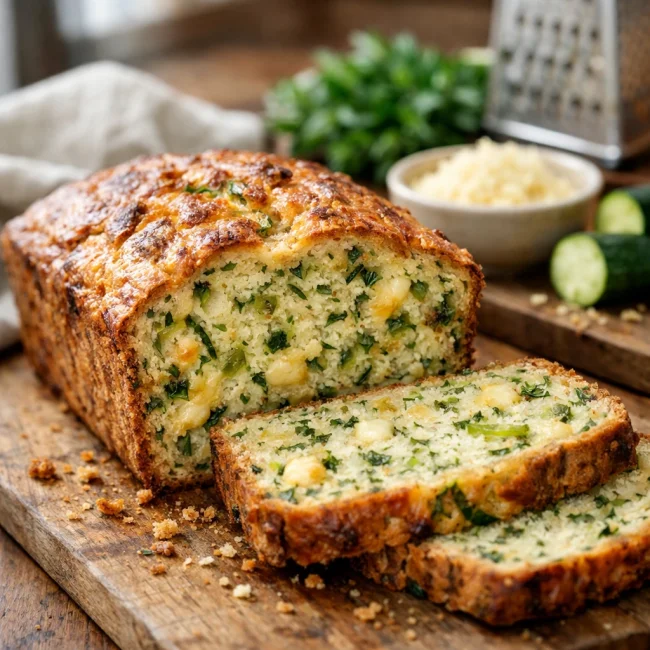
Savory Zucchini Bread
Savory Zucchini Bread is a delectable twist on traditional zucchini recipes, combi...
View RecipeFrequently Asked Questions
- Can I use a different type of cheese?
- Absolutely! Swiss, blue cheese, or pepper jack can be great alternatives depending on your taste preferences.
- What if I don't have a grill?
- No worries, a skillet or grill pan on your stovetop works wonderfully for these burgers.
- How do I know when the burger is done?
- For a perfectly medium-rare burger, aim for an internal temperature of 130-135°F, measured with a meat thermometer.
Serving Ideas for Classic Juicy Hamburger
These burgers are fantastic with a side of sweet potato fries or a fresh, tangy coleslaw. For a more classic pairing, serve them with crispy onion rings. If you’re in a creative mood, try a side of grilled corn on the cob for a summery touch.
More Grilling & BBQ Recipes
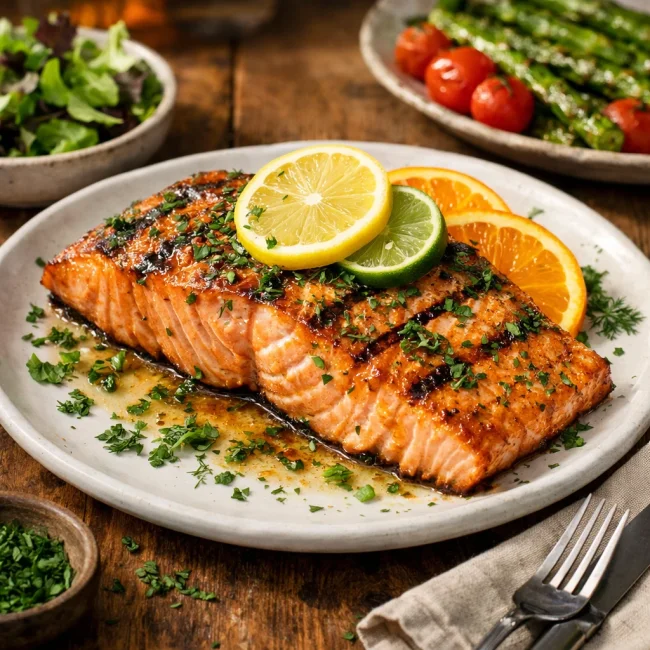
Citrus Herb Grilled Salmon
Discover the burst of flavors in our Citrus Herb Grilled Salmon recipe. This delig...
View Recipe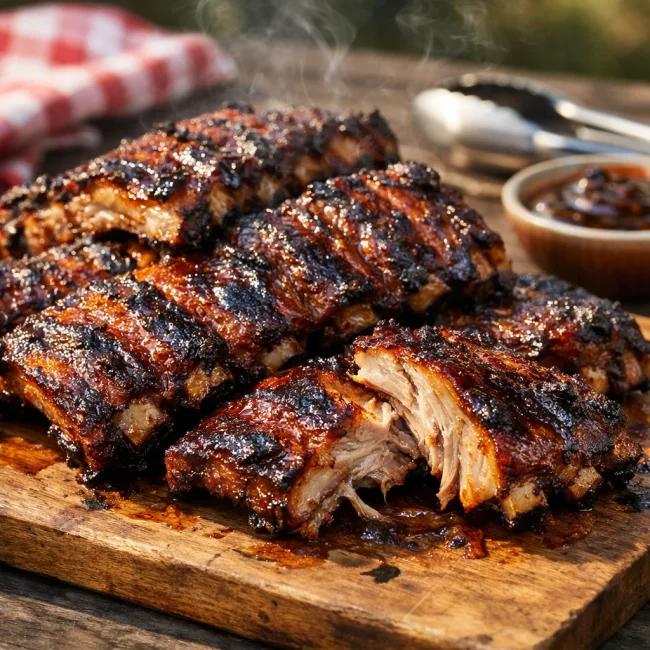
Smoky Maple Bourbon Baby Back Ribs
Savor the taste of summer with our Smoky Maple Bourbon Baby Back Ribs recipe, infu...
View Recipe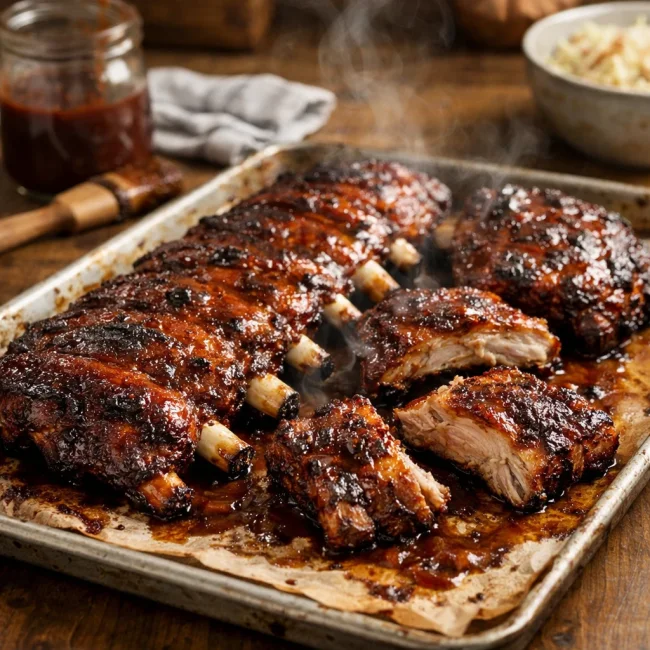
Oven-Baked BBQ Ribs
Enjoy tender ribs with a smoky BBQ sauce, slow-cooked in the oven for that fall-of...
View Recipe
Cilantro Mint Chimichurri
A zesty variation of the classic chimichurri, featuring vibrant cilantro and refre...
View Recipe