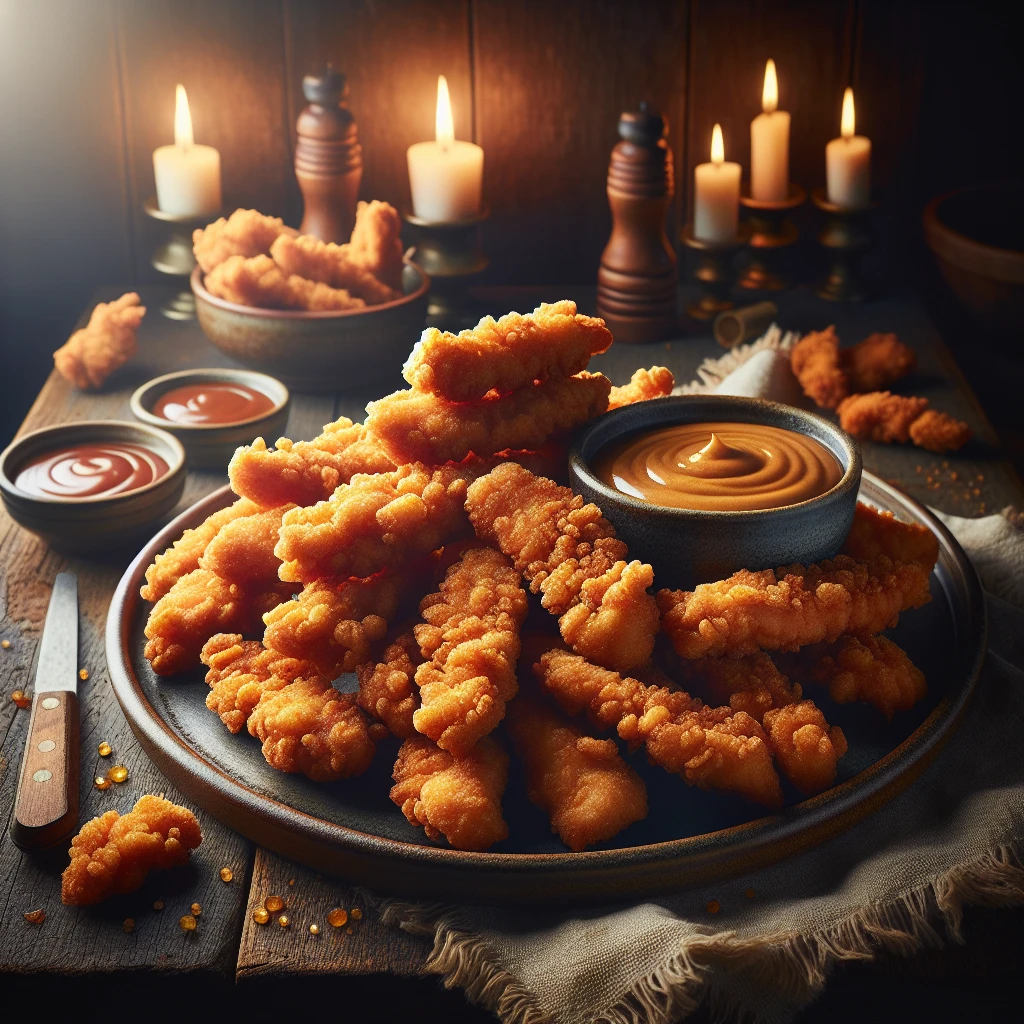
Classic Chicken Strips
If you’re looking for the perfect crispy, golden chicken strips, this recipe is for you. These classic chicken strips are easy to make and satisfyingly crunchy, making them the perfect weeknight meal or party snack.
This post may contain affiliate links. As an Amazon Associate, we earn from qualifying purchases.
Ingredients for Classic Chicken Strips
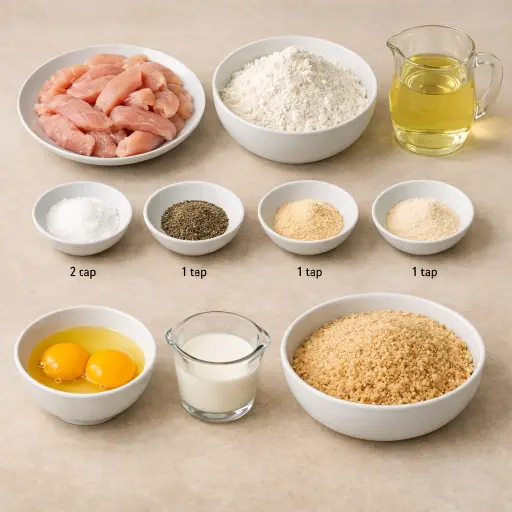
Chicken breast is the star of the show, providing lean, tender meat that's perfect for frying. All-purpose flour forms the base of the coating, helping to create that coveted crispy texture. We add salt, black pepper, garlic powder, and onion powder to the flour to infuse flavor right into the crust. The eggs and milk act as a binding agent, helping the breadcrumbs stick to the chicken. Finally, breadcrumbs add extra crunch, while vegetable oil is used for frying, ensuring even cooking and a beautiful golden color.
Why This Classic Chicken Strips Works
During coating, the chicken gets three layers that each do a different job. The flour sticks to the damp chicken and gives the egg something to grab onto. The egg and milk mixture then clings to that flour and stays a little sticky. Finally, the breadcrumbs latch onto the egg layer and form a thick, even coat around each strip.
As the strips hit the hot oil, that breadcrumb shell starts to firm up right away. It becomes a crisp crust that holds the chicken in place and keeps the juices from running out too fast. While the outside browns, the inside cooks gently and stays moist instead of drying out.
Over a few minutes in the pan, the coating turns golden and crunchy, and the chicken inside finishes cooking through. By the time the strips come out to drain, the crust is set and crisp, and the meat inside stays tender when bitten into.
Classic Chicken Strips Tips & Tricks
- For extra flavor, try adding a teaspoon of smoked paprika to the flour mixture.
- If you don’t have breadcrumbs, crushed cornflakes can be a crunchy alternative.
- Use a thermometer to check the oil temperature; aim for 350°F for optimal frying.
Mistakes To Avoid
Letting the oil get too hot makes the outside of the chicken strips brown very fast while the inside stays raw. The crust looks done, so the chicken comes out of the pan early, and the center can still be pink and undercooked.
Starting with oil that is not hot enough causes the strips to sit and soak up oil instead of frying. The coating turns pale and greasy, and the texture ends up soft and heavy instead of crisp.
Cutting the chicken strips very thick means the outside reaches golden brown before the heat gets to the middle. This leads to a choice between pulling them early with a raw center or leaving them longer and drying out the outer meat.
Skipping the flour step and going straight to egg and breadcrumbs makes the coating slide off during frying. The crumbs do not grip the chicken well, so bald spots appear and the crust separates in the oil.
Crowding the pan with too many strips at once drops the oil temperature quickly. The chicken then cooks unevenly, with some pieces soggy and others overcooked by the time the batch is finished.
Equipment Used:
Ingredients
- 1 lb chicken breast, cut into strips
- 2 cups all-purpose flour
- 2 tsp salt
- 1 tsp black pepper
- 1 tsp garlic powder
- 1 tsp onion powder
- 2 large eggs
- 1/4 cup milk
- 2 cups breadcrumbs
- Vegetable oil for frying
Step-by-step Instructions
- 1. In a large bowl, mix flour, salt, black pepper, garlic powder, and onion powder.
- 2. In another bowl, whisk eggs and milk together.
- 3. Place breadcrumbs in a third bowl.
- 4. Coat each chicken strip in flour mixture, shaking off excess.
- 5. Dip floured chicken into egg mixture, allowing excess to drip off.
- 6. Roll chicken in breadcrumbs, pressing gently to adhere.
- 7. Heat oil in a large skillet over medium-high heat.
- 8. Fry chicken strips in batches, turning occasionally, until golden brown and cooked through, about 6-8 minutes per batch.
- 9. Remove and drain on paper towels.
Trending Now

Classic Cucumber Salad
A refreshing and light cucumber salad featuring crisp cucumbers and a tangy vinaig...
View Recipe
Classic Banana Bread
Classic Banana Bread is a timeless dessert beloved for its moist texture and sweet...
View Recipe
Zesty Summer Squash Casserole
This delightful summer squash casserole combines vibrant garden-fresh vegetables w...
View Recipe
Traditional Dump Cake
Discover the timeless delight of the Traditional Dump Cake, a simple and scrumptio...
View RecipeFrequently Asked Questions
- Can I bake these chicken strips instead of frying?
- Yes, you can bake them at 400°F for about 20-25 minutes, flipping halfway through, for a healthier option.
- How do I store leftovers?
- Store them in an airtight container in the fridge for up to three days. Reheat in the oven at 350°F for about 10 minutes to maintain crispiness.
- Can I use a different type of chicken?
- Yes, chicken thighs can be used for a juicier result, though the cooking time may need slight adjustment.
Serving Ideas for Classic Chicken Strips
These chicken strips are perfect with a side of homemade coleslaw or a fresh green salad. For dipping, try serving with honey mustard, ranch, or a spicy sriracha mayo for a kick.
More Main Dishes Recipes
Unique Homemade Corned Beef
Discover the ultimate homemade corned beef recipe that balances rich flavors and t...
View Recipe
Spicy Lime Seared Ahi Tuna
Experience a burst of flavor with our Spicy Lime Seared Ahi Tuna, a perfect fusion...
View Recipe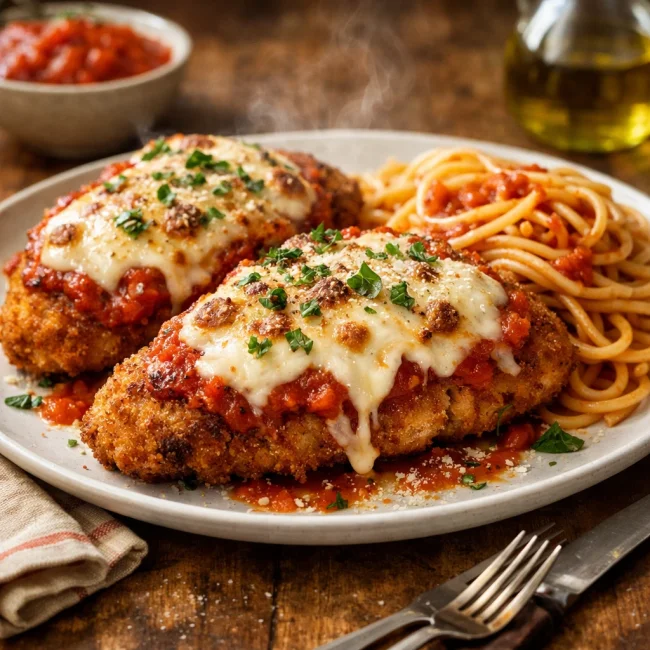
Traditional Chicken Parmesan
Savor the authentic taste of Italian cuisine with our Traditional Chicken Parmesan...
View Recipe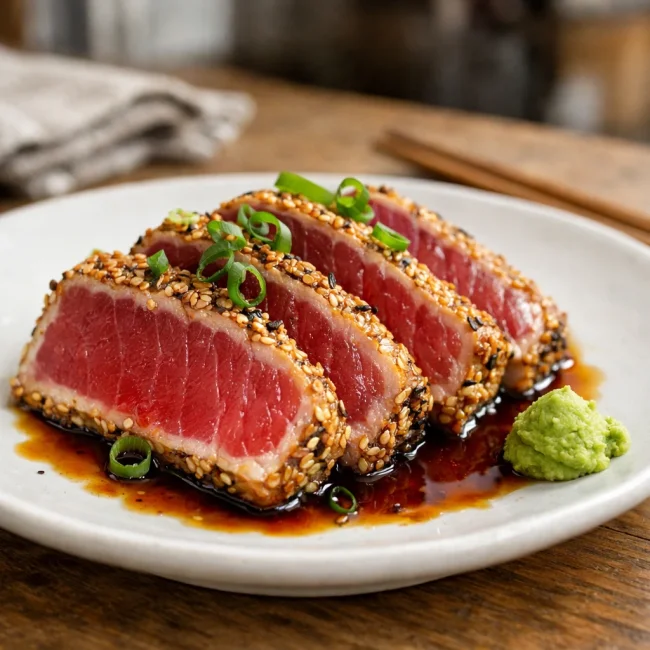
Seared Ahi Tuna
Experience the sublime taste of seared Ahi tuna, a Japanese-inspired dish that hig...
View Recipe