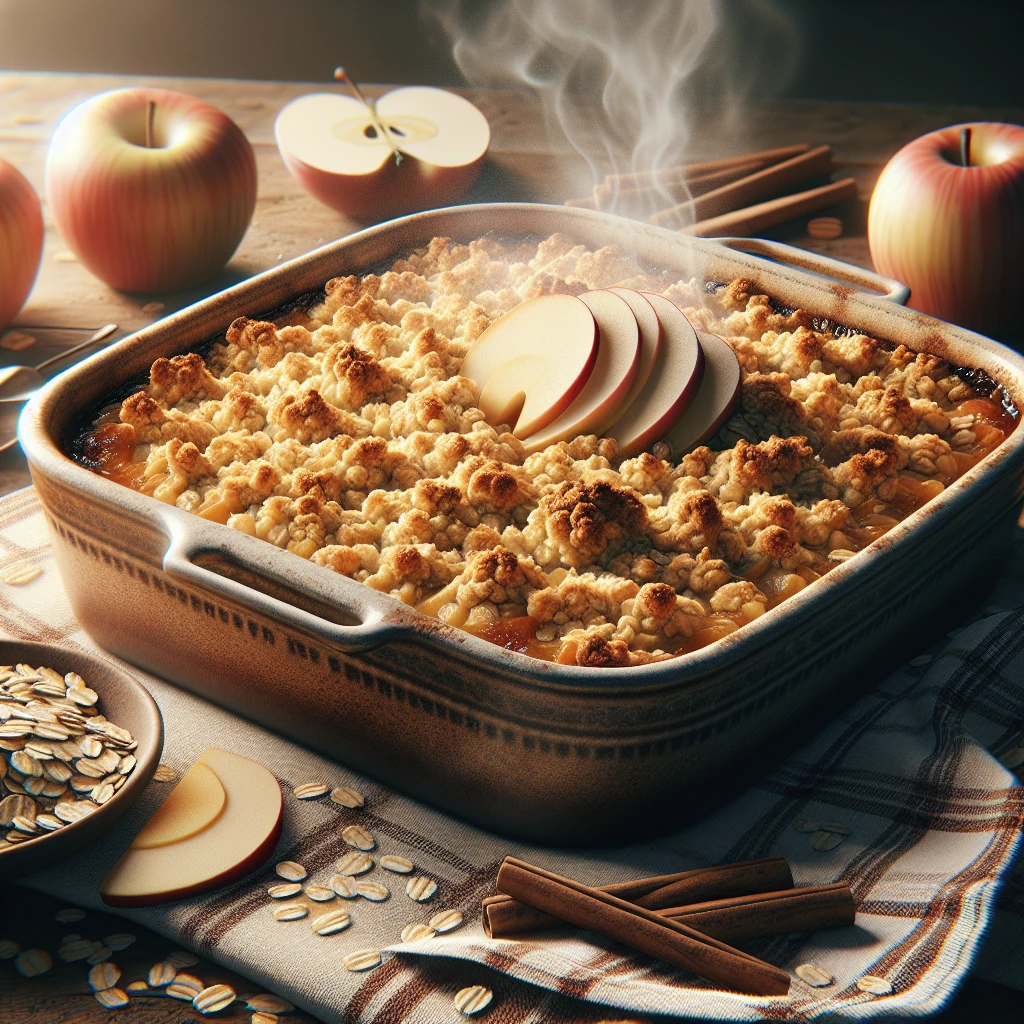
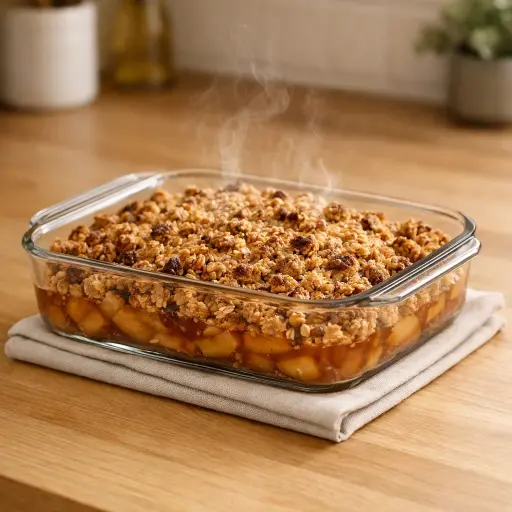
Classic Apple Crisp
Apple crisp is the quintessential fall dessert, bringing the comforting aroma of cinnamon and nutmeg into your kitchen. Perfect for using up a bounty of fresh apples, this easy recipe is a family favorite that’s nearly impossible to resist.
This post may contain affiliate links. As an Amazon Associate, we earn from qualifying purchases.
Ingredients for Classic Apple Crisp

Apples are the star of the show, providing a sweet-tart base that softens beautifully when baked. Opt for a mix of varieties like Granny Smith and Honeycrisp for the best flavor.
Granulated sugar sweetens the filling just enough without overpowering the natural apple flavor.
All-purpose flour binds the topping, giving it structure and helping it crisp up in the oven.
Rolled oats add texture and a heartiness to the topping, making each bite satisfying and crunchy.
Butter brings richness and moisture, creating that irresistible golden crisp.
Ground cinnamon and nutmeg provide warm, cozy spices that enhance the apples’ natural flavor.
Salt balances sweetness and intensifies the other flavors.
Why This Classic Apple Crisp Works
In the oven, the apples slowly soften and let out their juices. Those juices bubble up and mix with the sugar and a little of the flour that falls down from the topping. Over time, that flour thickens the liquid, so the apples don’t sit in a watery pool. Instead, the fruit ends up in a loose, syrupy sauce that clings to each slice.
While everything bakes, the butter in the topping melts and soaks into the oats, flour, and sugar. As it heats up more, that buttery mixture dries out on the surface and firms up. The oats stay a bit chewy, the flour crisps, and the sugar hardens, so the top becomes crunchy instead of soft.
By the time it finishes, the apples are tender but still hold their shape, and the topping has set into a golden, crumbly crust. Letting it cool a little lets the thickened juices settle, so the crisp scoops out in neat, cozy spoonfuls instead of sliding all over the pan.
Classic Apple Crisp Tips & Tricks
- Use a mix of apple varieties for a more complex flavor.
- Make sure your butter is softened for easier mixing.
- For an extra crunchy topping, add a handful of chopped nuts.
- If your apples are particularly tart, you might want to increase the sugar slightly.
Mistakes To Avoid
Letting the apples go in as thick, uneven chunks often leaves some pieces hard while others collapse into mush. The small pieces cook fast and turn into a loose, wet layer, while the big ones stay firm in the center. The crisp ends up with a soggy bottom and random bites of undercooked apple.
Packing the apples in a much smaller or deeper dish than 9x13 makes the layer too thick. The top can brown and look done while the apples in the middle stay firm and release juice later. Once it sits, that extra liquid soaks up into the topping and turns it heavy instead of crisp.
Melting the butter instead of keeping it softened changes the topping texture. The mixture turns into a paste instead of loose crumbs, so it bakes into a flat, hard sheet. Instead of a crumbly, nubbly top, the result is a dense lid that can be tough to break through.
Pulling the crisp out as soon as the topping browns, without checking the apples, often leaves the fruit too firm. The surface looks ready, but the apples haven’t had time to soften and release their juices. The finished dessert cuts into dry-ish apple slices under a nice-looking but slightly dusty topping.
Equipment Used:
Ingredients
- 6 cups sliced apples
- 3/4 cup granulated sugar
- 1/2 cup all-purpose flour
- 1/2 cup rolled oats
- 1/3 cup butter, softened
- 1 teaspoon ground cinnamon
- 1/4 teaspoon nutmeg
- 1/4 teaspoon salt
Step-by-step Instructions
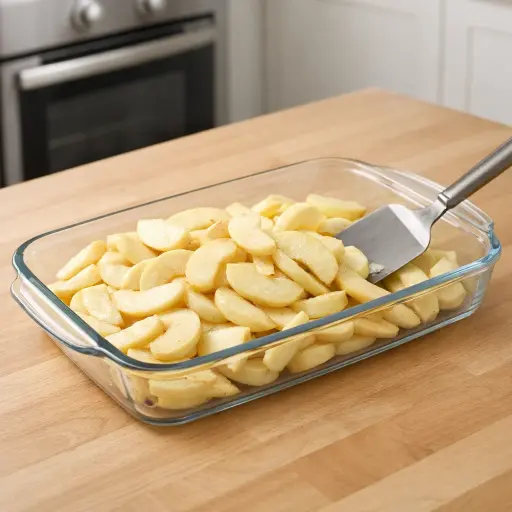
- 1. Preheat oven to 375°F (190°C).
- 2. Place sliced apples in a 9x13 inch baking dish.
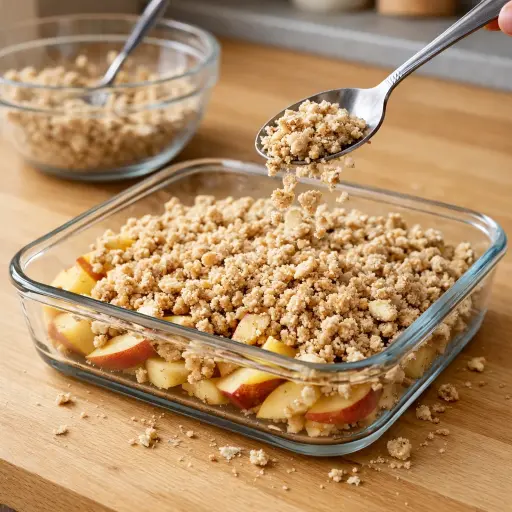
- 3. In a bowl, mix sugar, flour, oats, butter, cinnamon, nutmeg, and salt until crumbly.
- 4. Sprinkle the mixture evenly over the apples.
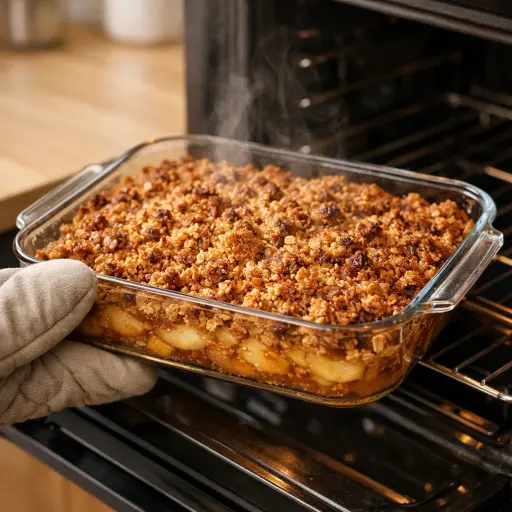
- 5. Bake for 30-35 minutes or until apples are tender and topping is golden brown.
- 6. Let cool slightly before serving.


Trending Now

Old-Fashioned Bread Pudding
Discover the classic charm of Old-Fashioned Bread Pudding - a timeless dessert com...
View Recipe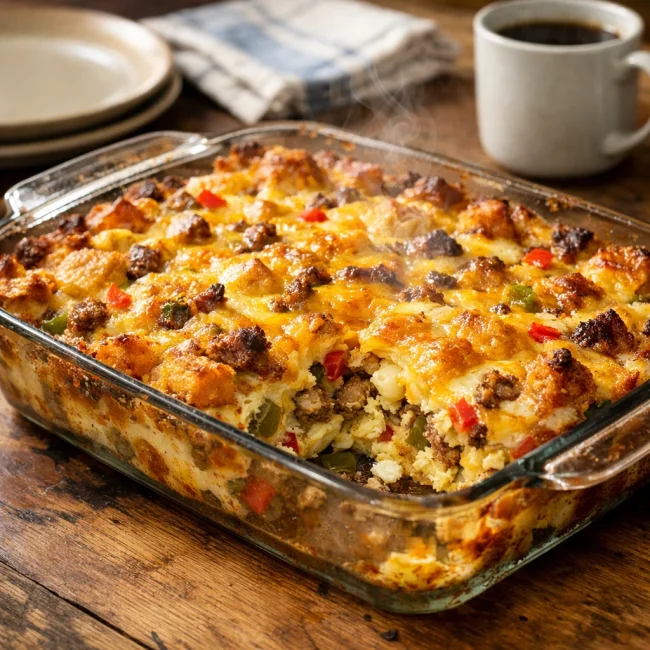
Hearty Breakfast Casserole
This Hearty Breakfast Casserole is the quintessential morning dish, combining savo...
View Recipe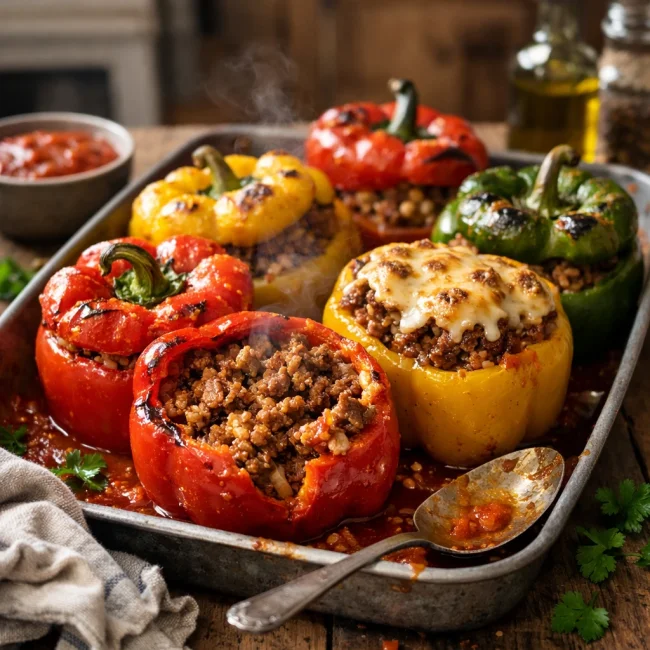
Traditional Stuffed Peppers
Explore the delightful blend of seasoned beef, rice, and tomato sauce nestled in v...
View Recipe
Traditional Lemon Pound Cake
A delightful and moist traditional lemon pound cake infused with the fresh zest an...
View RecipeFrequently Asked Questions
- Can I use different fruits?
- Absolutely! Pears or a mix of berries can be great alternatives or additions.
- How do I store leftovers?
- Keep the crisp covered in the refrigerator for up to three days. Reheat in the oven for the best texture.
Serving Ideas for Classic Apple Crisp
Apple crisp is divine on its own, but a scoop of vanilla ice cream or a dollop of whipped cream takes it to the next level. For a cozy breakfast option, serve it with a spoonful of Greek yogurt.
More Desserts Recipes

Rustic Vanilla Peach Cobbler
This rustic vanilla peach cobbler combines a rich, buttery crust with the sweet, v...
View Recipe
Traditional Lemon Curd
A classic, tangy lemon curd that is perfect for enhancing desserts, breakfast dish...
View Recipe
Traditional Cream Cheese Pie
A delightful and timeless dessert, Traditional Cream Cheese Pie offers a rich and ...
View Recipe
Timeless Cream Puff Delight
Indulge in a delectable Timeless Cream Puff Delight, a classic dessert featuring a...
View Recipe