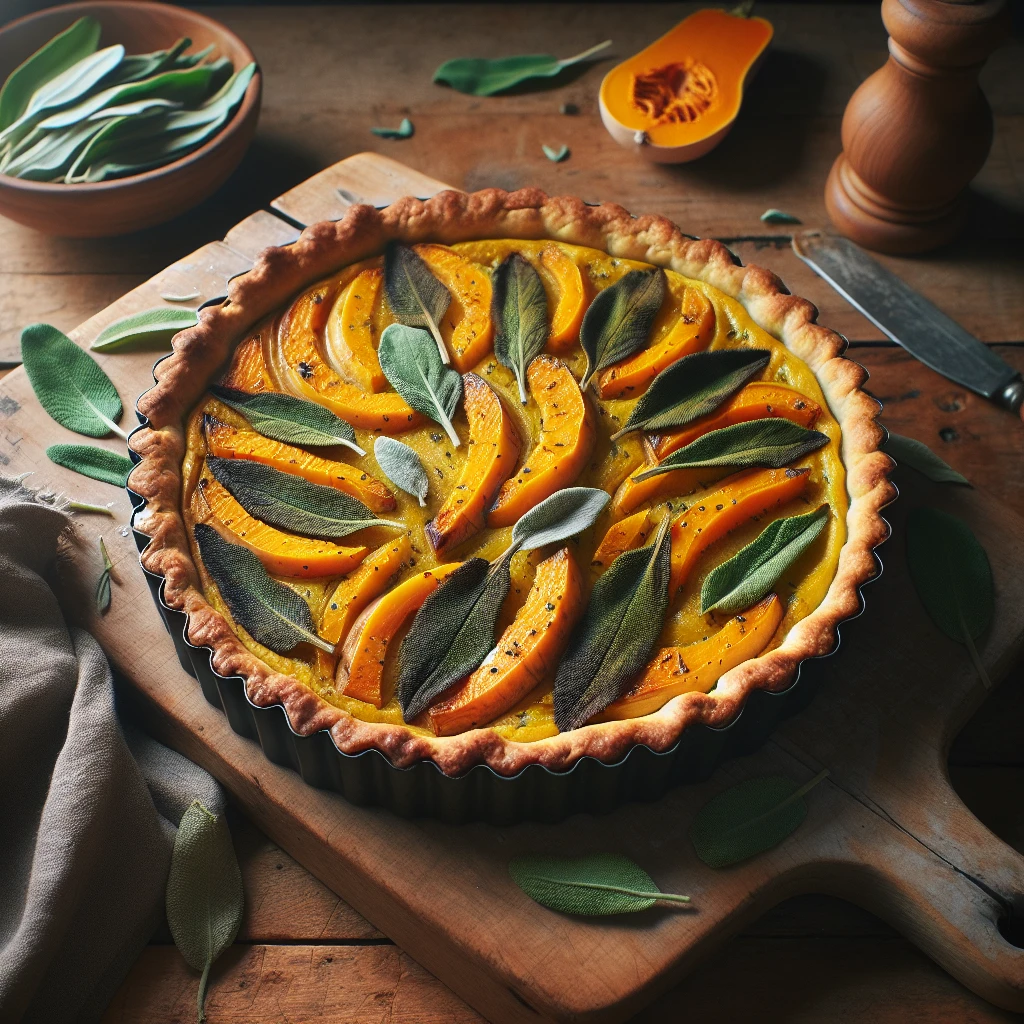
Butternut Squash and Sage Tart
Butternut Squash and Sage Tart is a cozy, savory delight perfect for fall gatherings or a simple weeknight dinner. This recipe combines the earthy sweetness of roasted squash with fragrant sage and creamy cheeses, all wrapped in a flaky puff pastry.
This post may contain affiliate links. As an Amazon Associate, we earn from qualifying purchases.
Ingredients for Butternut Squash and Sage Tart
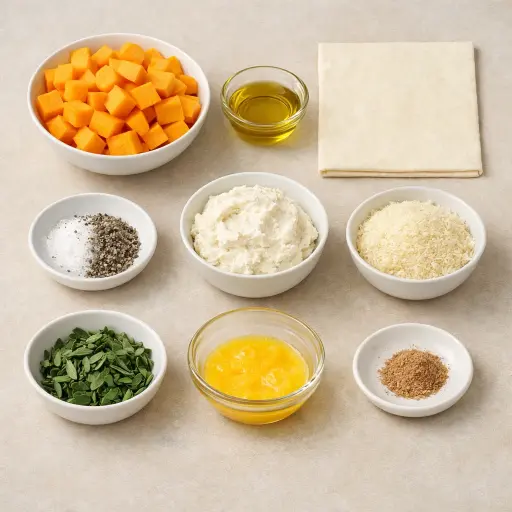
Butternut squash is the star of this dish, offering a natural sweetness that pairs beautifully with the savory elements. Roasting enhances its flavor and texture. Olive oil helps in roasting and adds a hint of richness. A sheet of puff pastry forms the crispy, buttery base, making the tart both flaky and tender. Ricotta cheese provides creaminess and a mild flavor, while Parmesan cheese adds a nutty, salty depth. Fresh sage leaves bring an aromatic earthiness, and a touch of nutmeg subtly enhances the flavors. Finally, a beaten egg gives the pastry a beautiful golden finish.
Why This Butternut Squash and Sage Tart Works
In the oven, the butternut squash cubes dry out a little on the outside while they soften inside. The edges brown and go a bit chewy, so the squash doesn’t turn mushy later on the tart. By the time it cools, each cube is firm enough to pick up and move without falling apart, which keeps the topping chunky instead of turning into a mash.
Inside the tart, the ricotta and Parmesan mixture sits on the puff pastry like a thick, soft layer. As it bakes, the cheese mixture warms up and sets, so it stays in place and holds the squash pieces instead of running all over. At the same time, the puff pastry underneath puffs and crisps because it isn’t soaked with wet squash. The egg on the edges of the pastry dries into a thin, shiny crust that keeps the sides sturdy. In the end, the tart cuts cleanly, with crisp pastry on the bottom, a creamy middle, and soft squash that stays where it should.
Butternut Squash and Sage Tart Tips & Tricks
- Use a sharp knife or a mandoline to cube the squash evenly for consistent roasting.
- Make sure the puff pastry is cold before rolling; it’s easier to handle and will puff nicely.
- Adjust the seasoning of the cheese mixture to taste before spreading it onto the pastry.
- For an extra crispy bottom crust, pre-bake the pastry for a few minutes before adding the filling.
Mistakes To Avoid
Pulling the squash from the oven too early leaves it pale and firm in the center. Once it goes on the tart, those hard cubes don’t soften much more, so the pastry finishes baking while the squash still feels a bit raw and squeaky instead of tender.
On the other hand, roasting the squash until it’s very soft and collapsing causes trouble too. The cubes break apart when spread on the tart and release extra moisture into the cheese layer, so the middle of the tart turns soggy while the edges puff up.
Rolling the puff pastry too thick or not rolling it to fit the pan properly leads to an undercooked base. The top looks golden and done, but the bottom stays doughy and stretchy instead of crisp and flaky.
Skipping the cooling step for the roasted squash and piling it on while it’s still steaming hot warms the cheese mixture too much. The pastry underneath then starts to soften and melt before it even hits the oven, and the tart bakes up with a heavy, damp center.
Equipment Used:
Ingredients
- 1 medium butternut squash, peeled and cubed
- 2 tbsp olive oil
- Salt and pepper to taste
- 1 sheet puff pastry
- 1 cup ricotta cheese
- 1/2 cup grated Parmesan cheese
- 2 tbsp fresh sage leaves, chopped
- 1 egg, beaten
- 1/4 tsp nutmeg
Step-by-step Instructions
- 1. Preheat oven to 400°F (200°C).
- 2. Toss the butternut squash cubes with olive oil, salt, and pepper, then spread on a baking sheet.
- 3. Roast for 25-30 minutes until tender and golden brown, then let cool.
- 4. Roll out the puff pastry on a lightly floured surface to fit a tart pan.
- 5. In a bowl, mix ricotta, Parmesan, chopped sage, and nutmeg.
- 6. Spread the cheese mixture over the base of the puff pastry.
- 7. Arrange the roasted butternut squash over the cheese layer.
- 8. Brush the edges of the pastry with the beaten egg.
- 9. Bake for 25-30 minutes until the pastry is golden and cooked through.
- 10. Allow to cool slightly before serving.
Trending Now
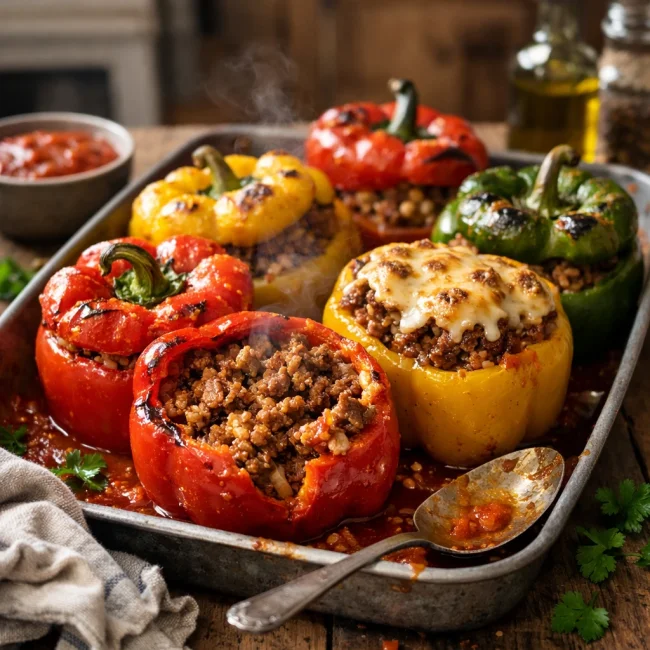
Traditional Stuffed Peppers
Explore the delightful blend of seasoned beef, rice, and tomato sauce nestled in v...
View Recipe
Traditional Lemon Pound Cake
A delightful and moist traditional lemon pound cake infused with the fresh zest an...
View Recipe
Old-Fashioned Bread Pudding
Discover the classic charm of Old-Fashioned Bread Pudding - a timeless dessert com...
View Recipe
Classic Sloppy Joes
Bring back childhood memories with these hearty and savory sloppy joes. Made with ...
View RecipeFrequently Asked Questions
- Can I use a different type of squash?
- Absolutely! Acorn or kabocha squash would work well too, though they might alter the flavor slightly.
- Can I make this tart ahead of time?
- Yes, you can roast the squash and prepare the cheese mixture a day in advance, then assemble and bake the tart when ready to serve.
- How do I store leftovers?
- Store any leftover tart in an airtight container in the refrigerator for up to three days. Reheat in the oven to maintain crispiness.
Serving Ideas for Butternut Squash and Sage Tart
This tart pairs wonderfully with a crisp green salad tossed in a light vinaigrette. For a heartier meal, serve alongside roasted chicken or a bowl of creamy tomato soup. It’s also a lovely addition to a brunch spread with a glass of chilled white wine.
More Appetizers Recipes
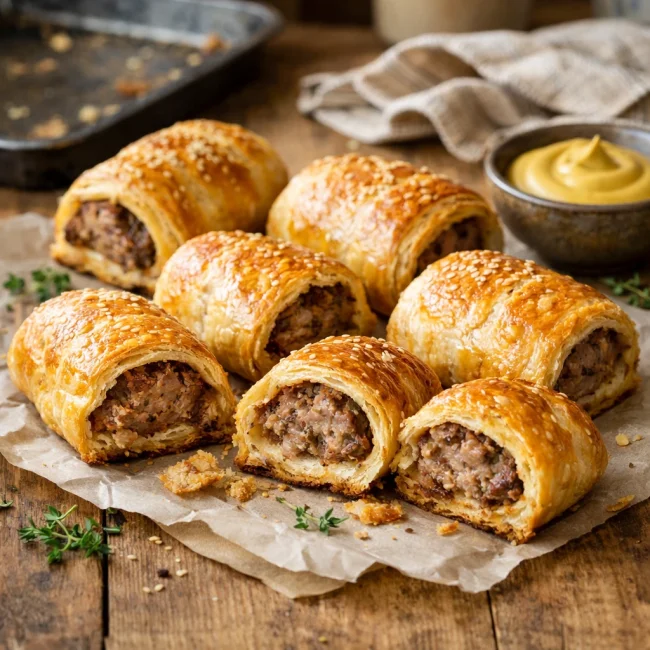
Traditional Sausage Rolls
A timeless recipe for savory sausage rolls, perfect for parties or as a hearty sna...
View Recipe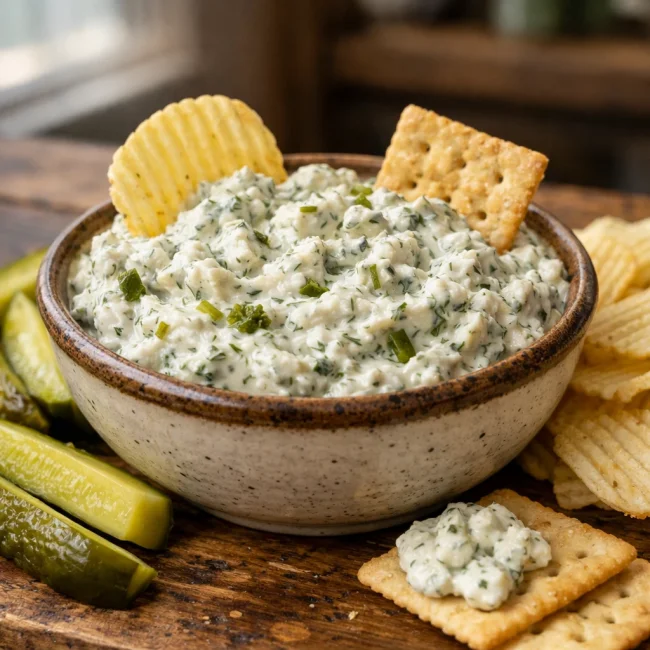
Classic Dill Pickle Dip
A refreshing dill pickle dip perfect for parties and gatherings, featuring a cream...
View Recipe
Savory Bites on Sticks
Savory Bites on Sticks are delightful and colorful appetizers perfect for any soci...
View Recipe
Traditional Black Bean Salsa
Experience a burst of fresh flavors with this classic Black Bean Salsa, perfect fo...
View Recipe